
Welcome to Full-on Summer, otherwise known as July! Whew! You guys, the Brookes were very, very busy in the month of June; I’m so glad I didn’t make any actual crafty goals for the month because there simply wasn’t any time available for crafting.
Debrief: June 2026 #craftygoals:
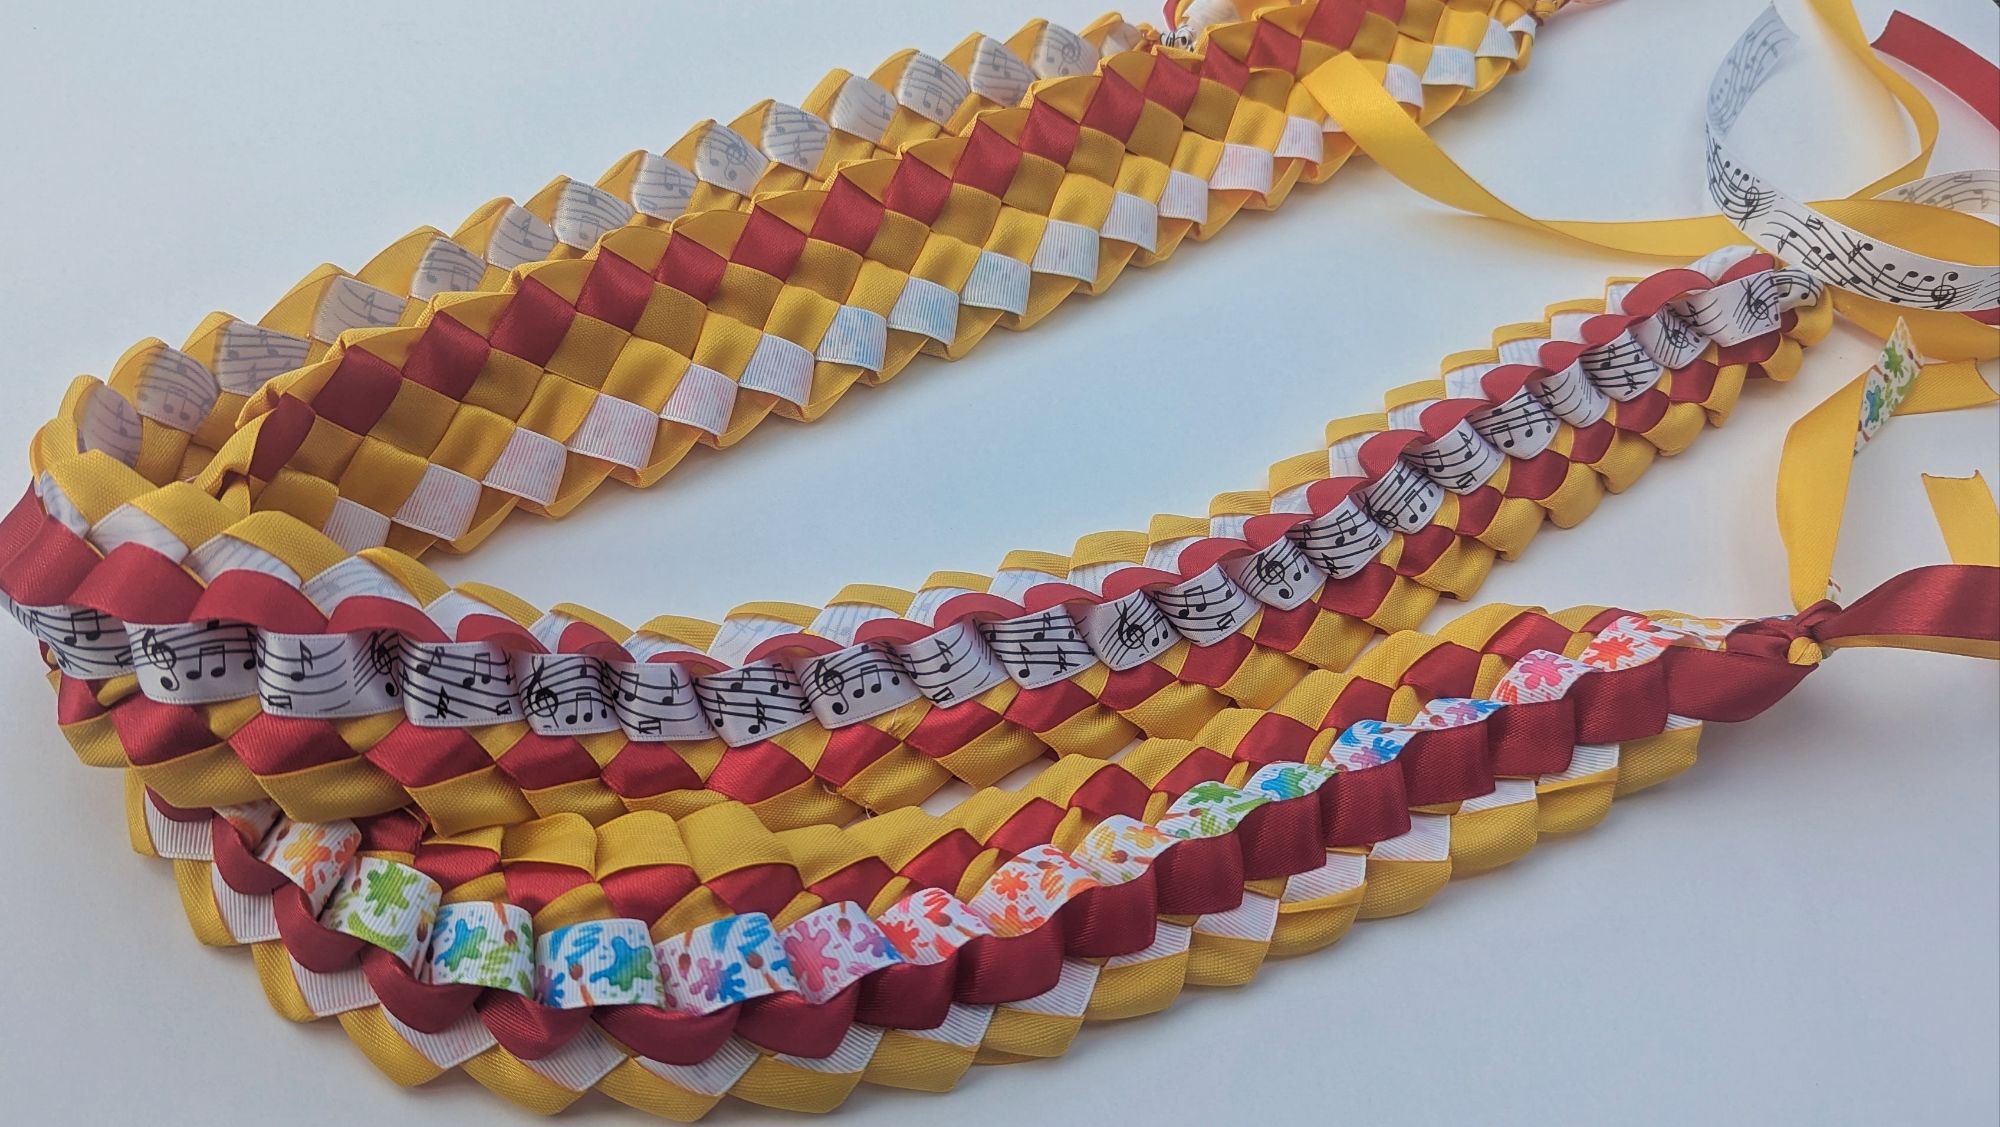
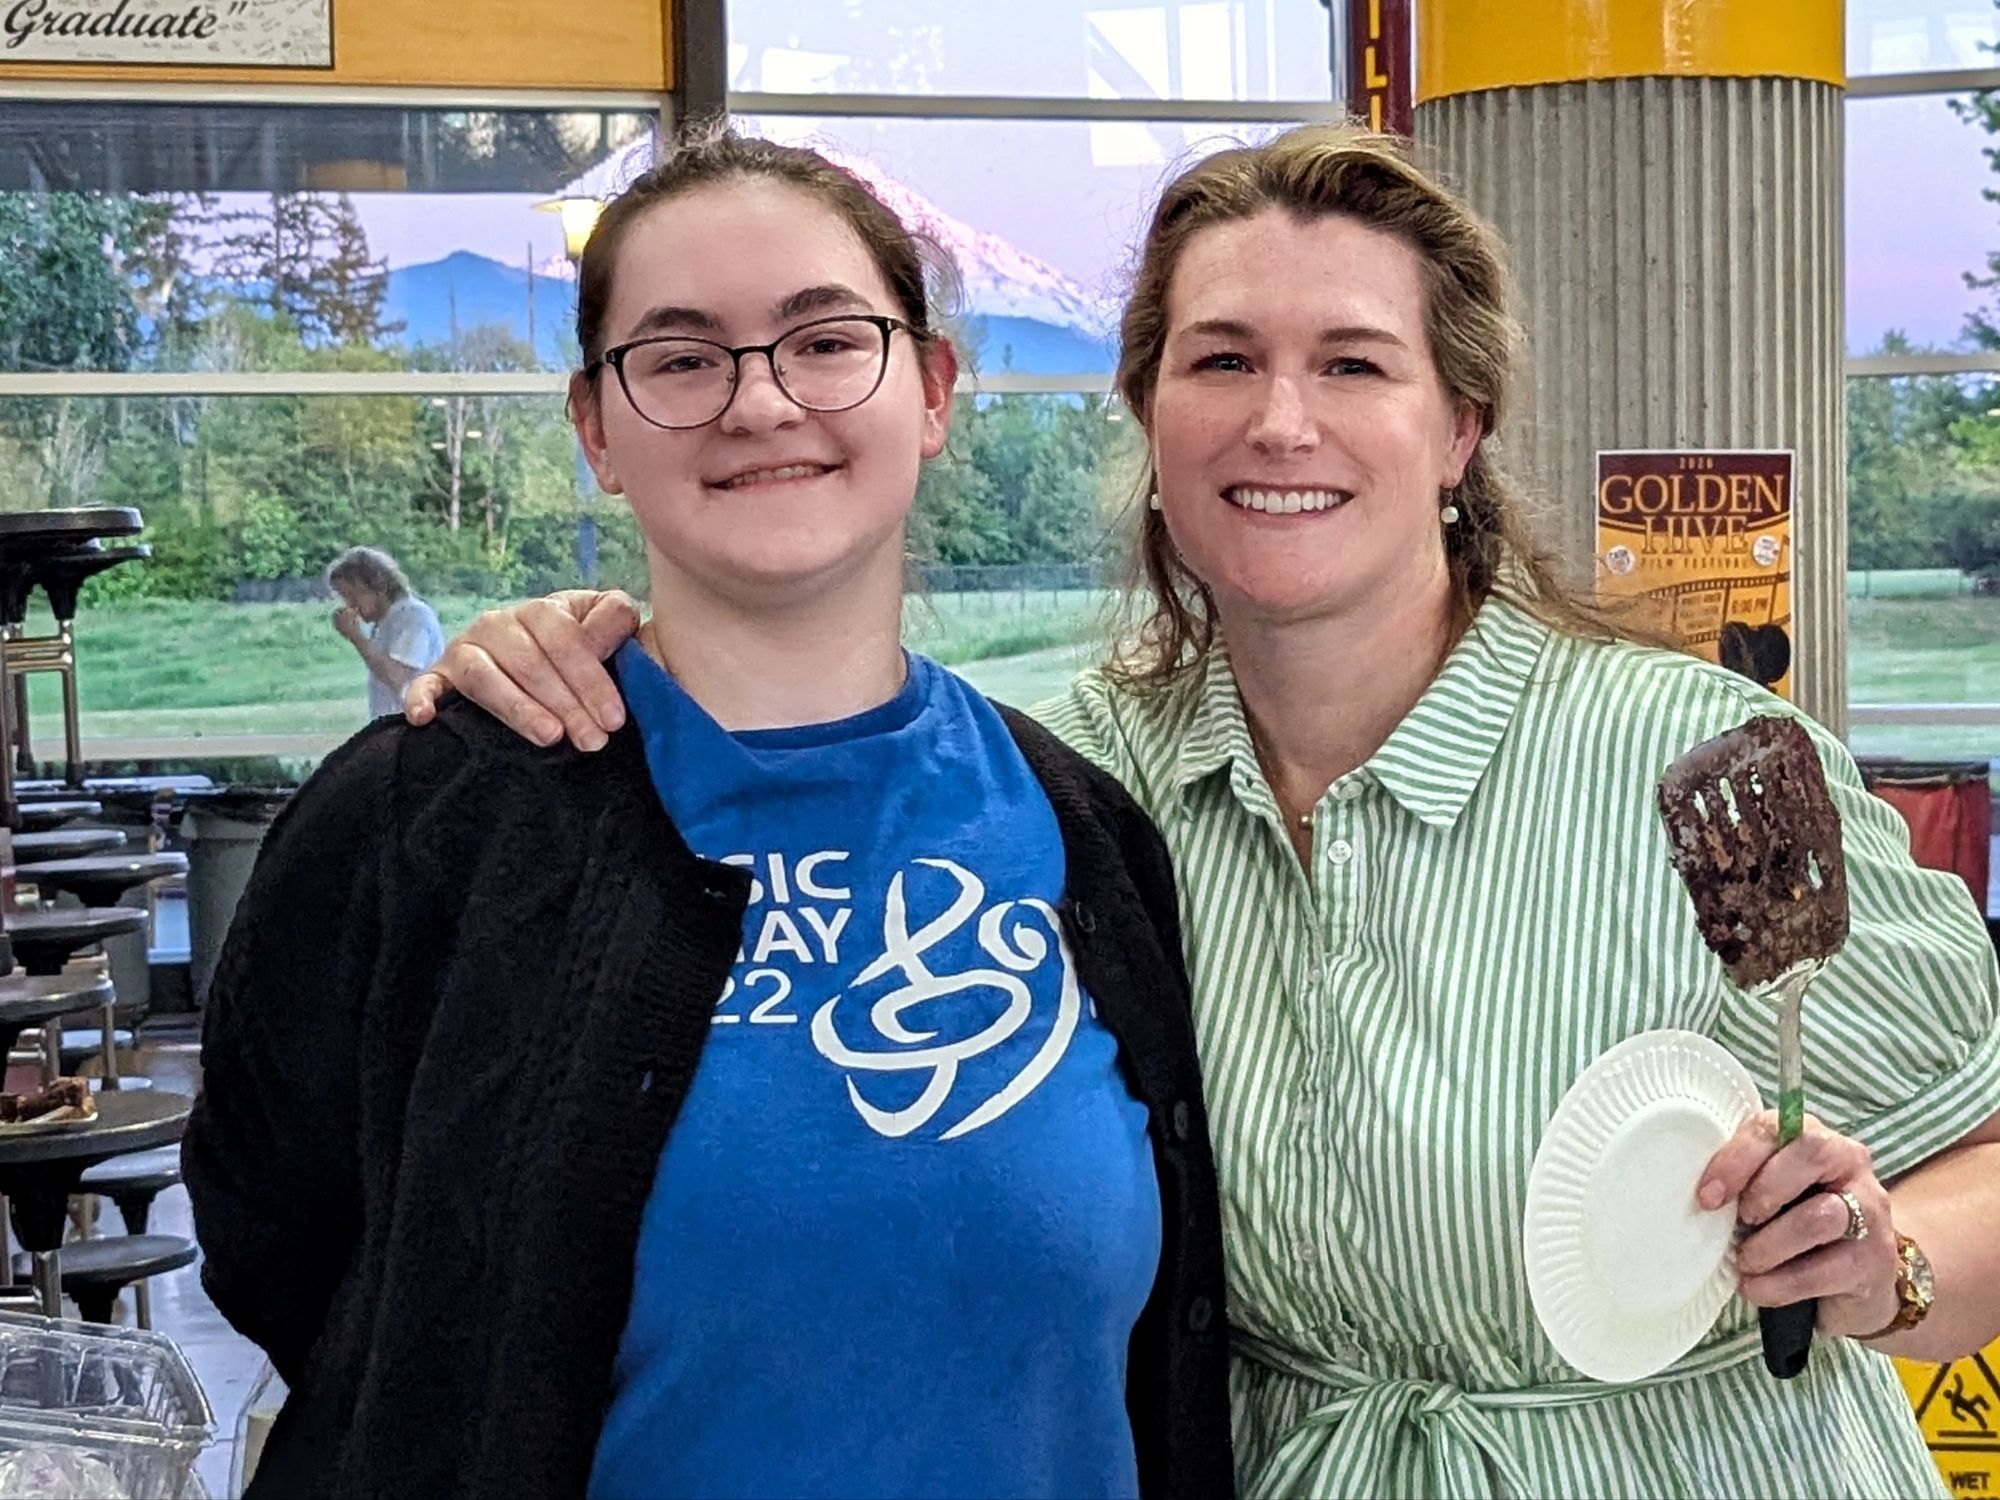
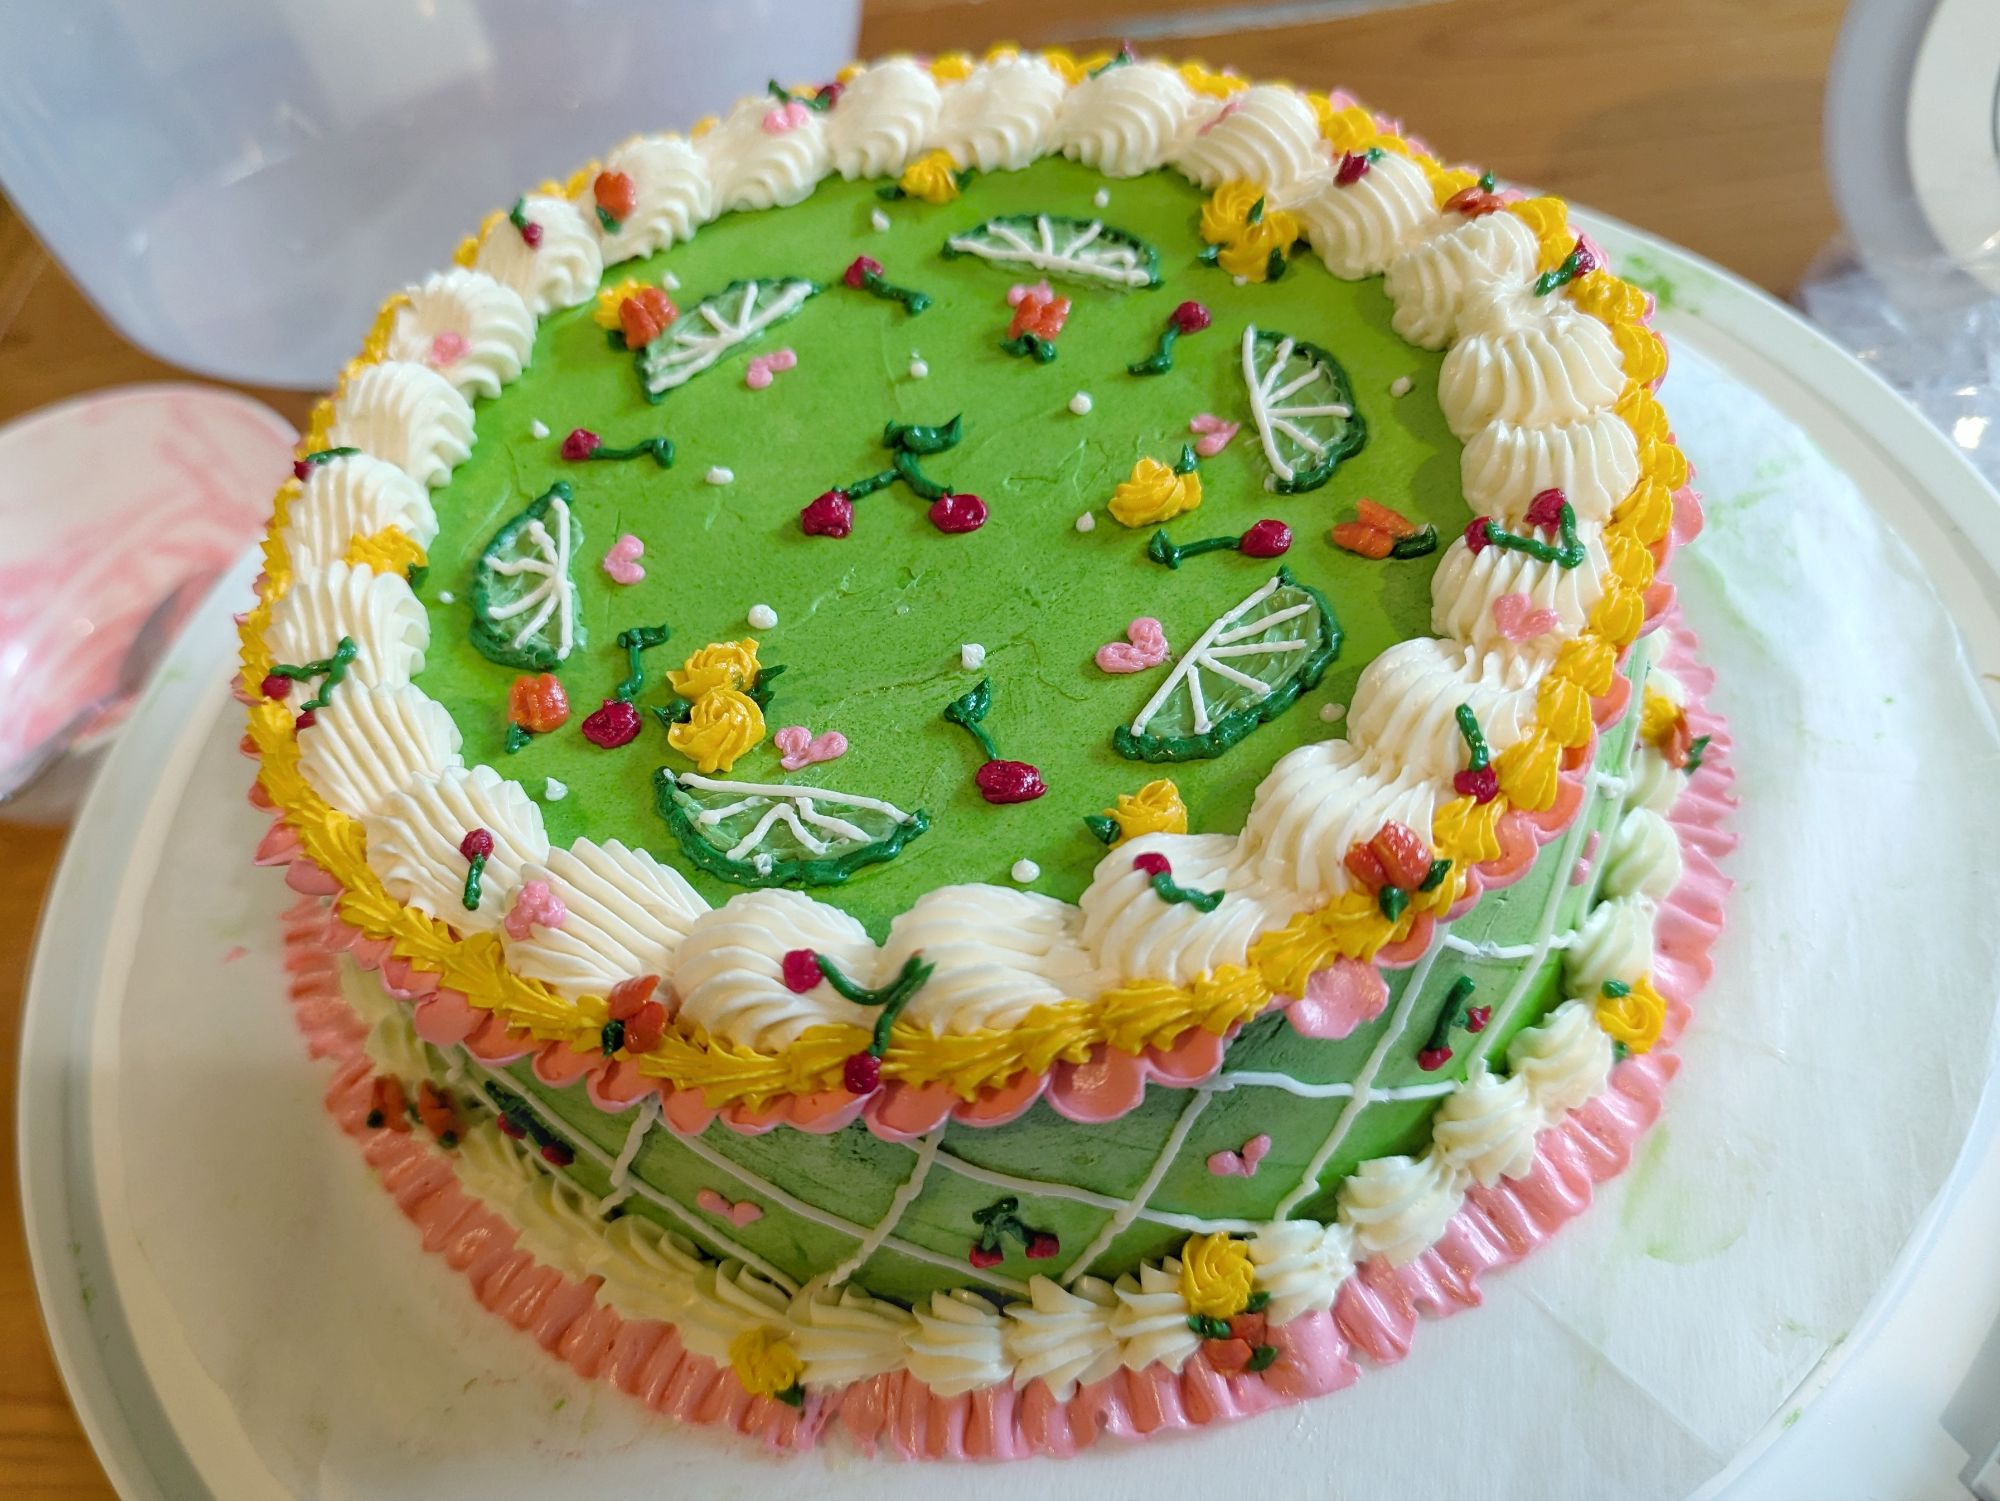
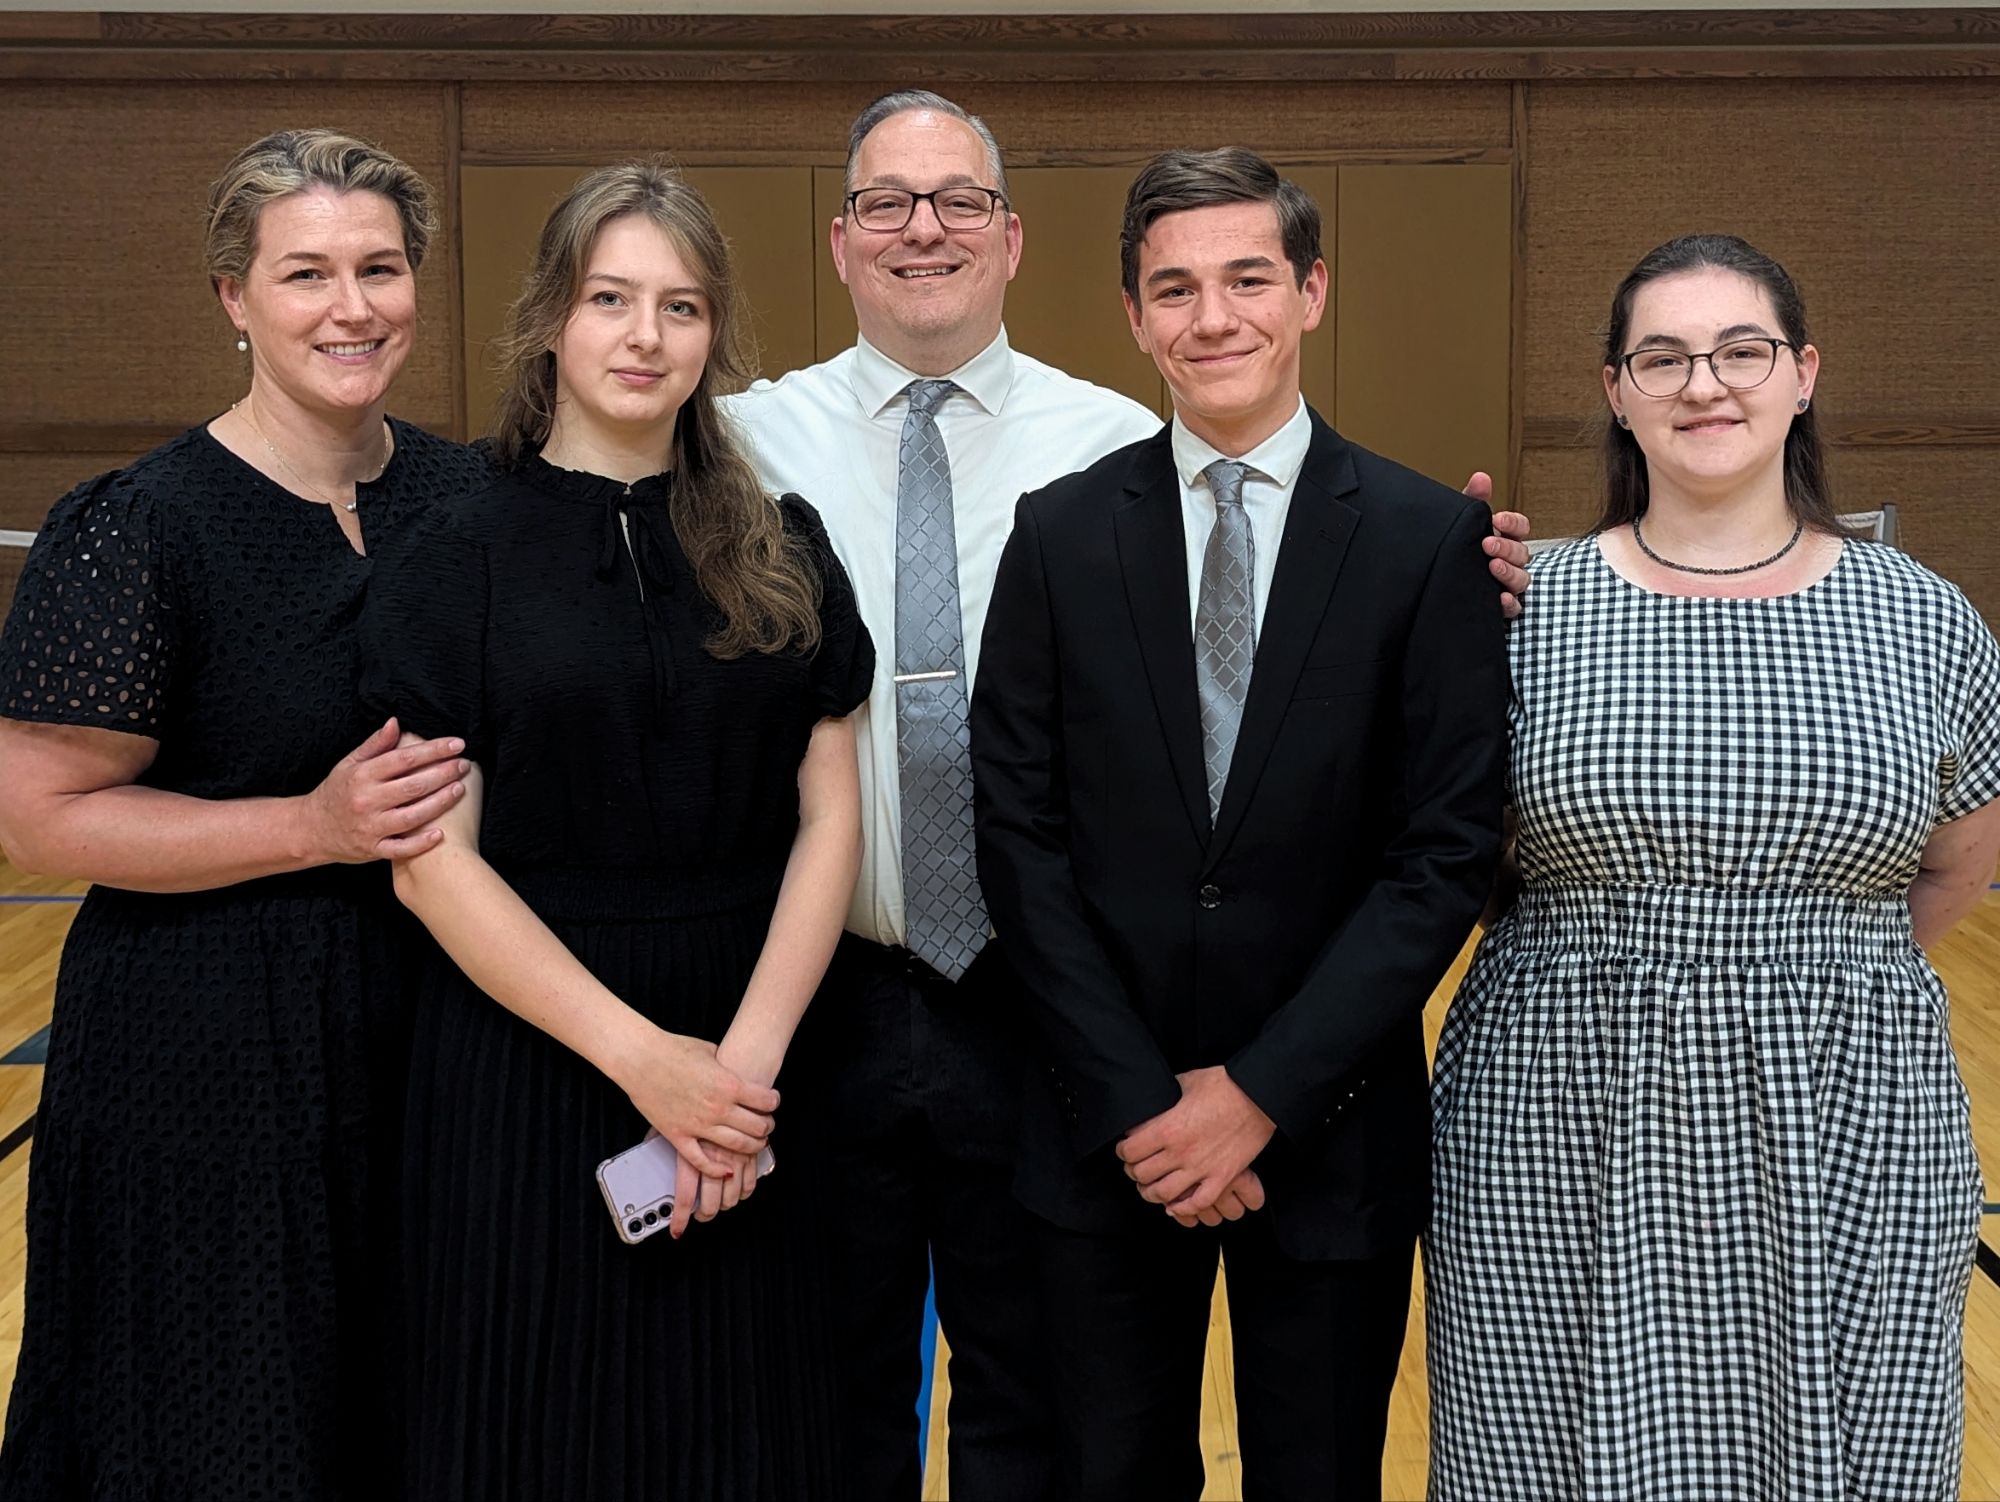
Graduation: Rachel is officially graduated from high school! I love graduations so much; the only celebrations I love more are weddings and babies. These life milestones are so special, and I try hard to make sure that they feel extra special for the individuals involved. I made a cute artsy ribbon lei for her and music note lei for one of her friends in the band because I think she’s awesome, and we threw a big ol’ graduation party as well. So much work! But everything went well and the party was well attended, so I’m satisfied.
Summer Plans: Well…sadly, my husband’s mother passed away the day before Rachel’s graduation ceremony. June 2026 was all about graduation plans and funeral plans. Once graduation was done and dusted, I pivoted immediately into funeral trip preparation. I was also invited to sing at the funeral, so I spent the weeks leading up to it feverishly transcribing (finally) a song I’ve been working on for years and working with Renaissance to write a flute part so she could be a part of it, too. I’m happy to report that it went well. With all of that going on, it’s easy to understand why summer planning has not happened yet.
July 2026 #craftygoals:
Time-Sensitive Things That Need Working on ASAP:
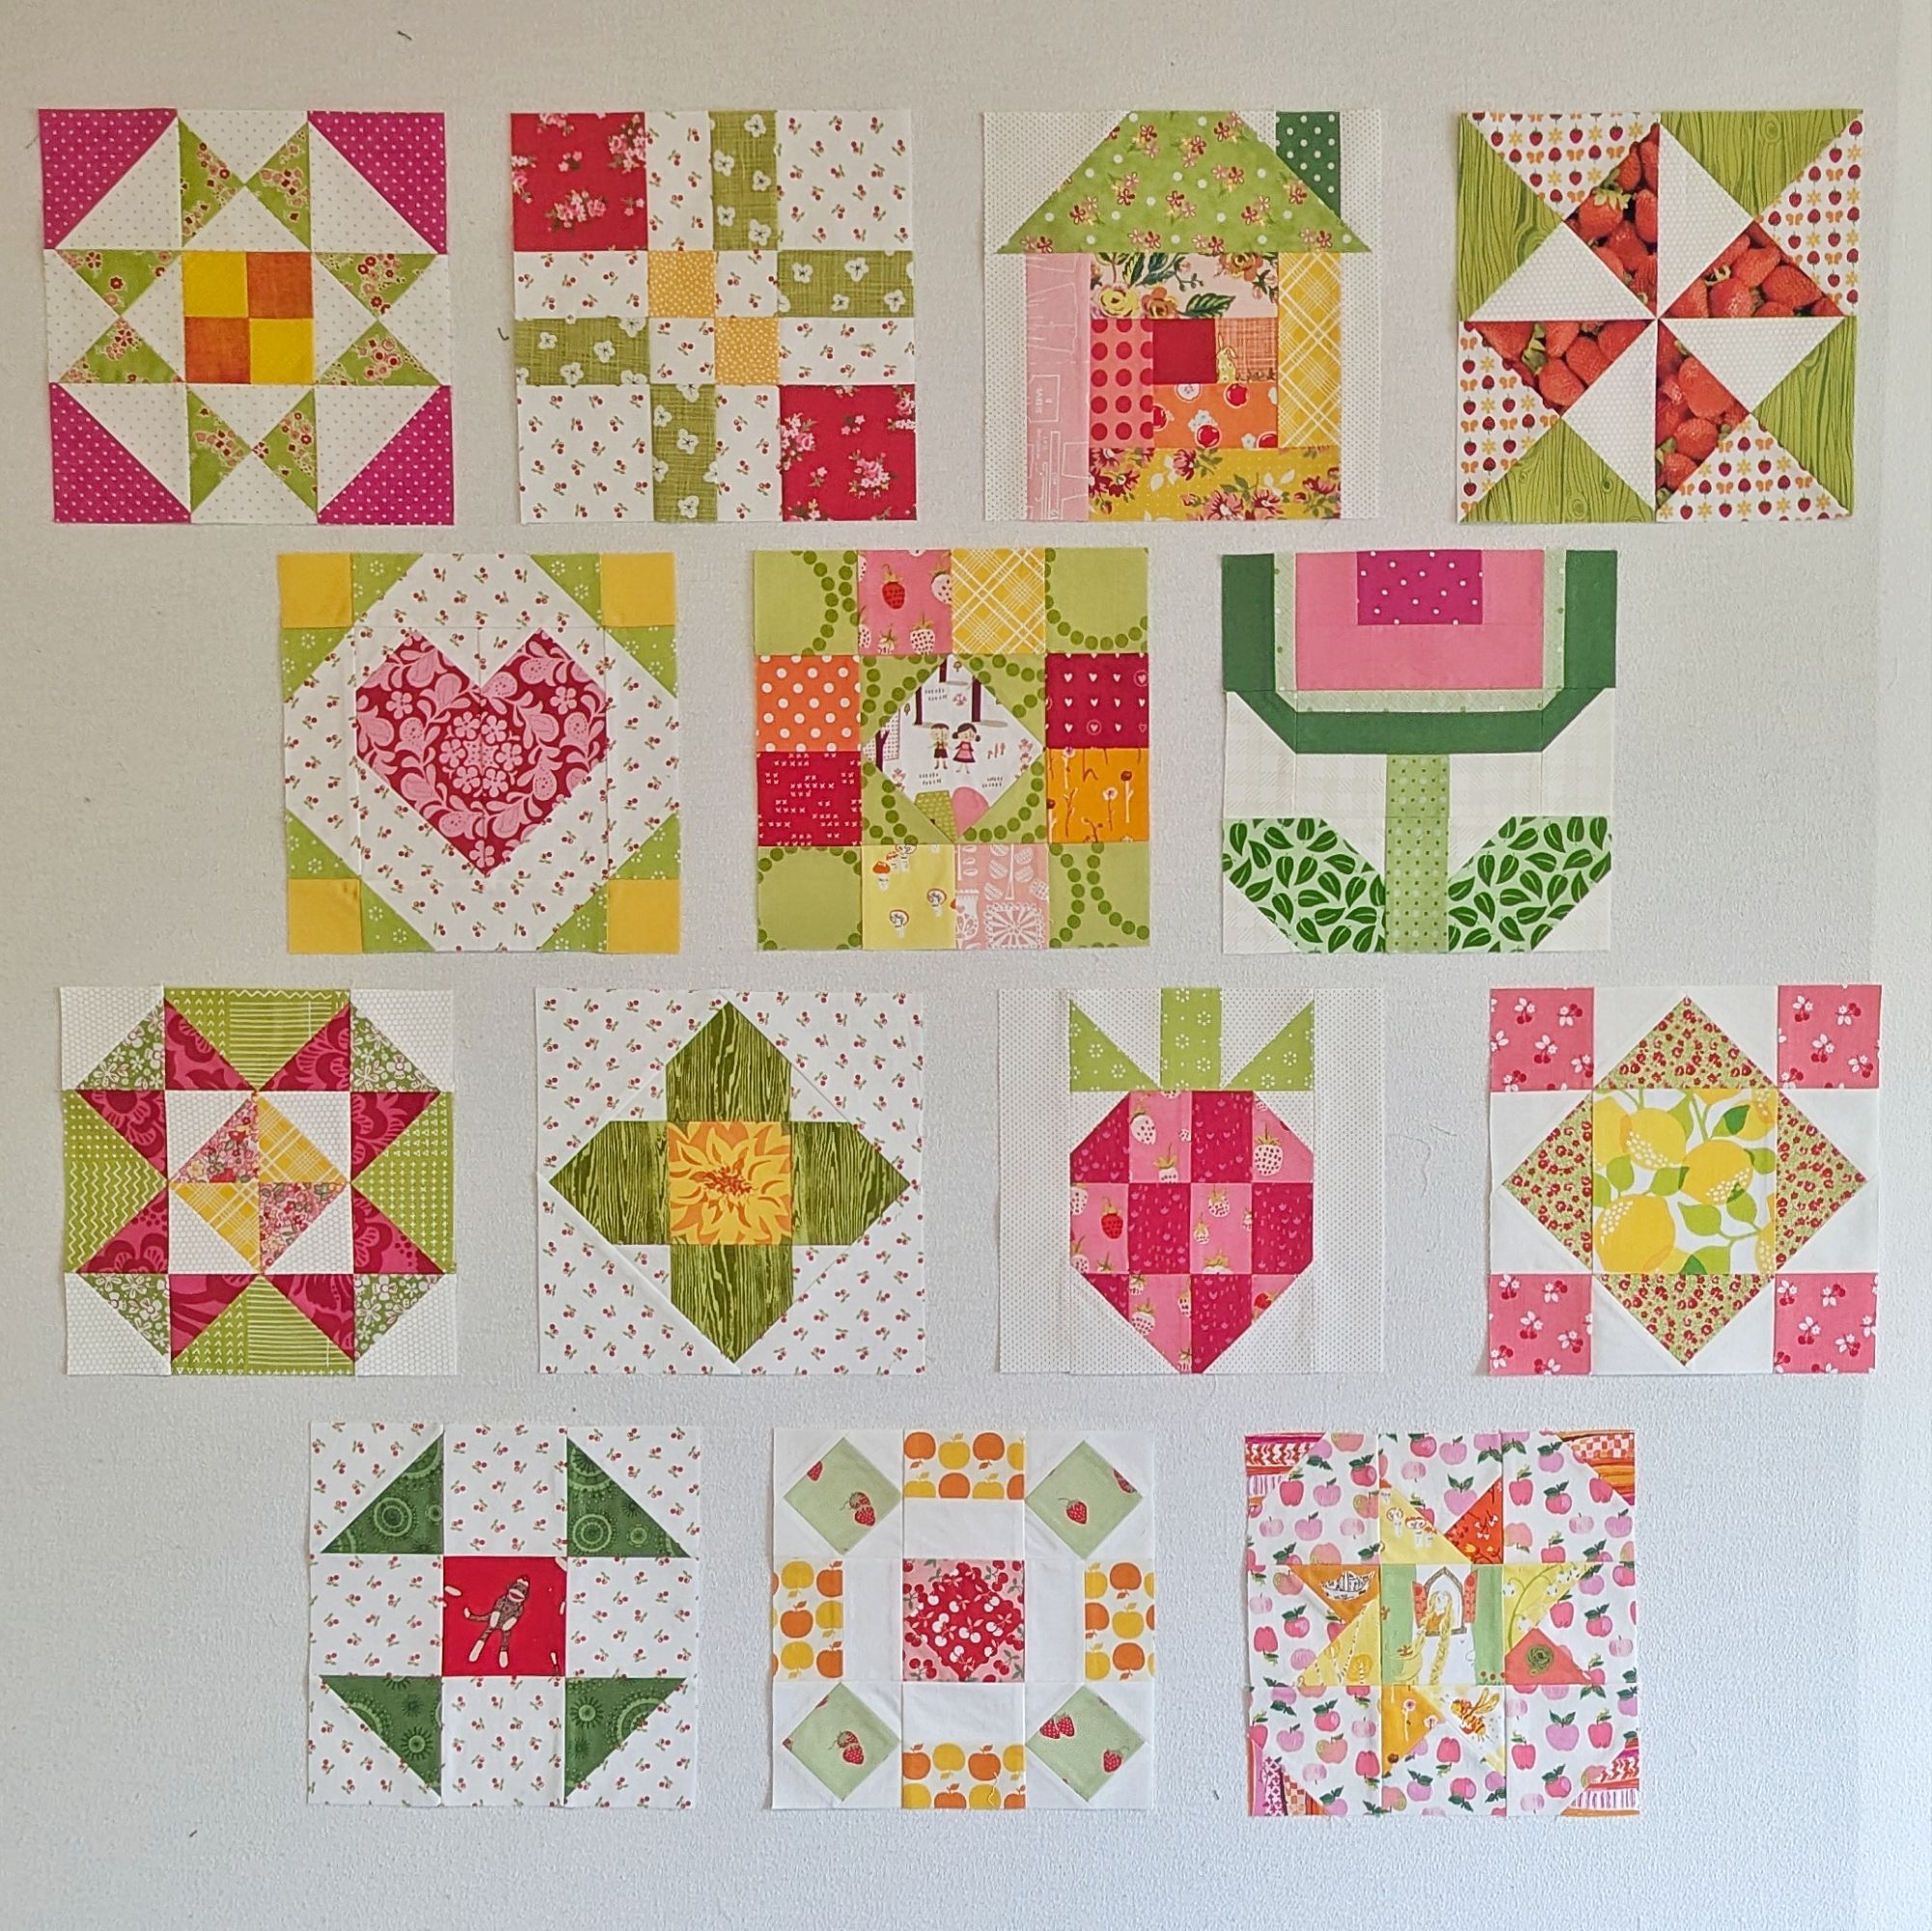
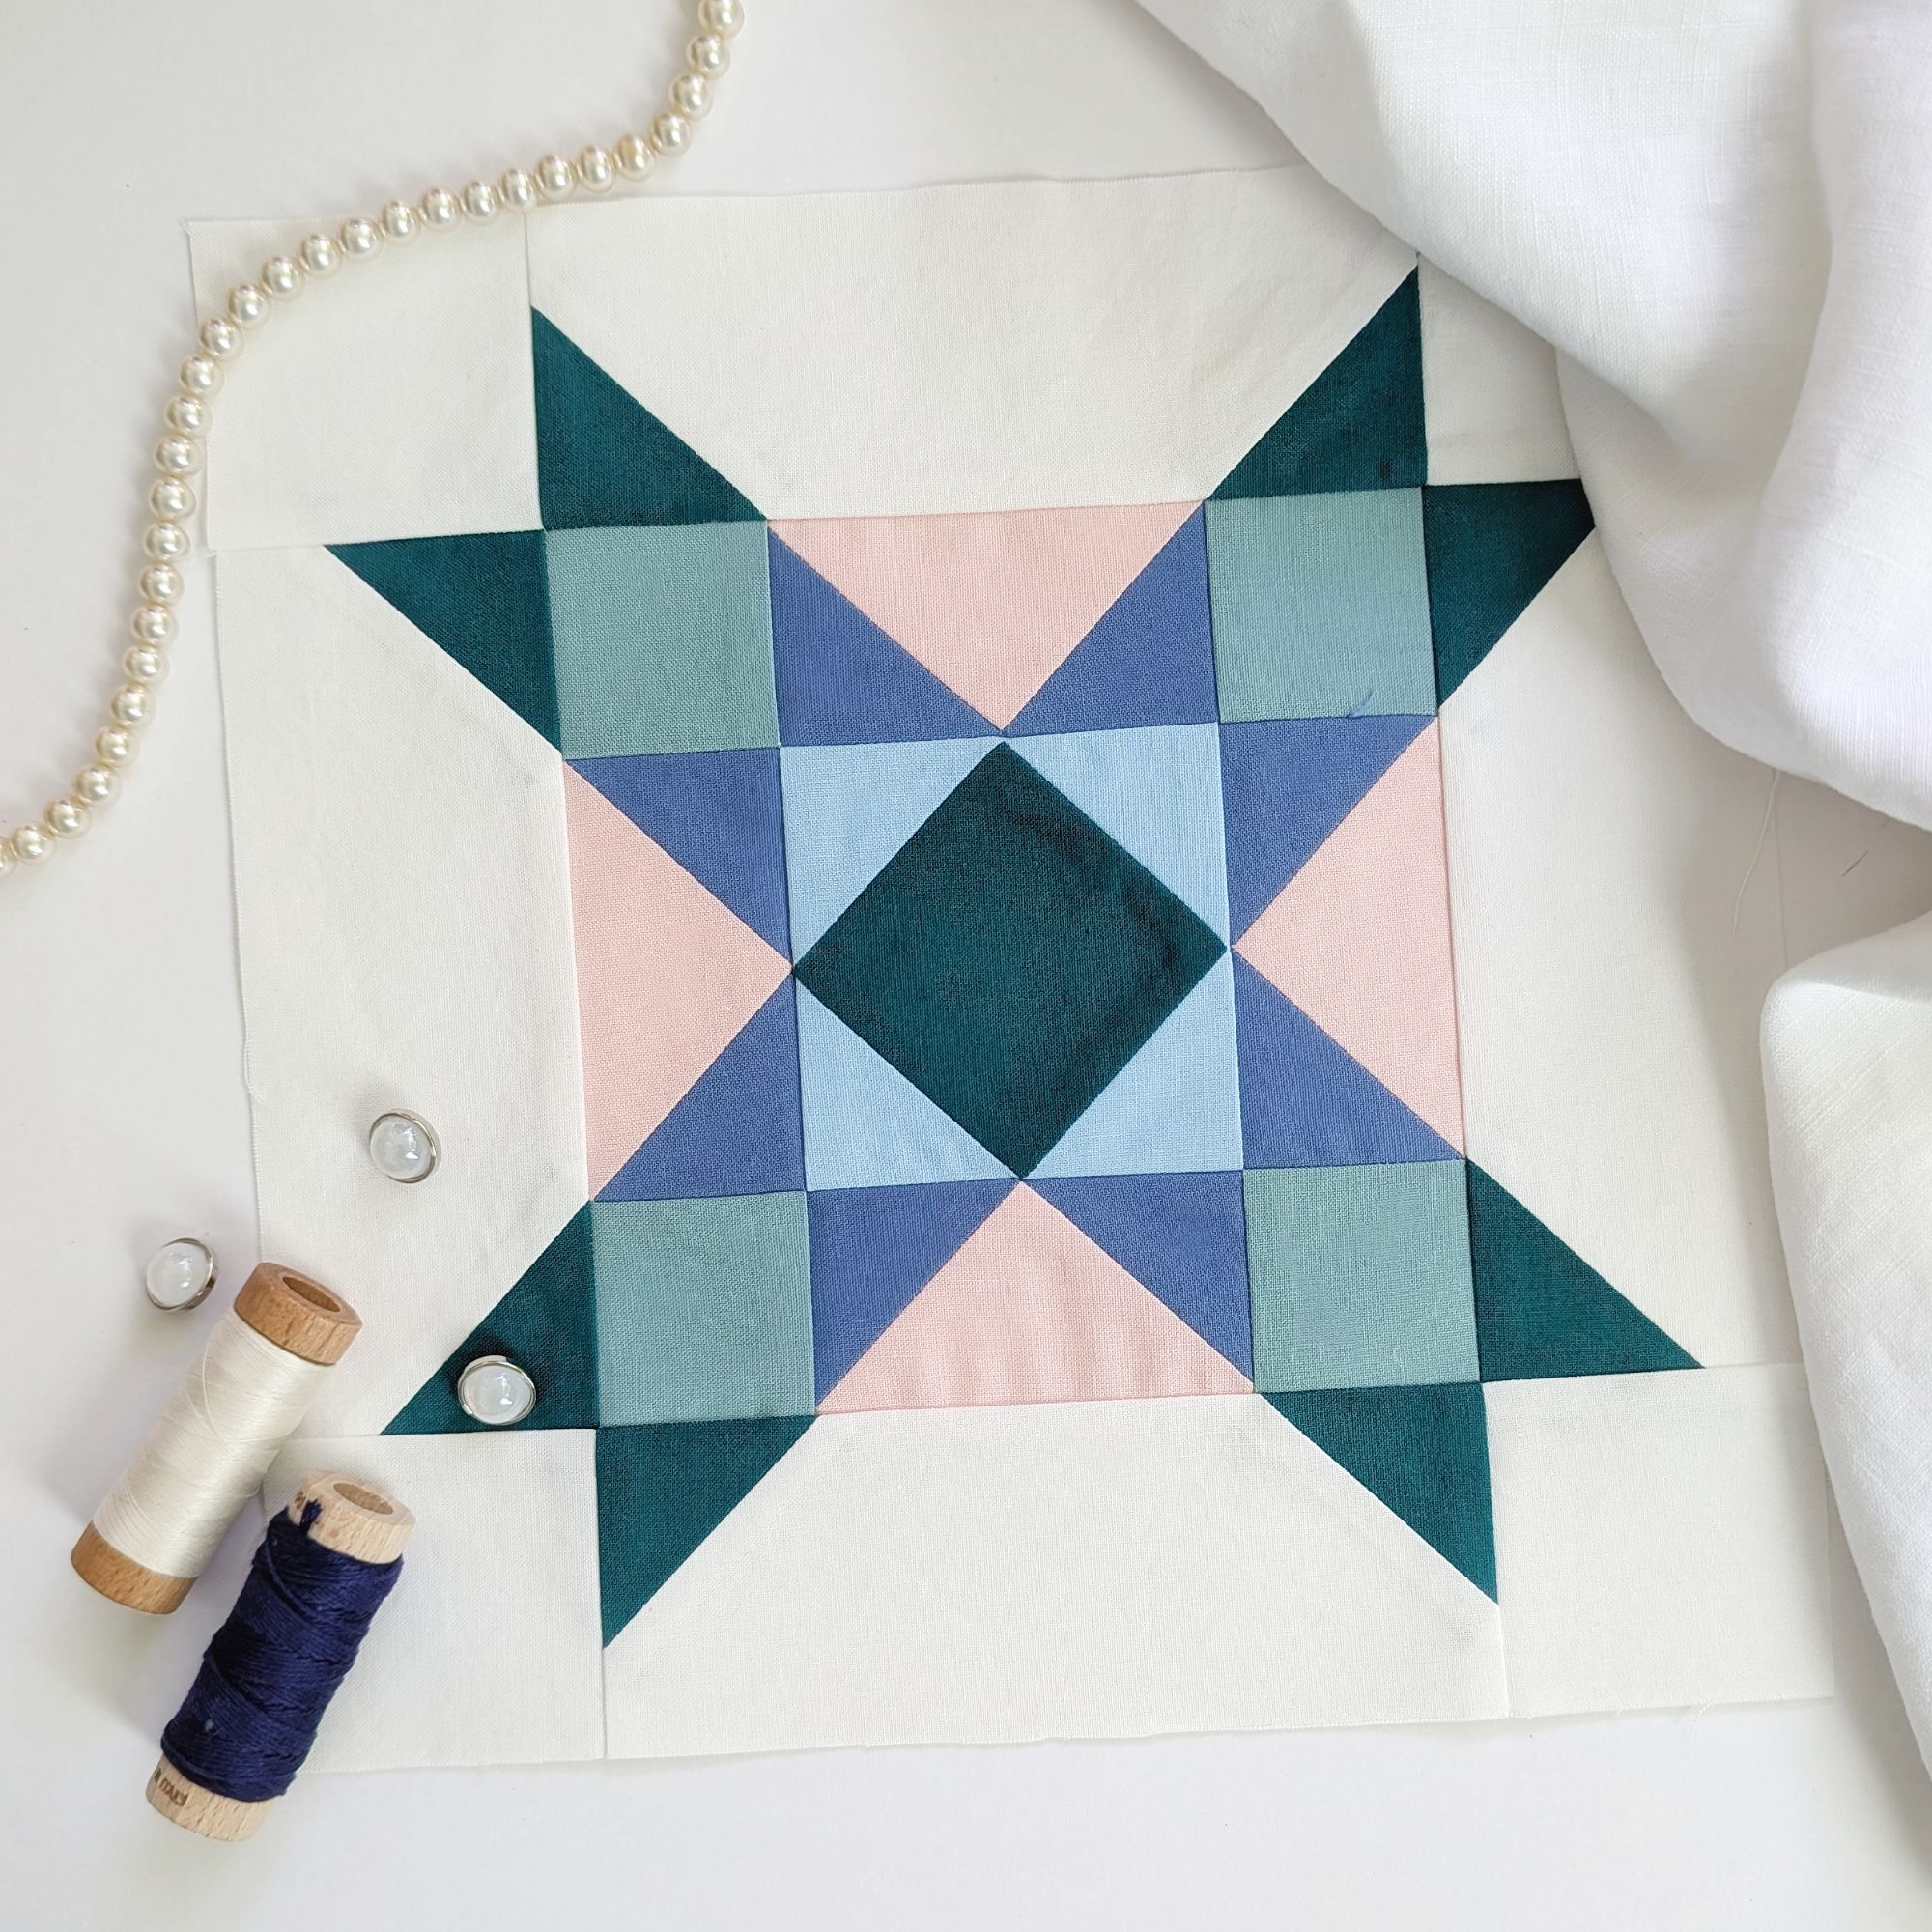
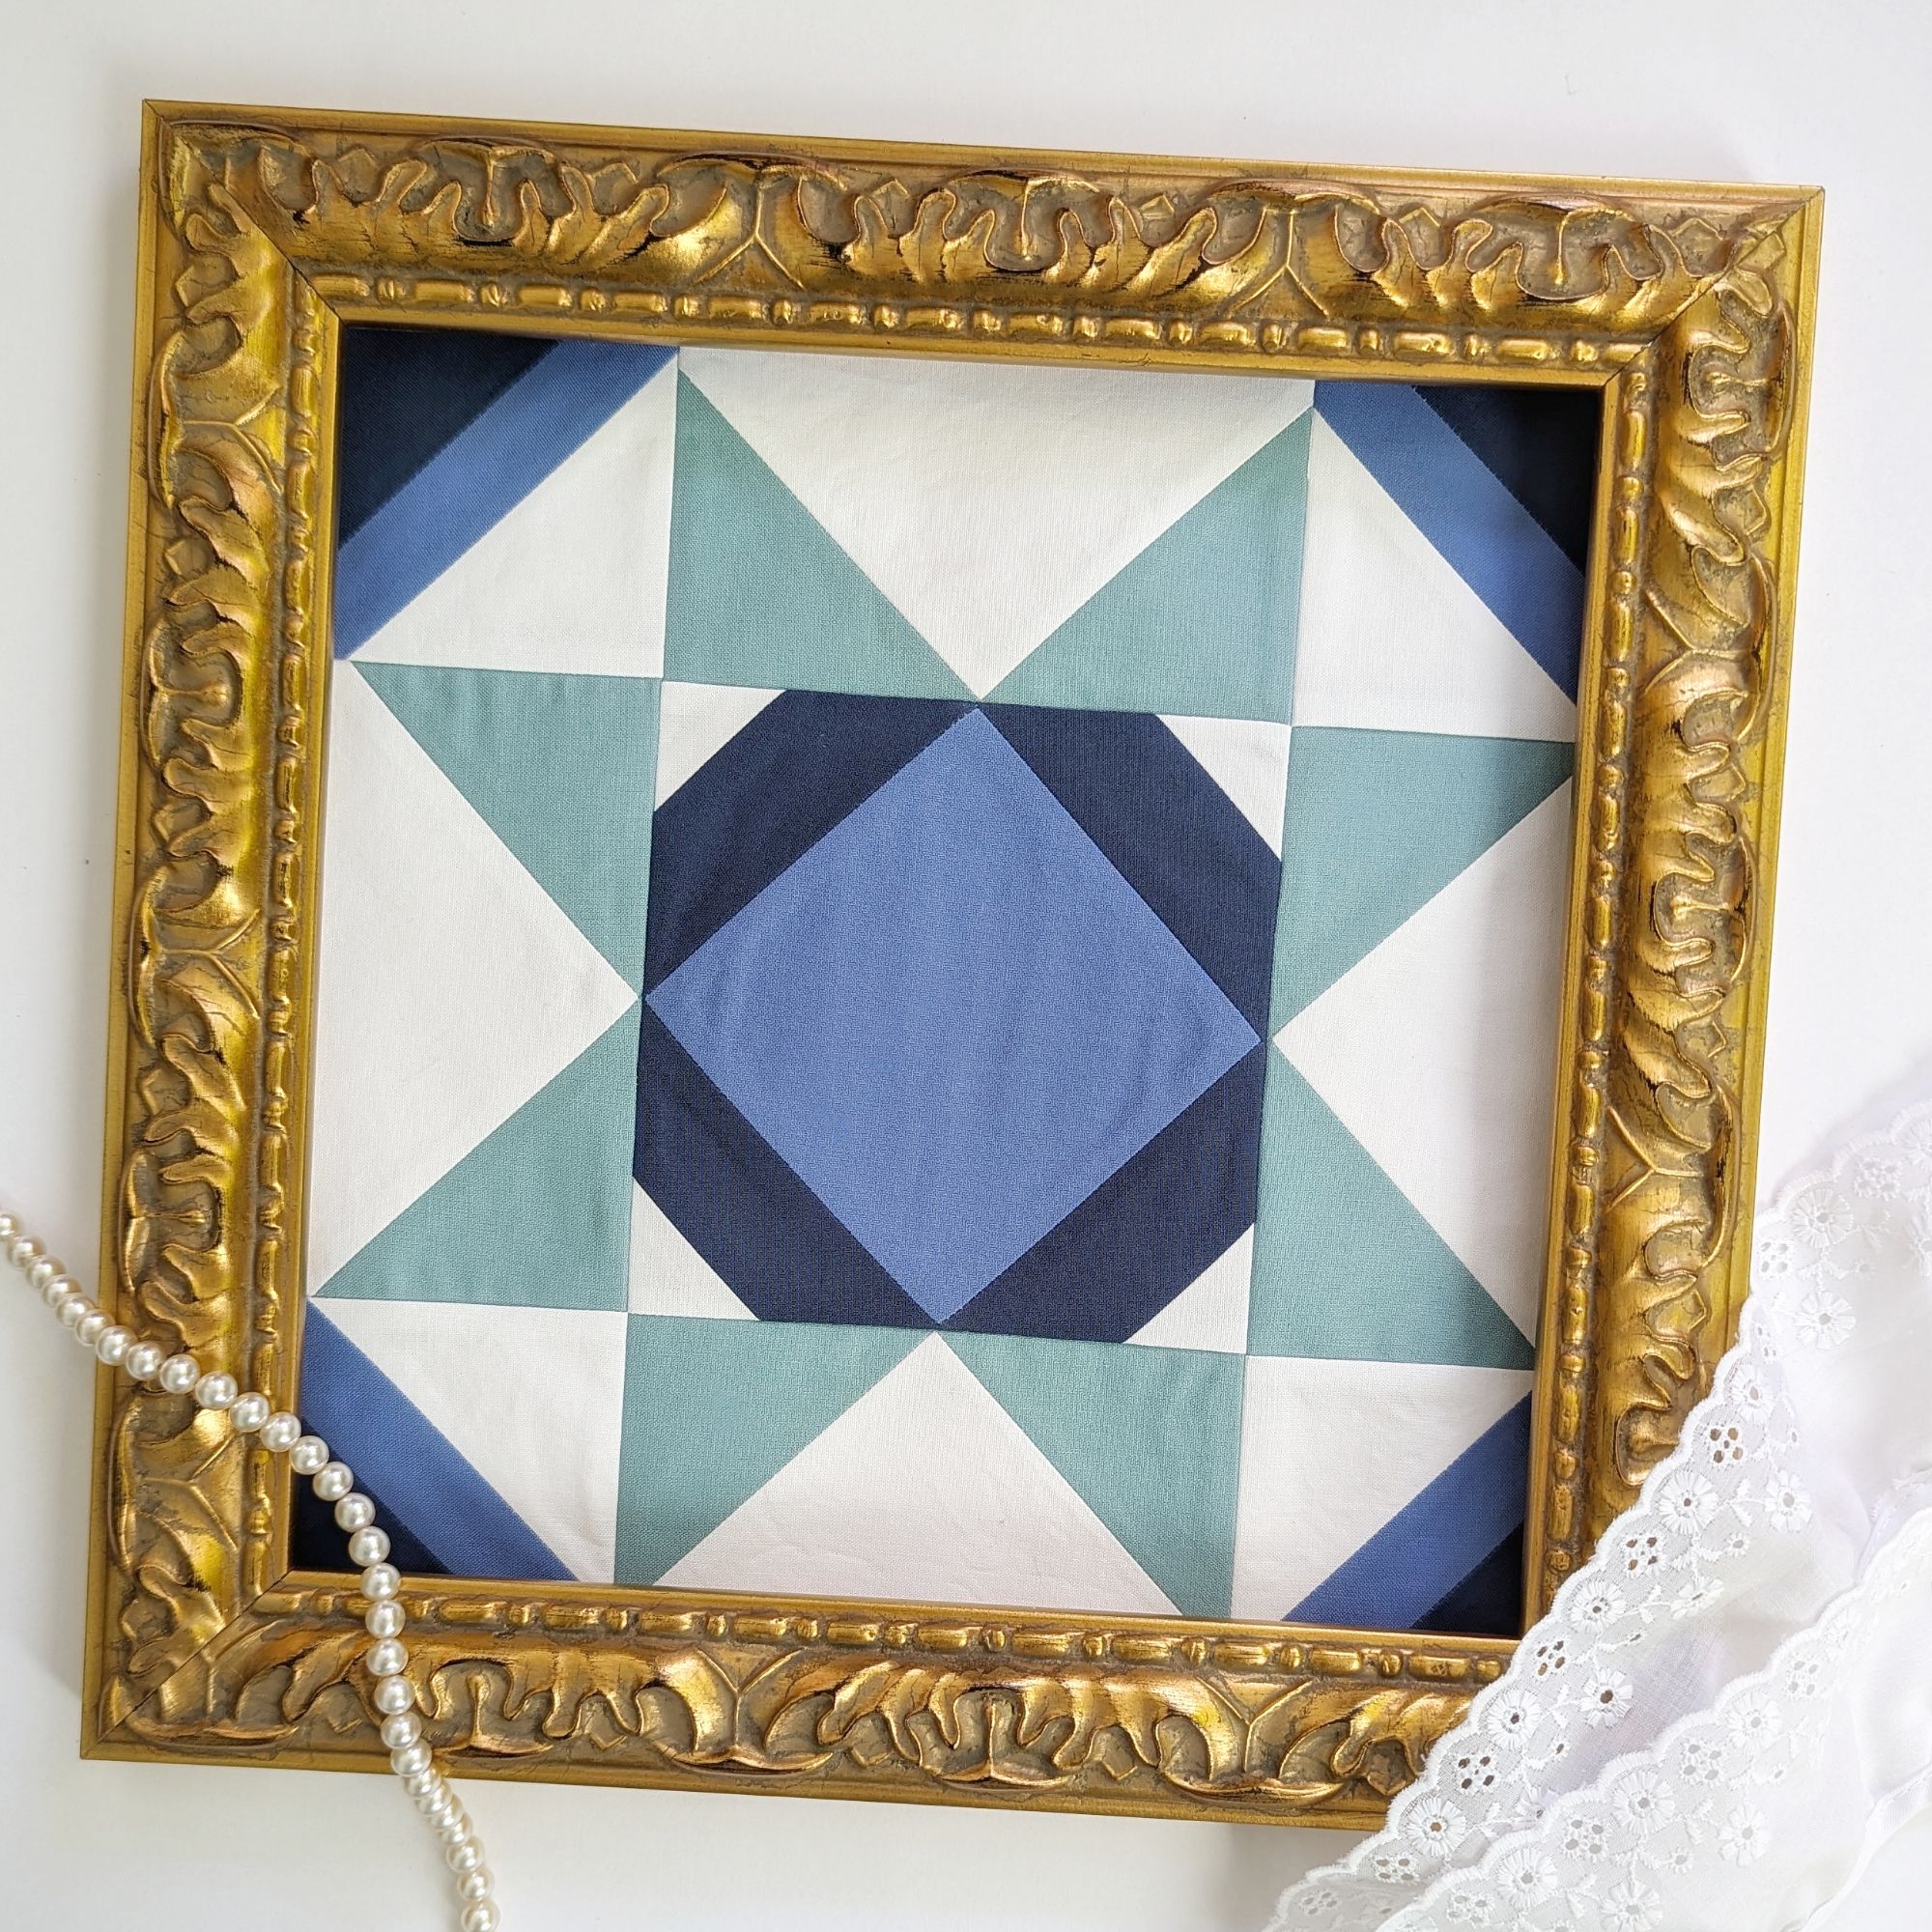
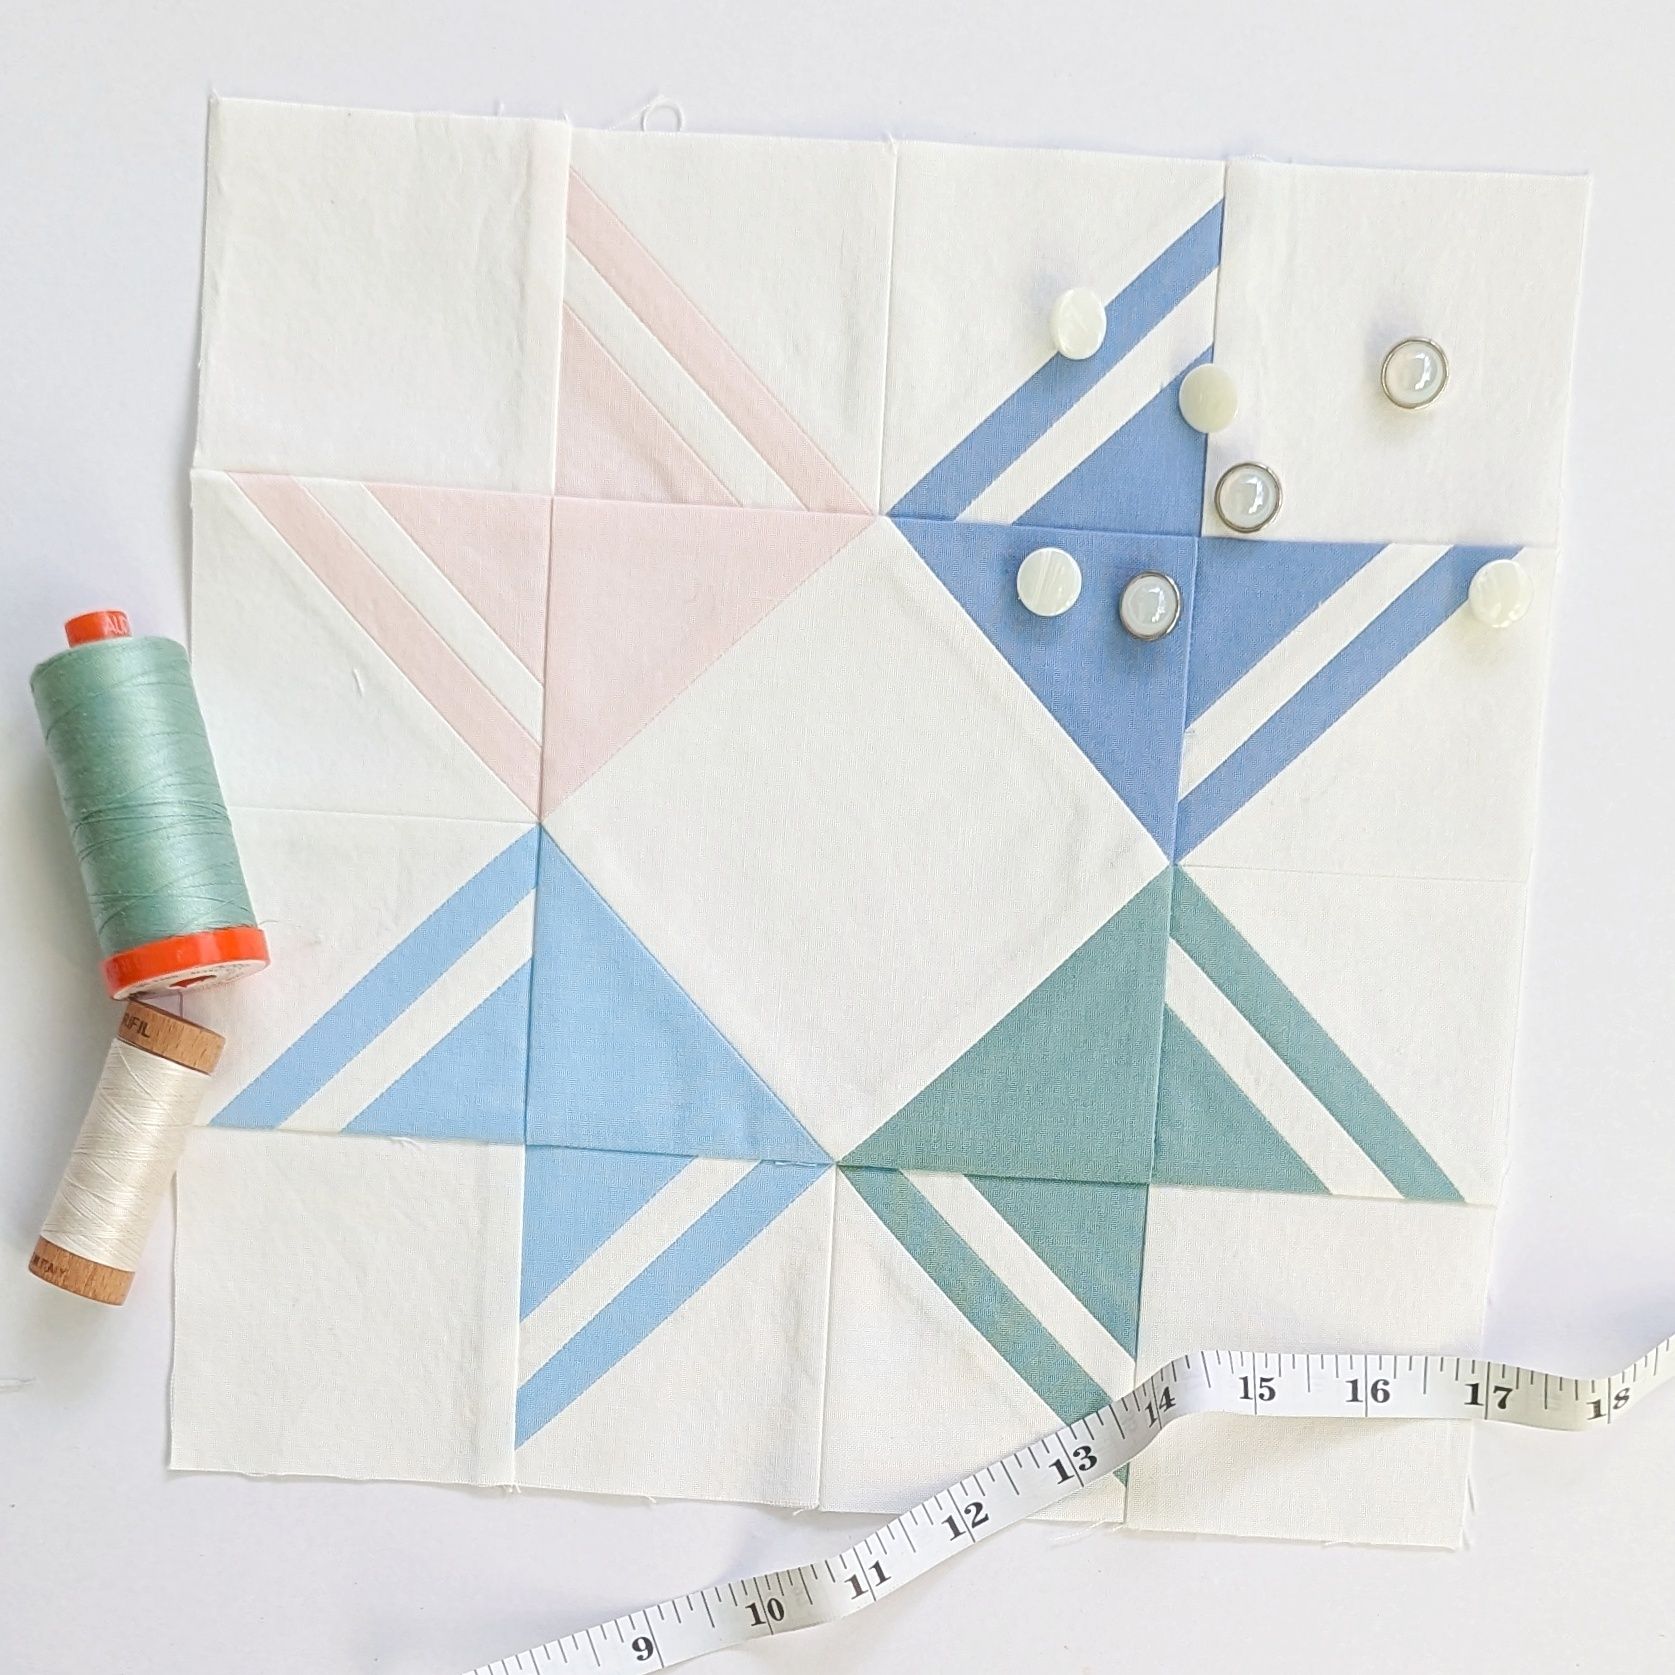
Graduation Quilts: All the signature blocks have been collected, so it’s time to start piecing! It’d be really great to get Rachel’s quilt completely done this month, but it will probably take longer than that, much to the dismay of the many people in our circles who have become (in their own words) obsessively invested in the final outcome of her quilt. Hey, if peer pressure helps you move forward with positive, productive things, then put that peer pressure in the driver’s seat and let it motivate you to push towards the finish line! (Looking at this in a realistic light, I think there’s a good chance I can pull off getting both of the flimsies complete in July.)
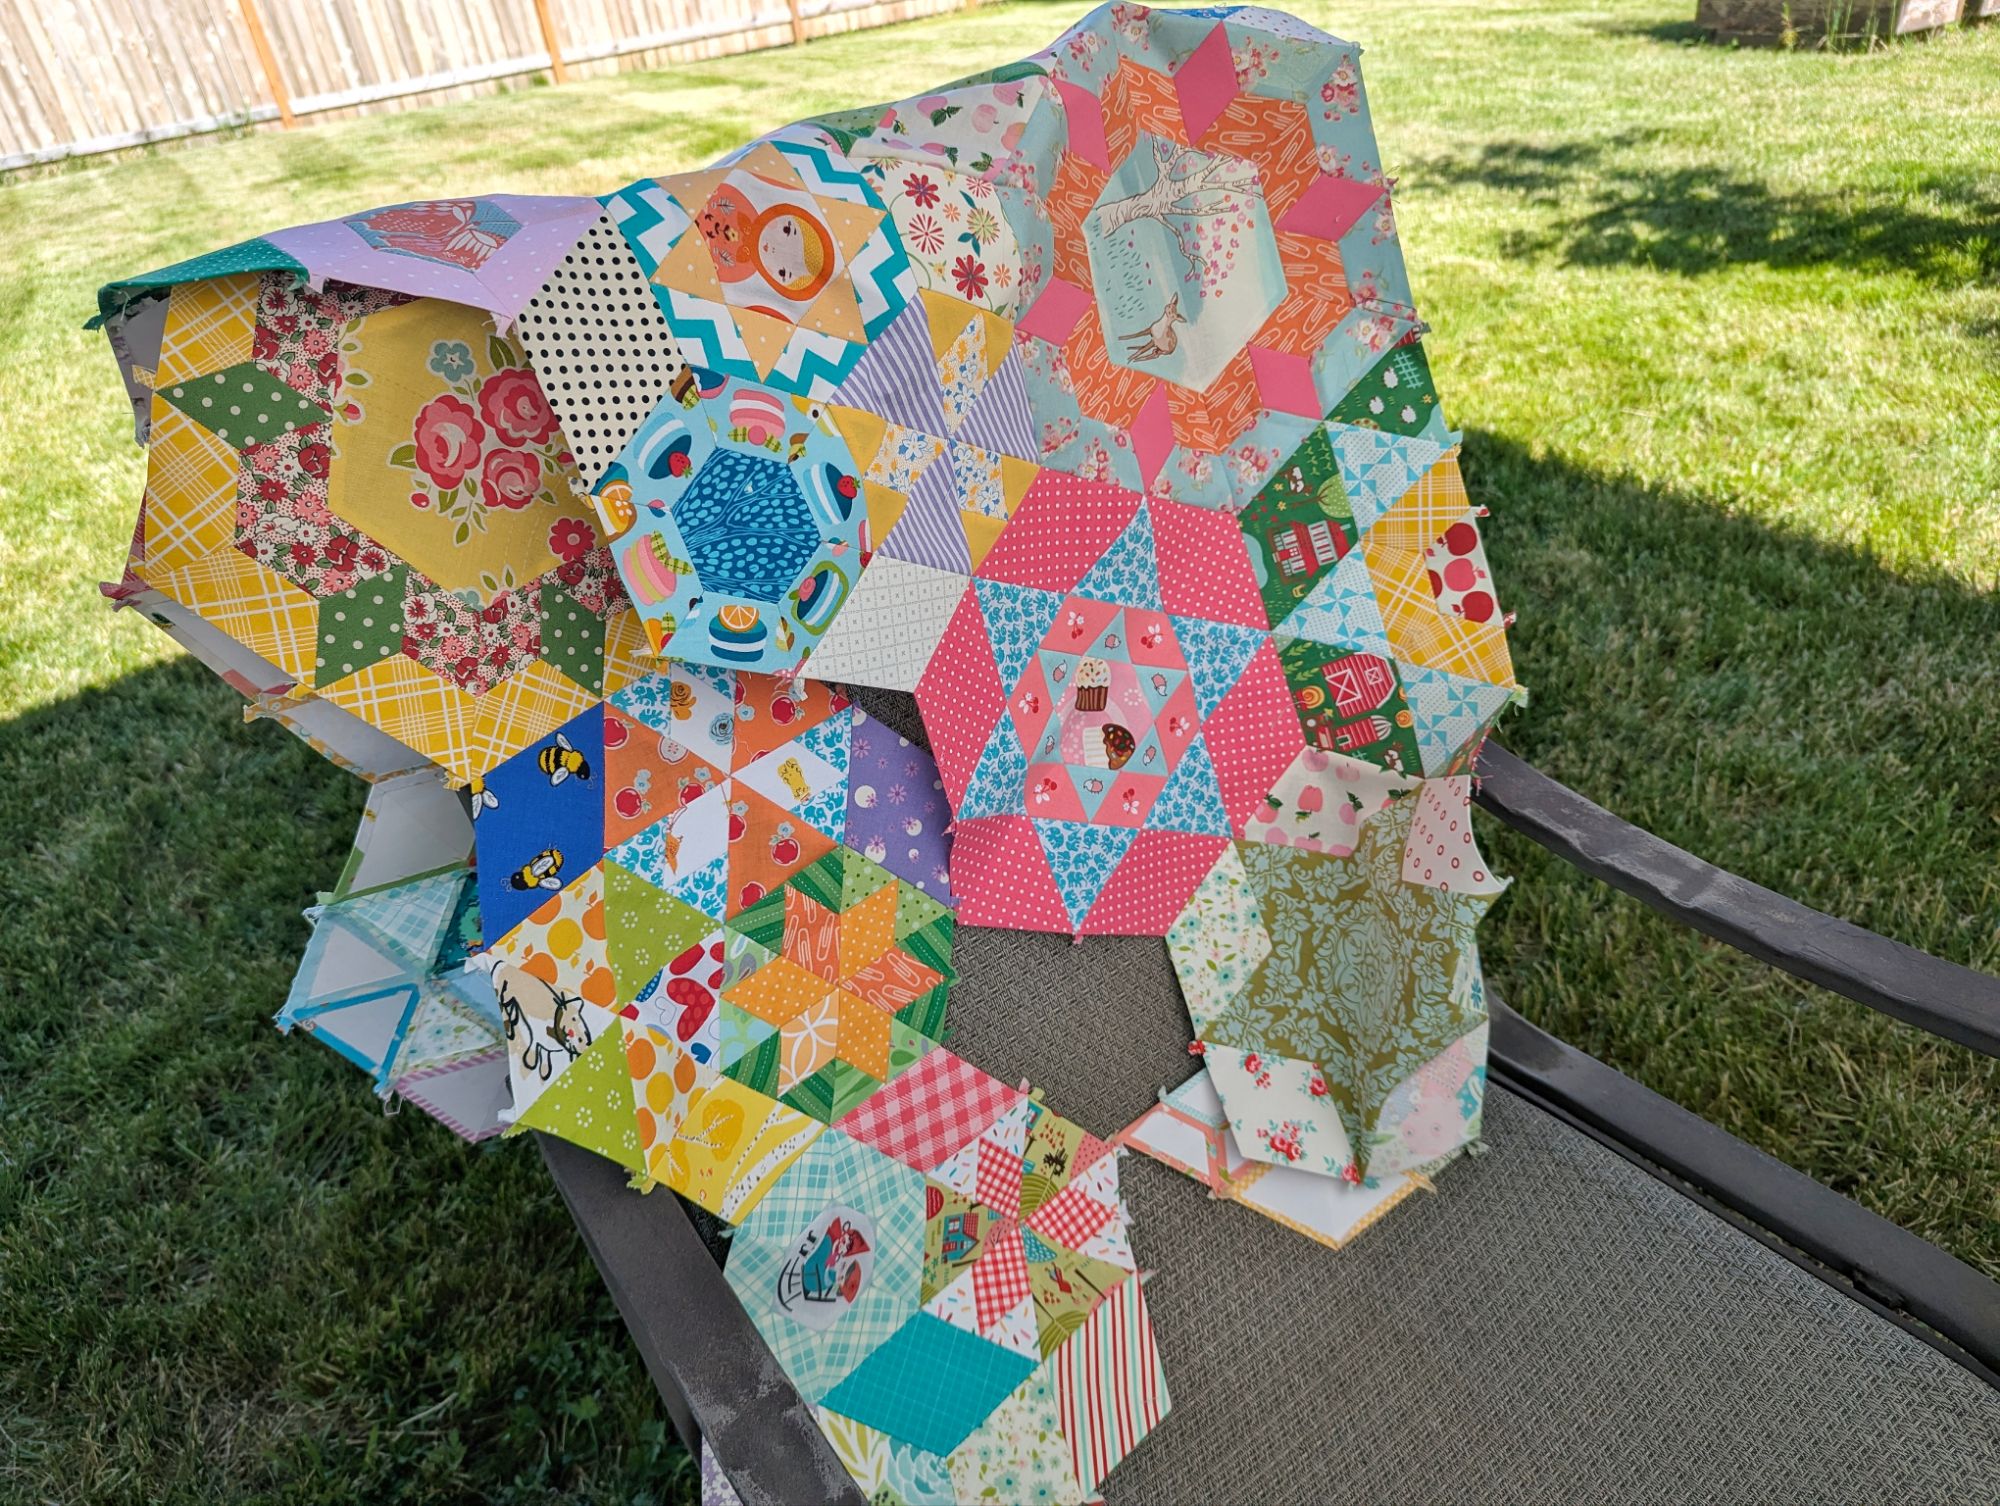
I am not sure when I’m going to get to Renaissance’s graduation quilt, though. With the realization that I want to put the signatures on the back of the quilt, I now need to create an entirely new quilt for the front of the quilt. As luck would have it, I just purchased a pattern not too long ago to make for her “someday,” but it’s a bit involved. I might work on a “palate cleanser” project once I finish Rachel’s grad quilt and before I get going on Ren’s again. I want to finish Ren’s grad quilt before the end of this year, though, that is a definite goal.
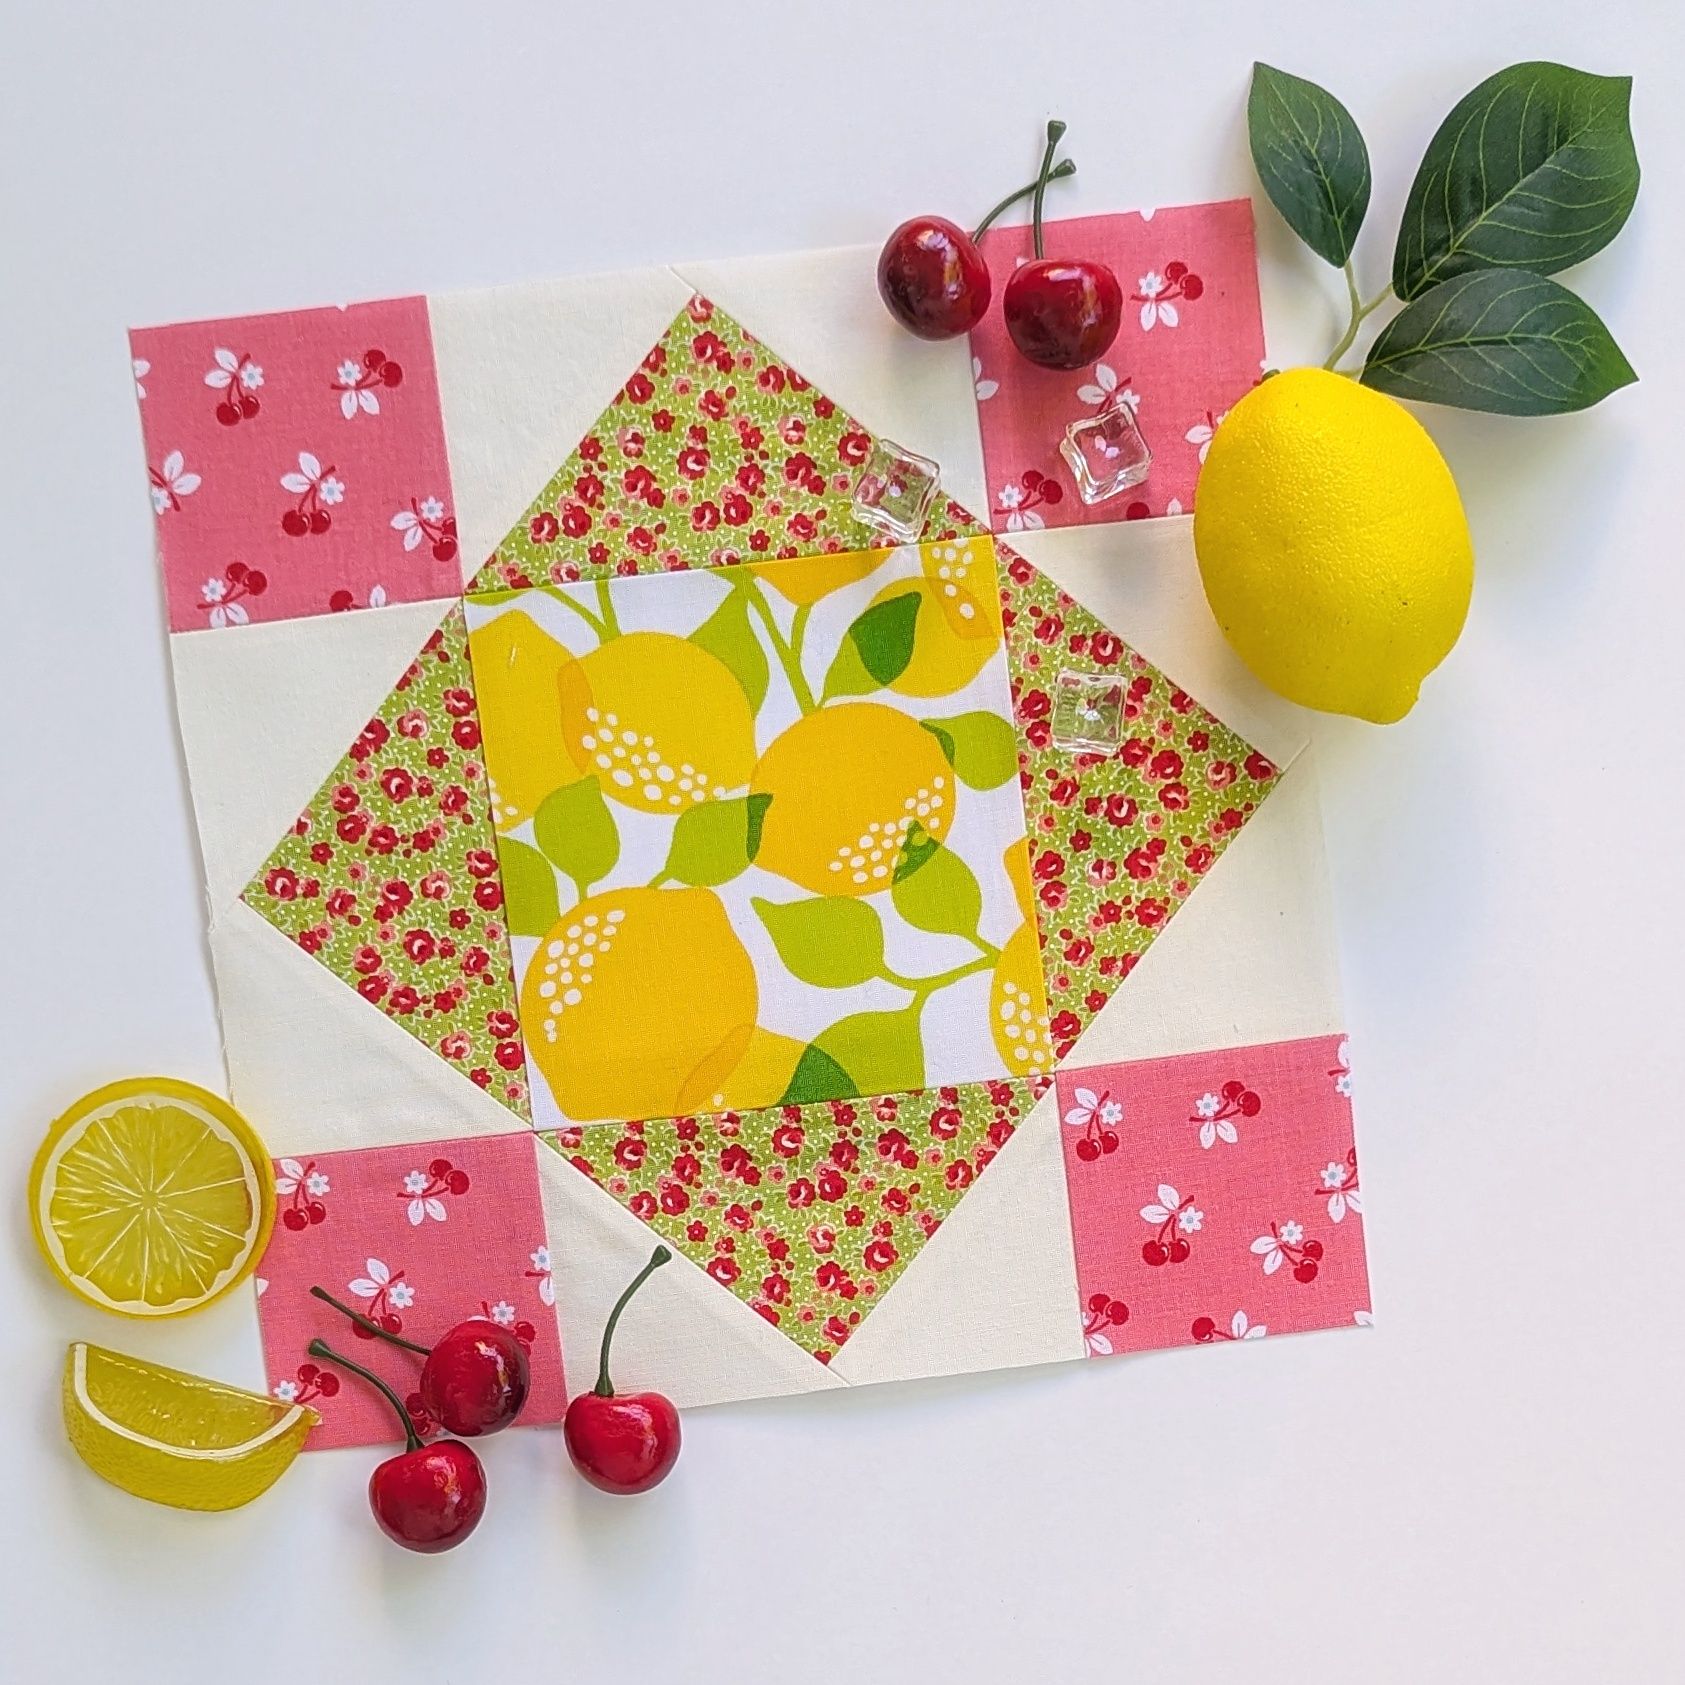
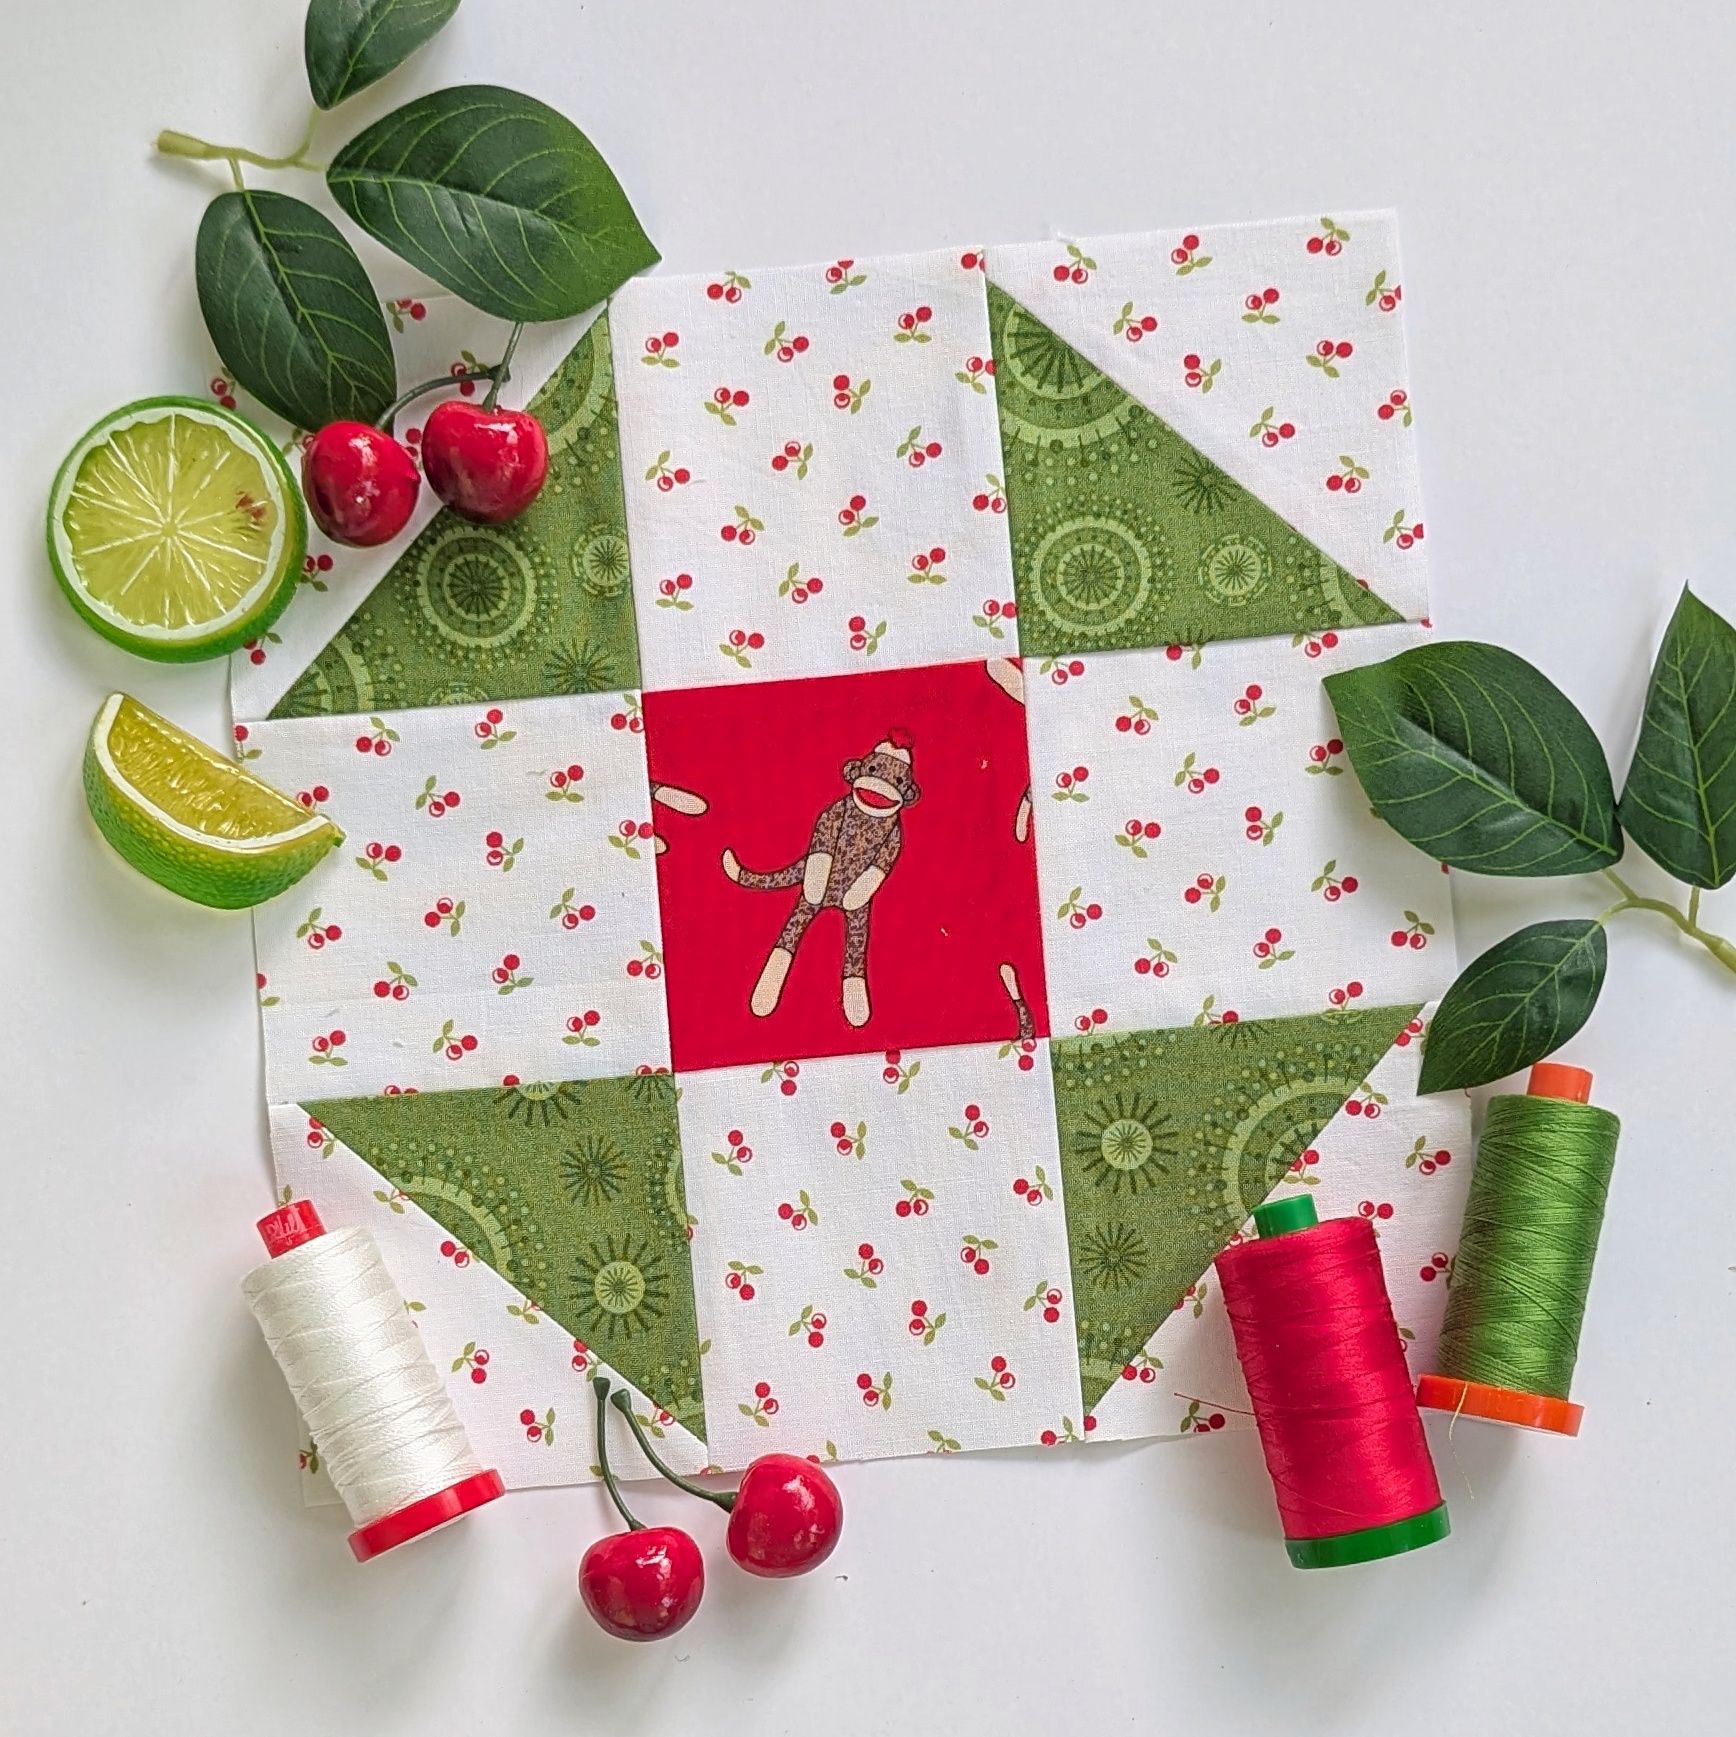
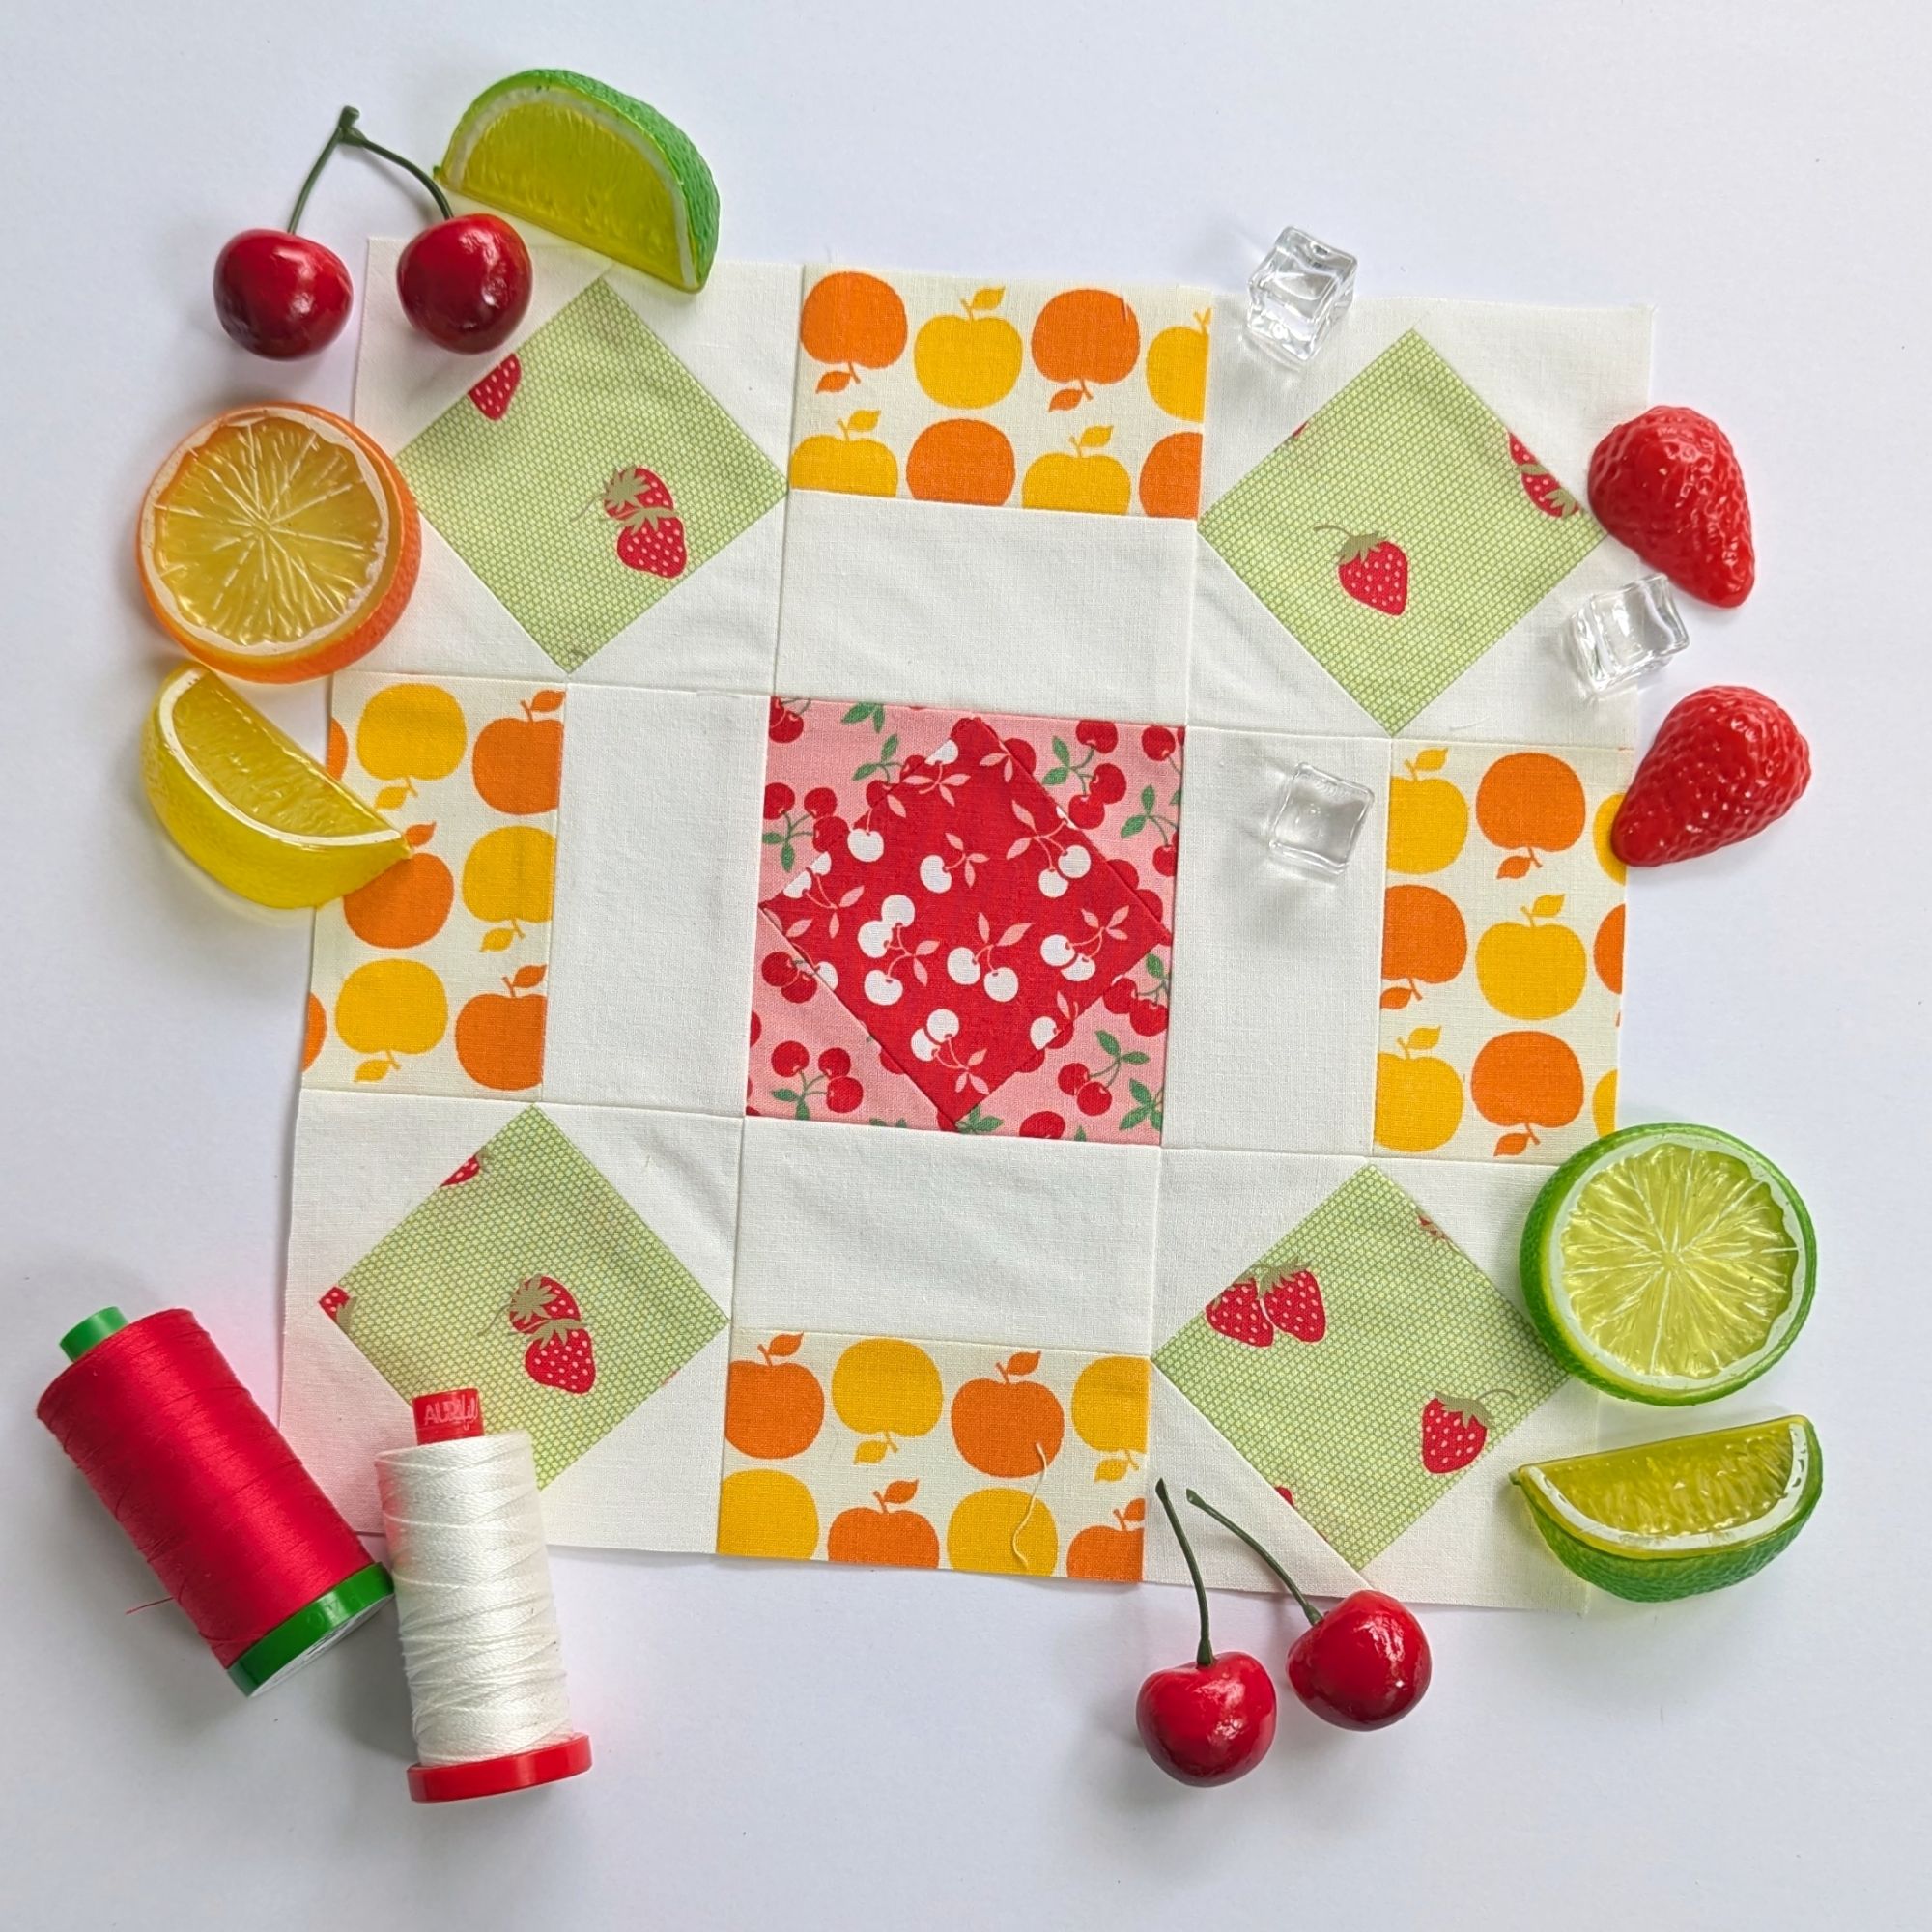
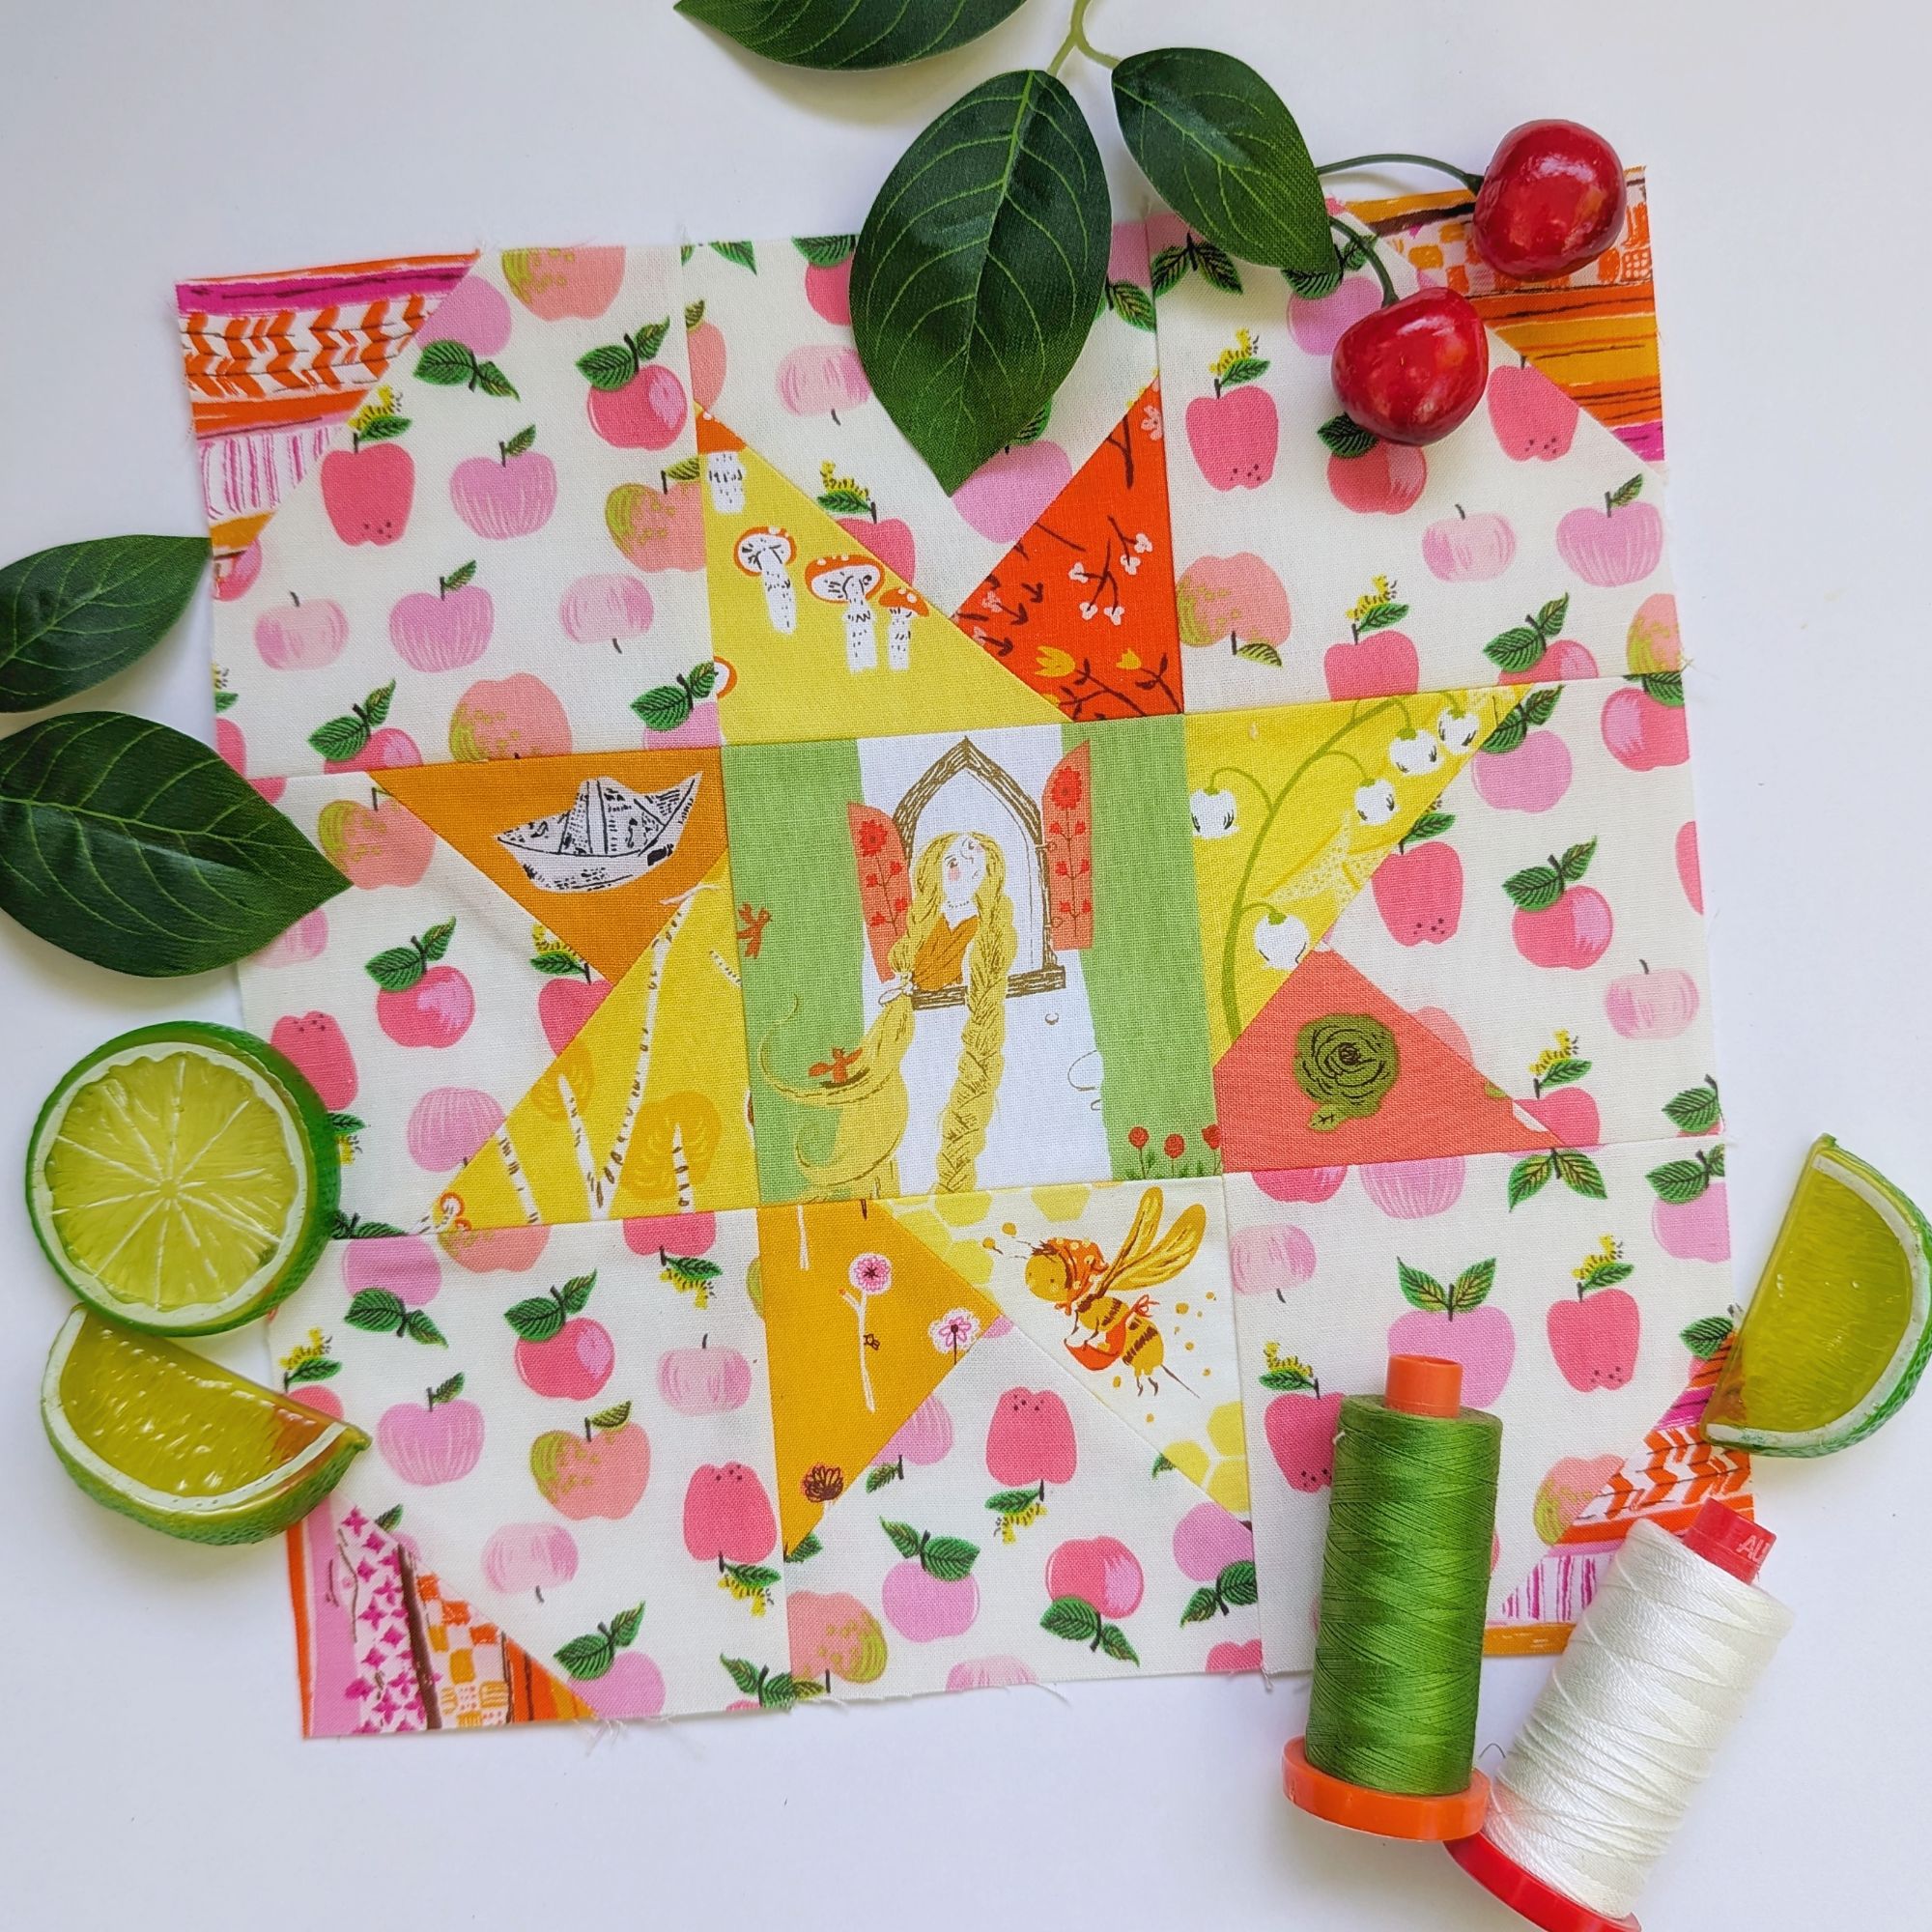
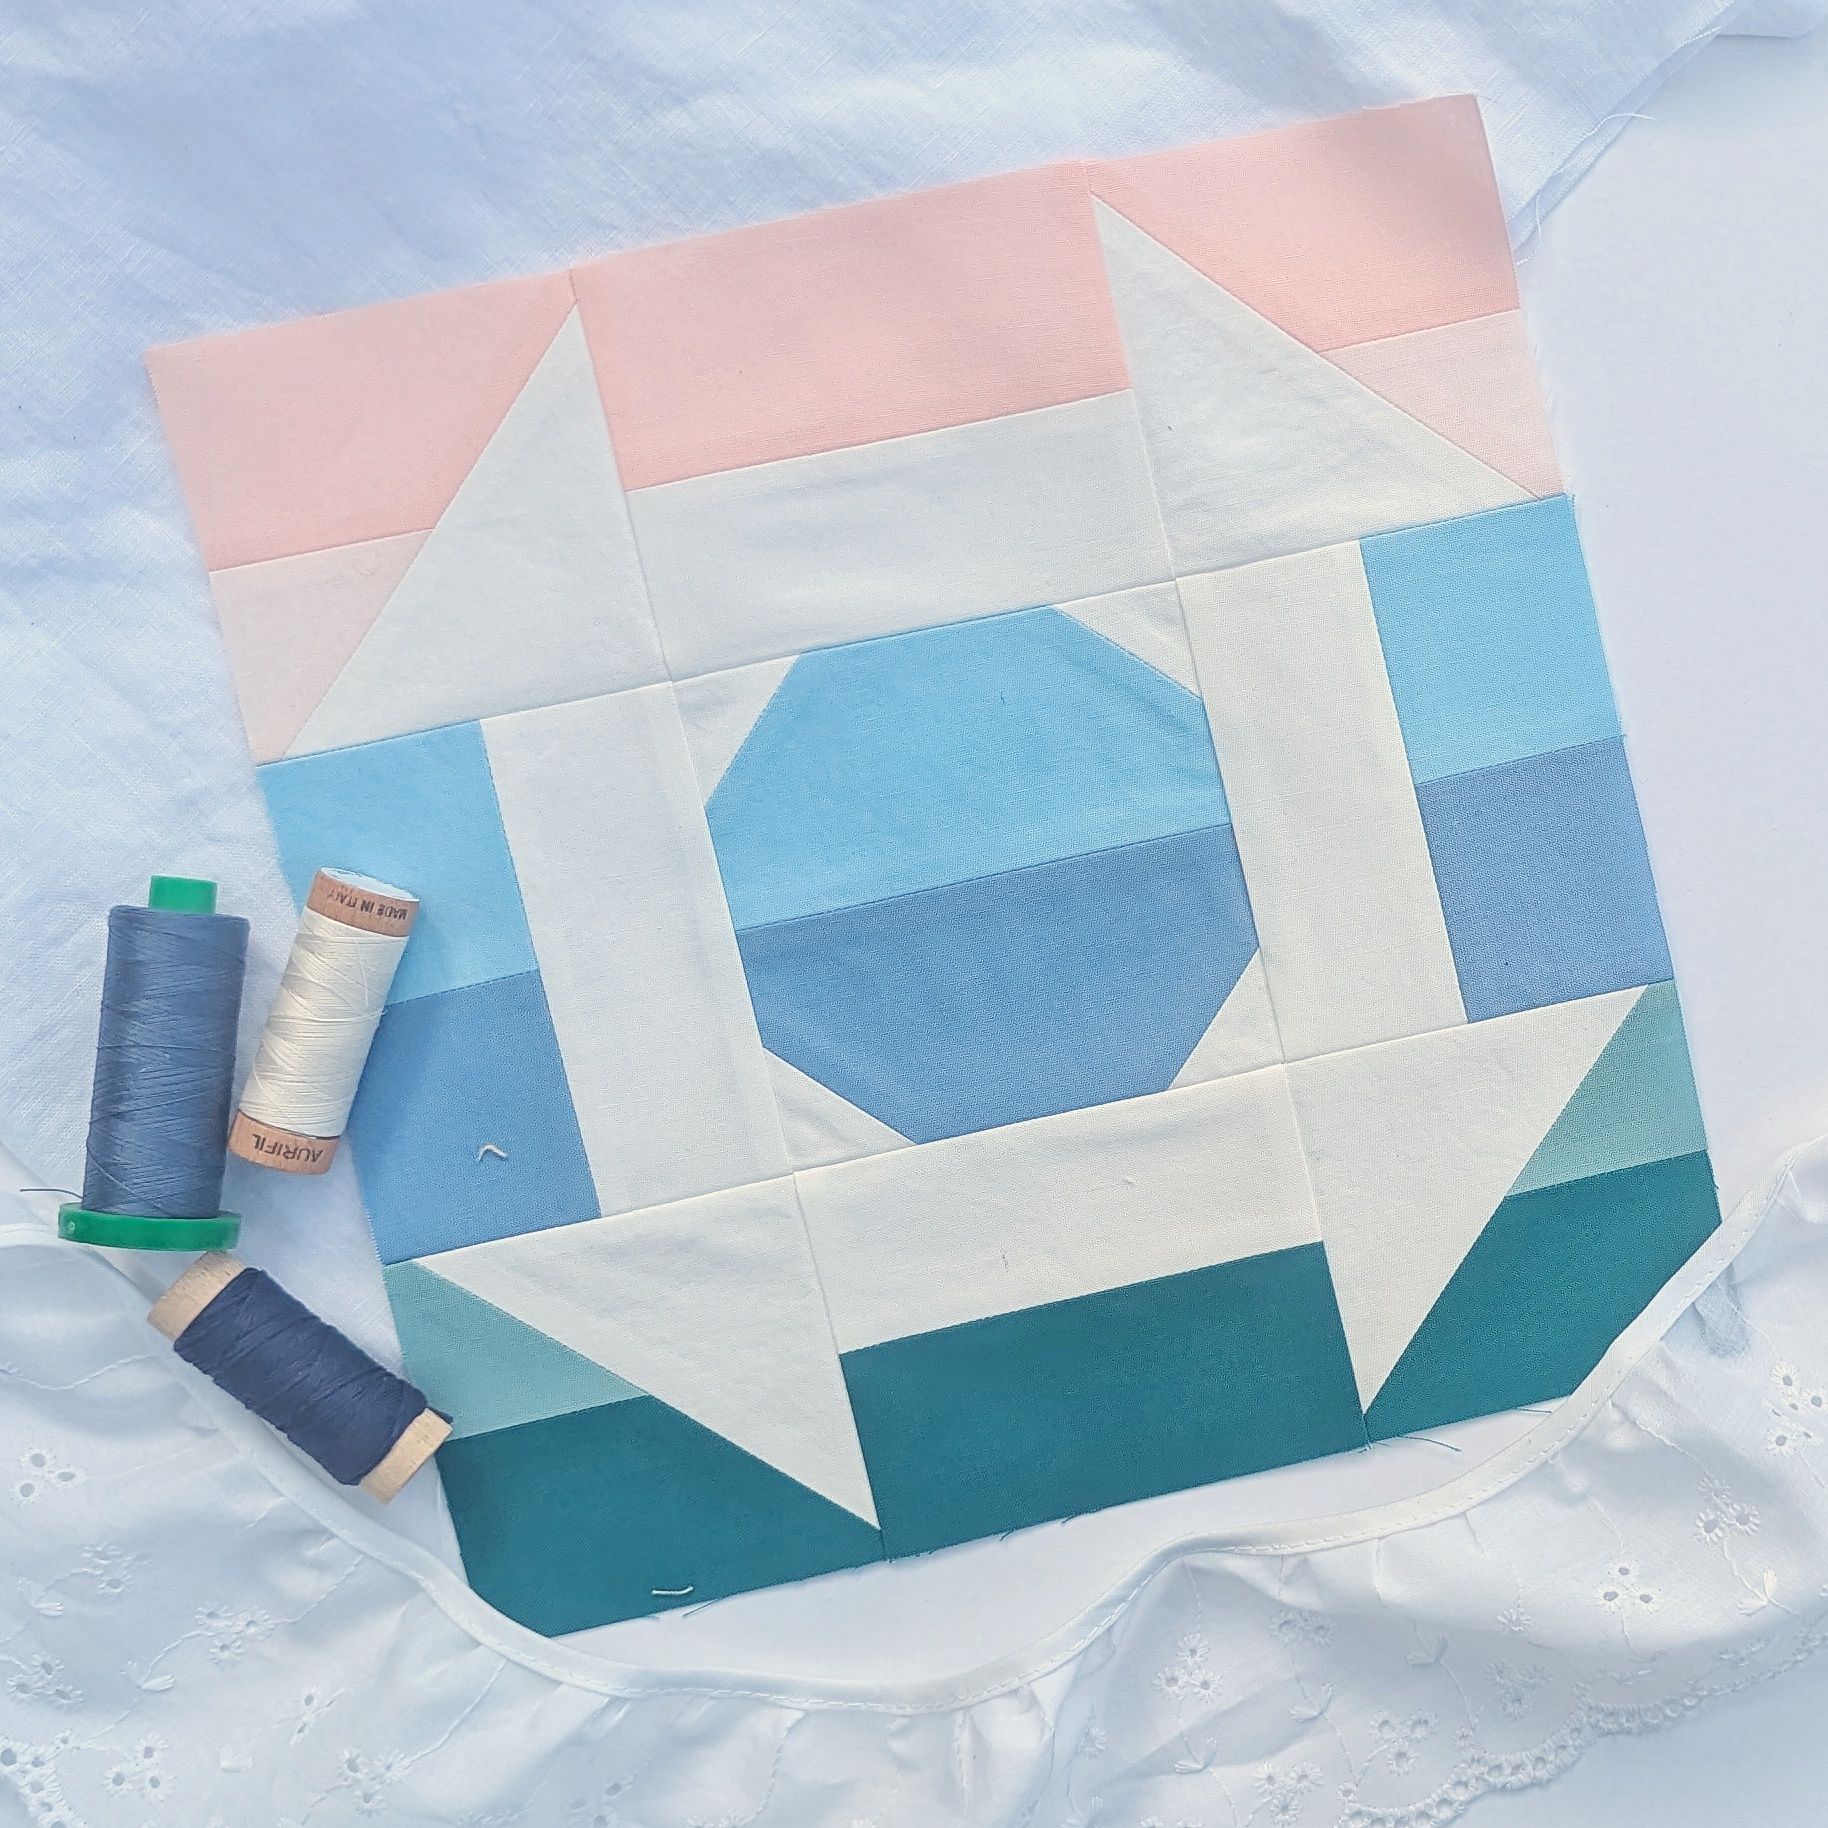
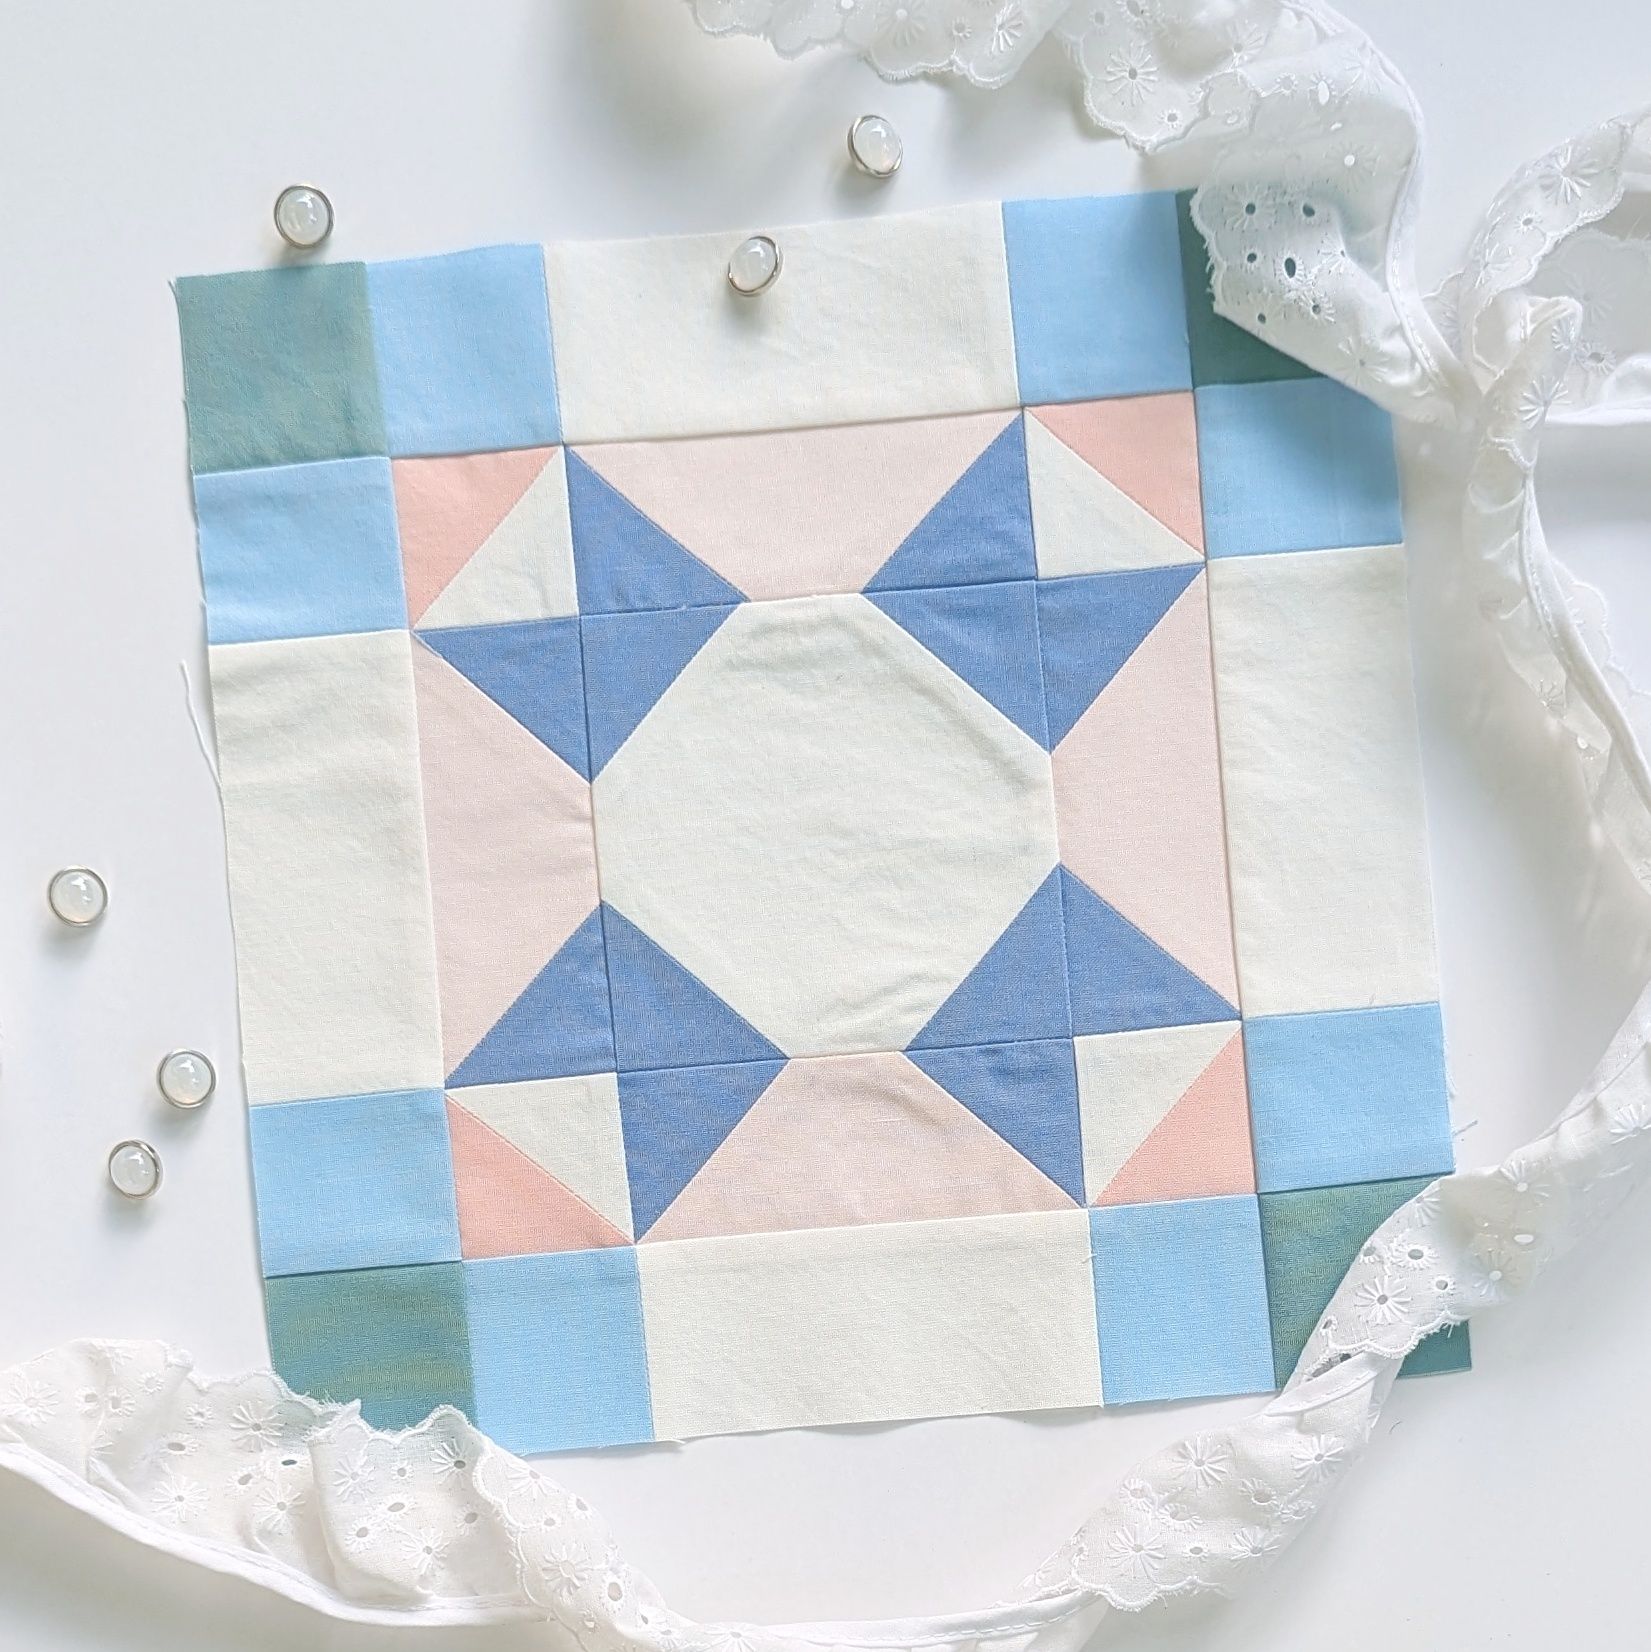
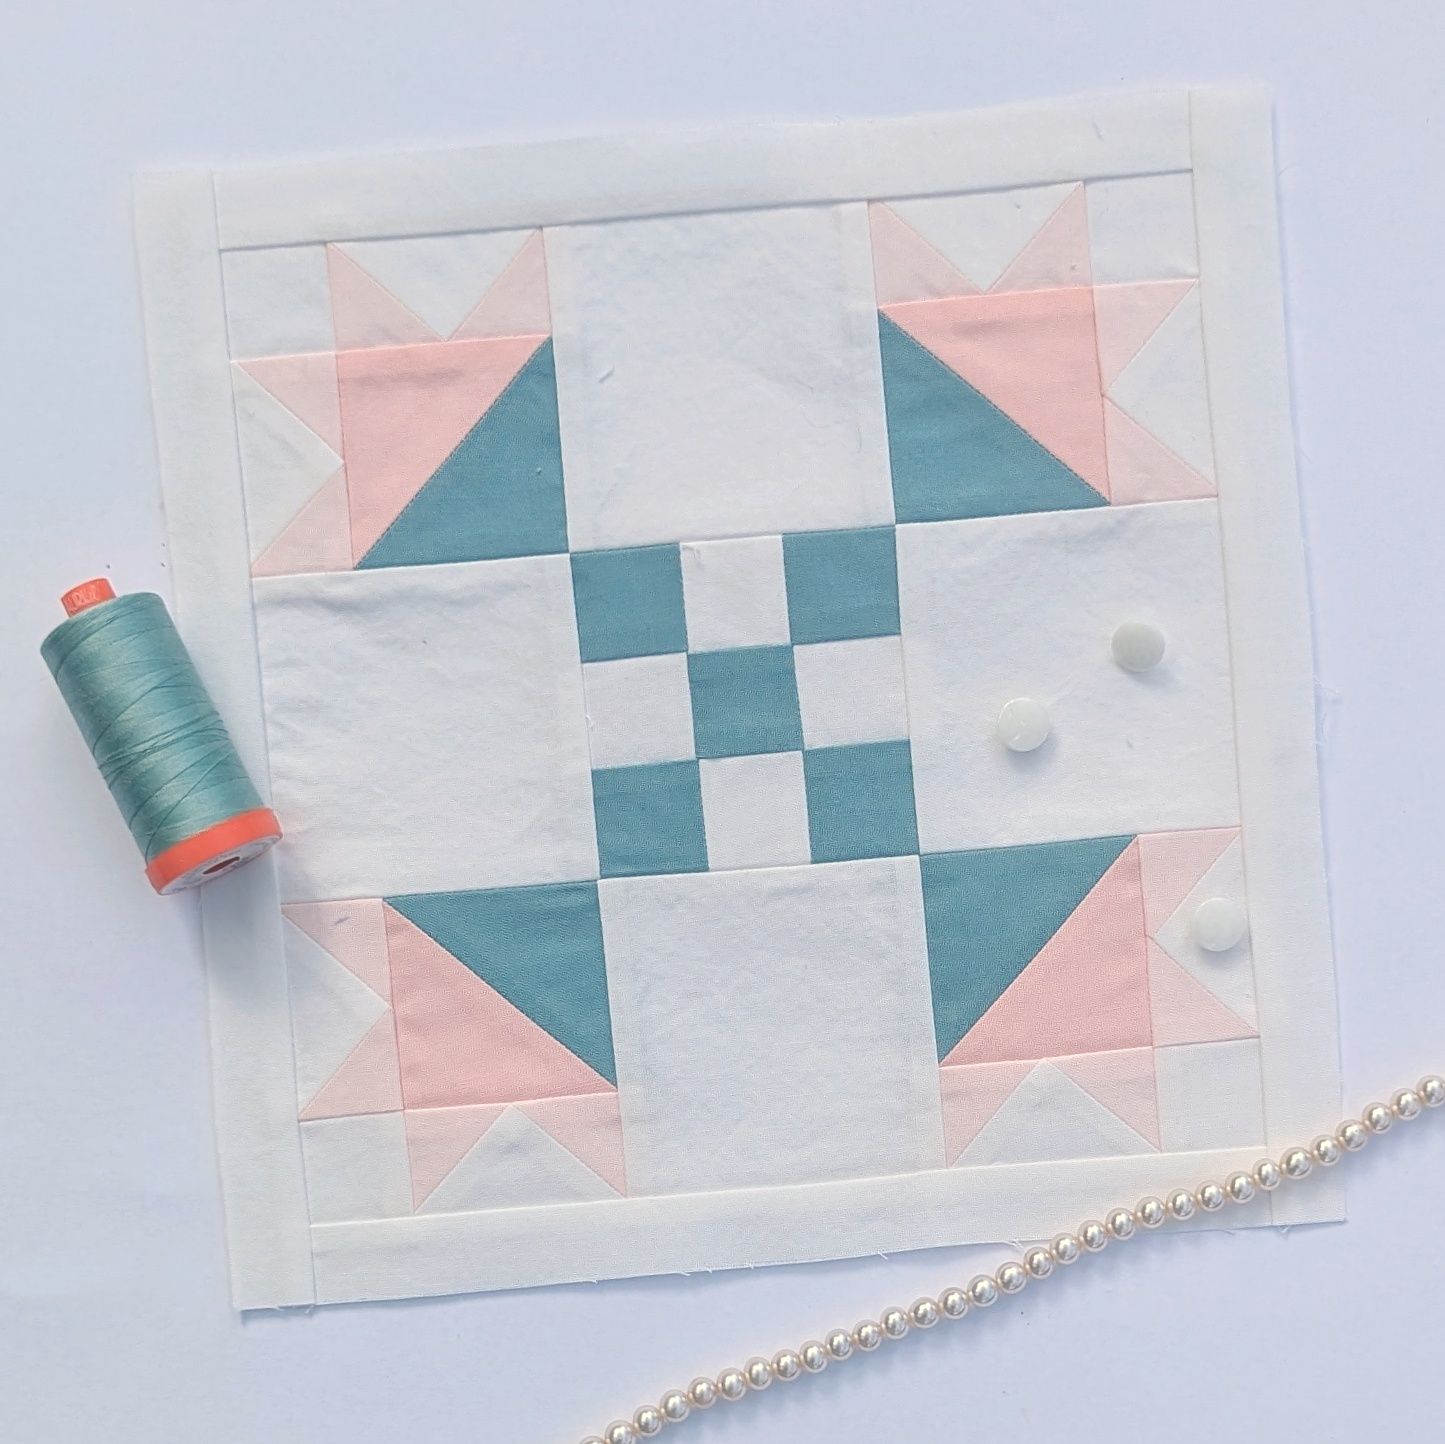
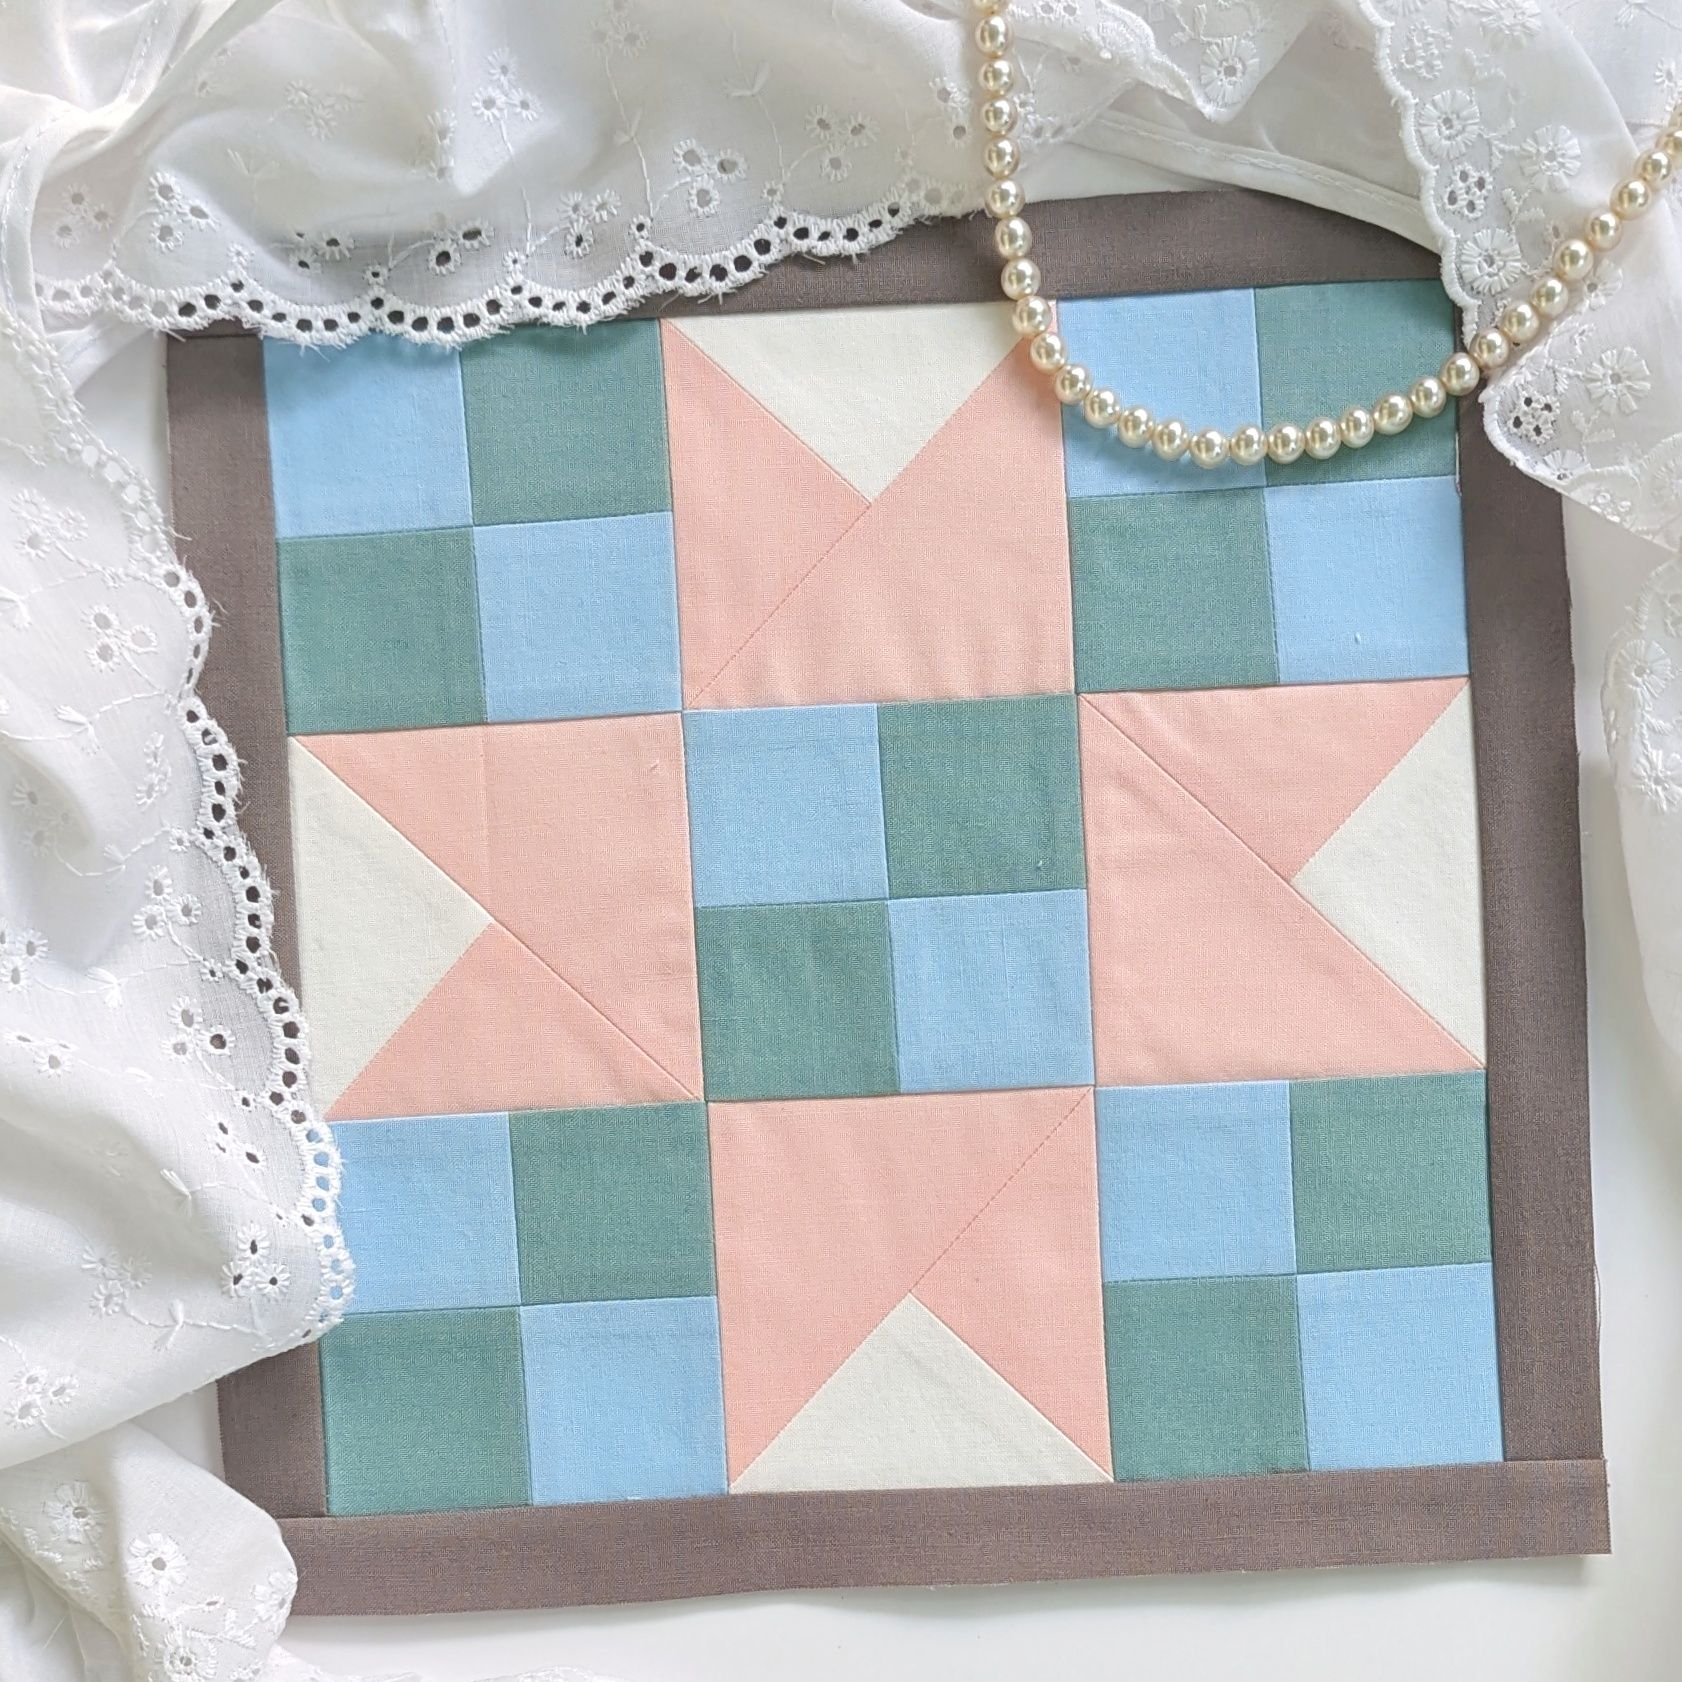
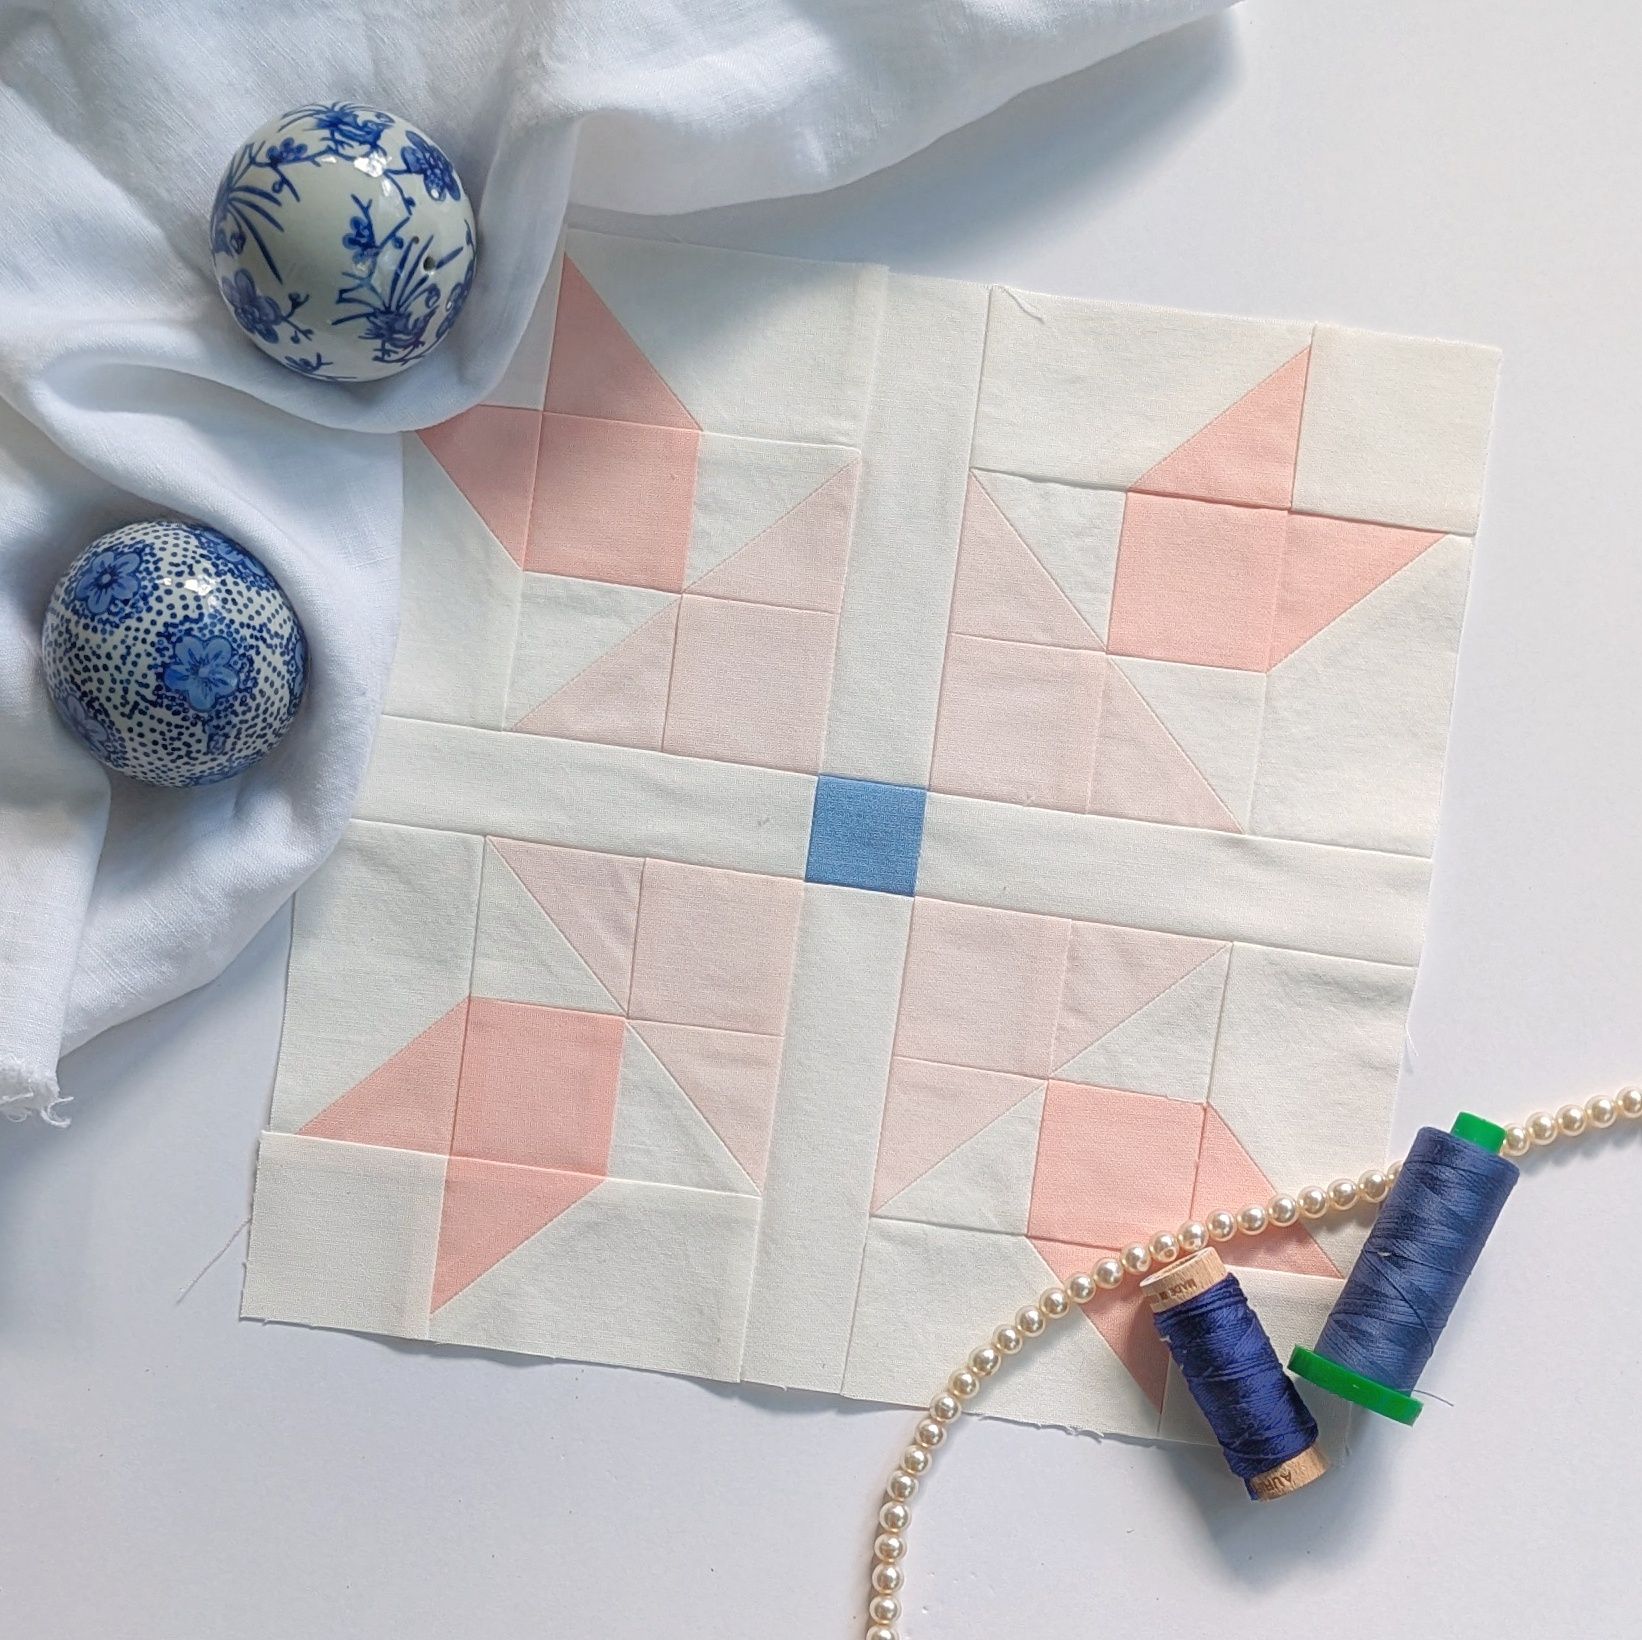
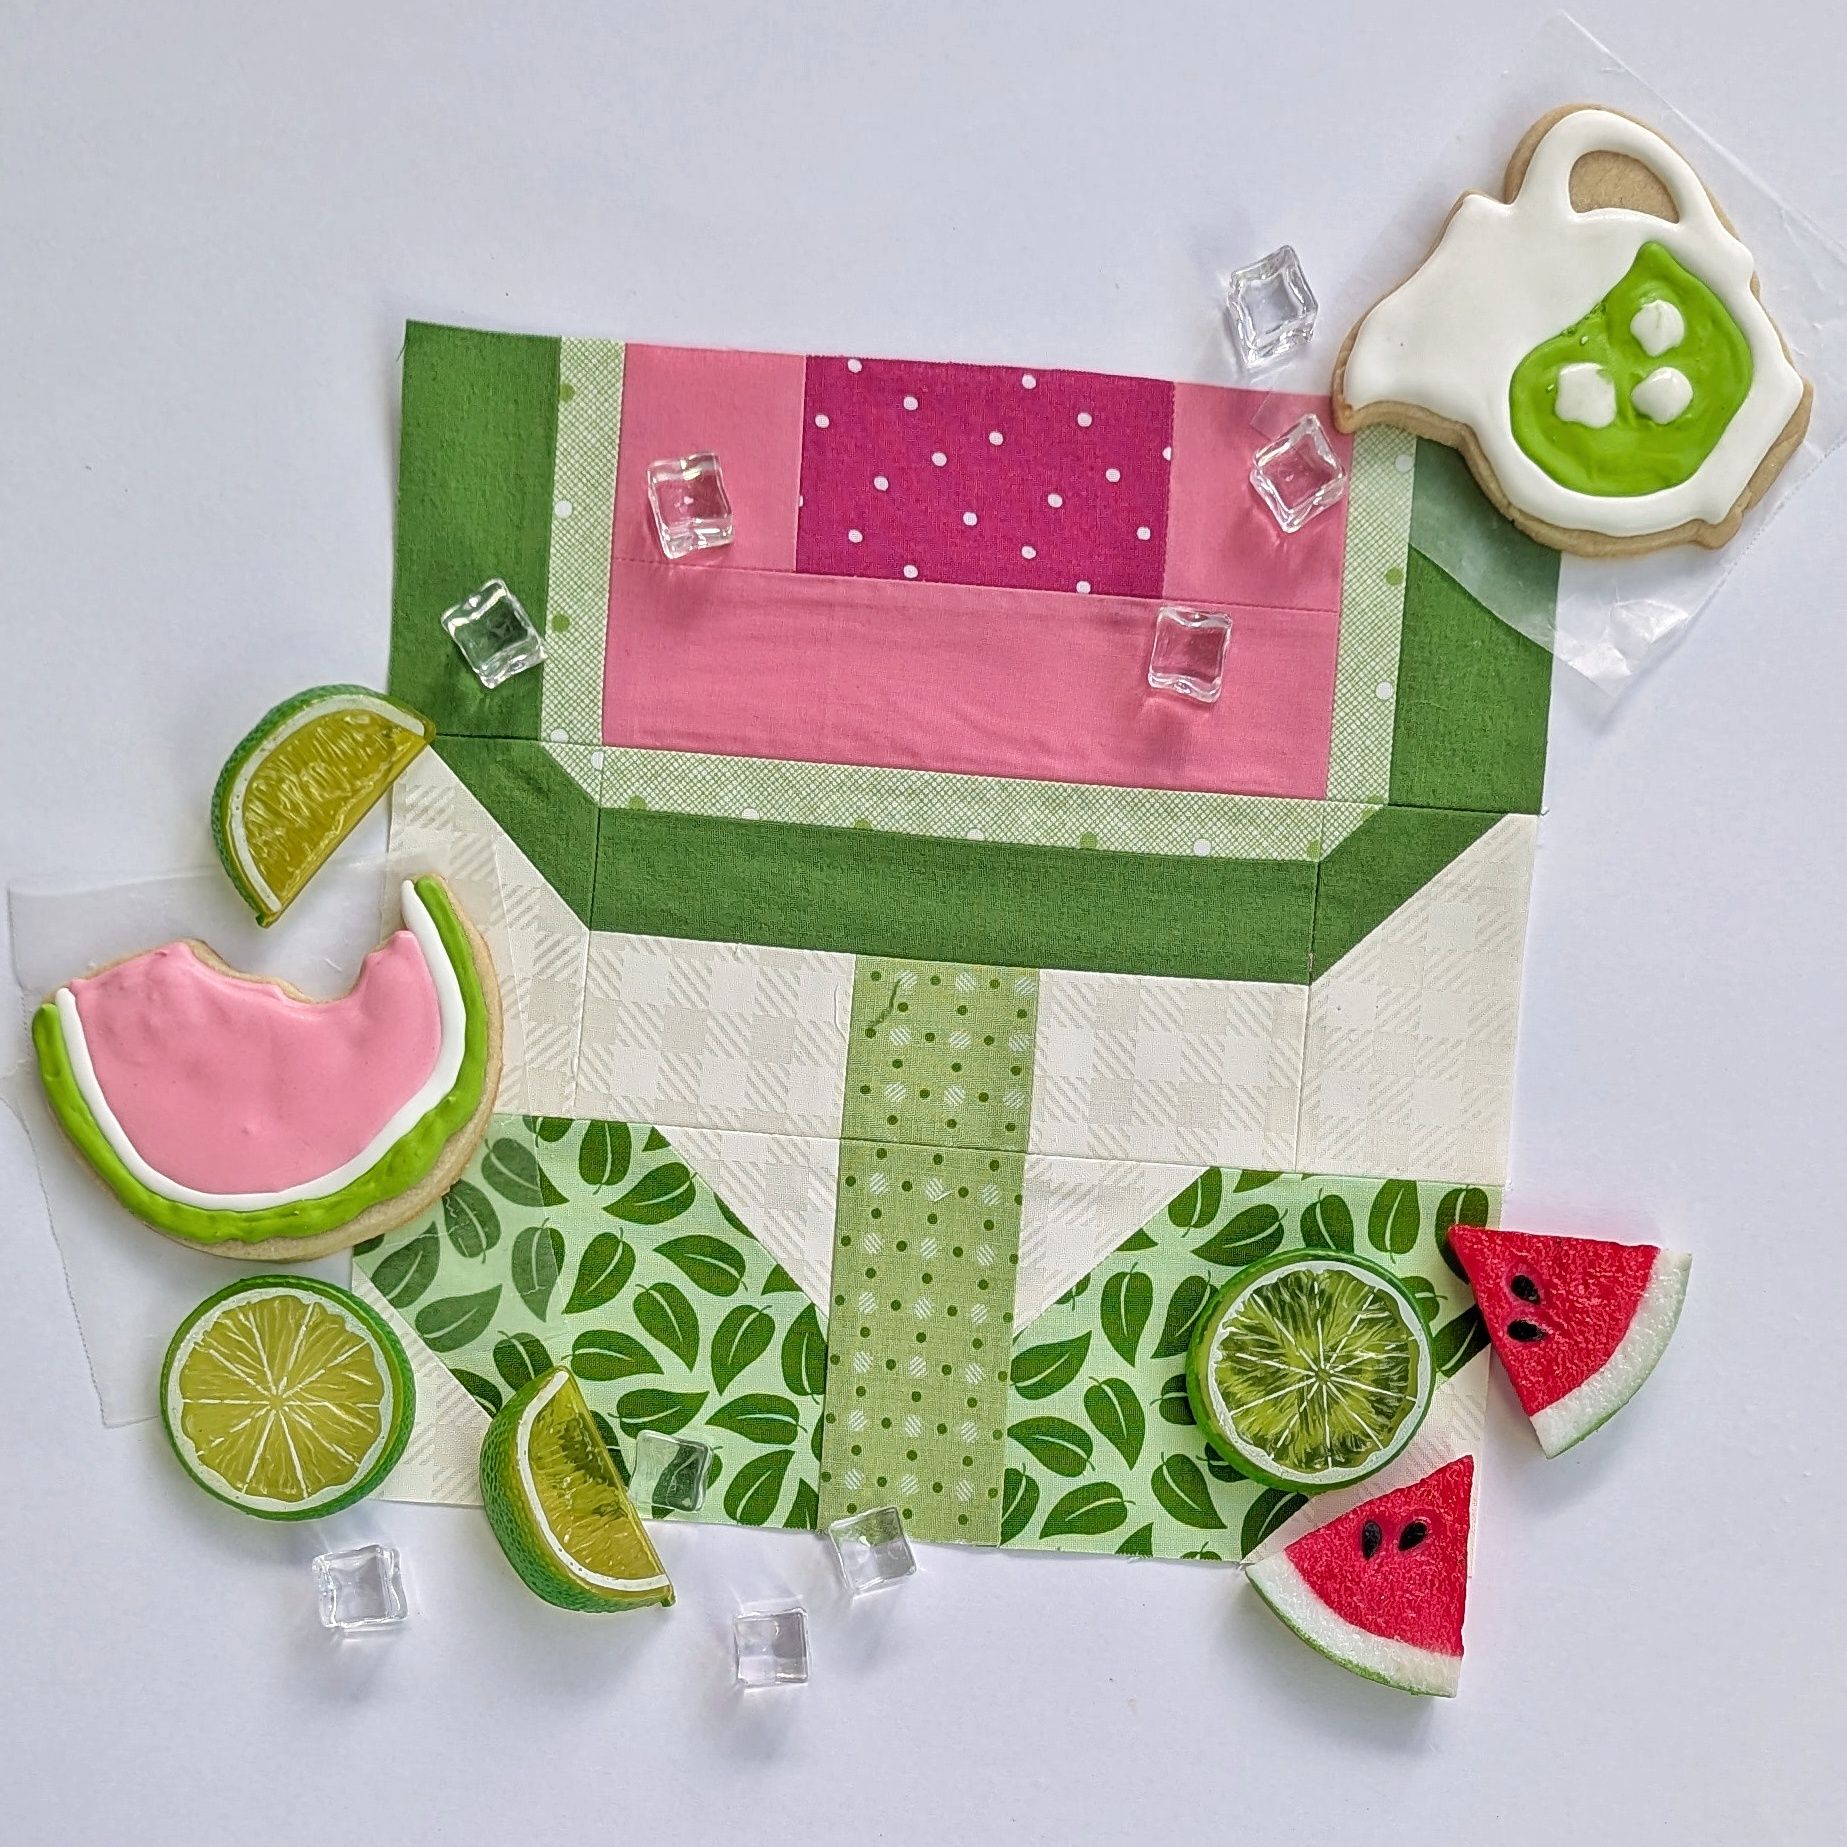
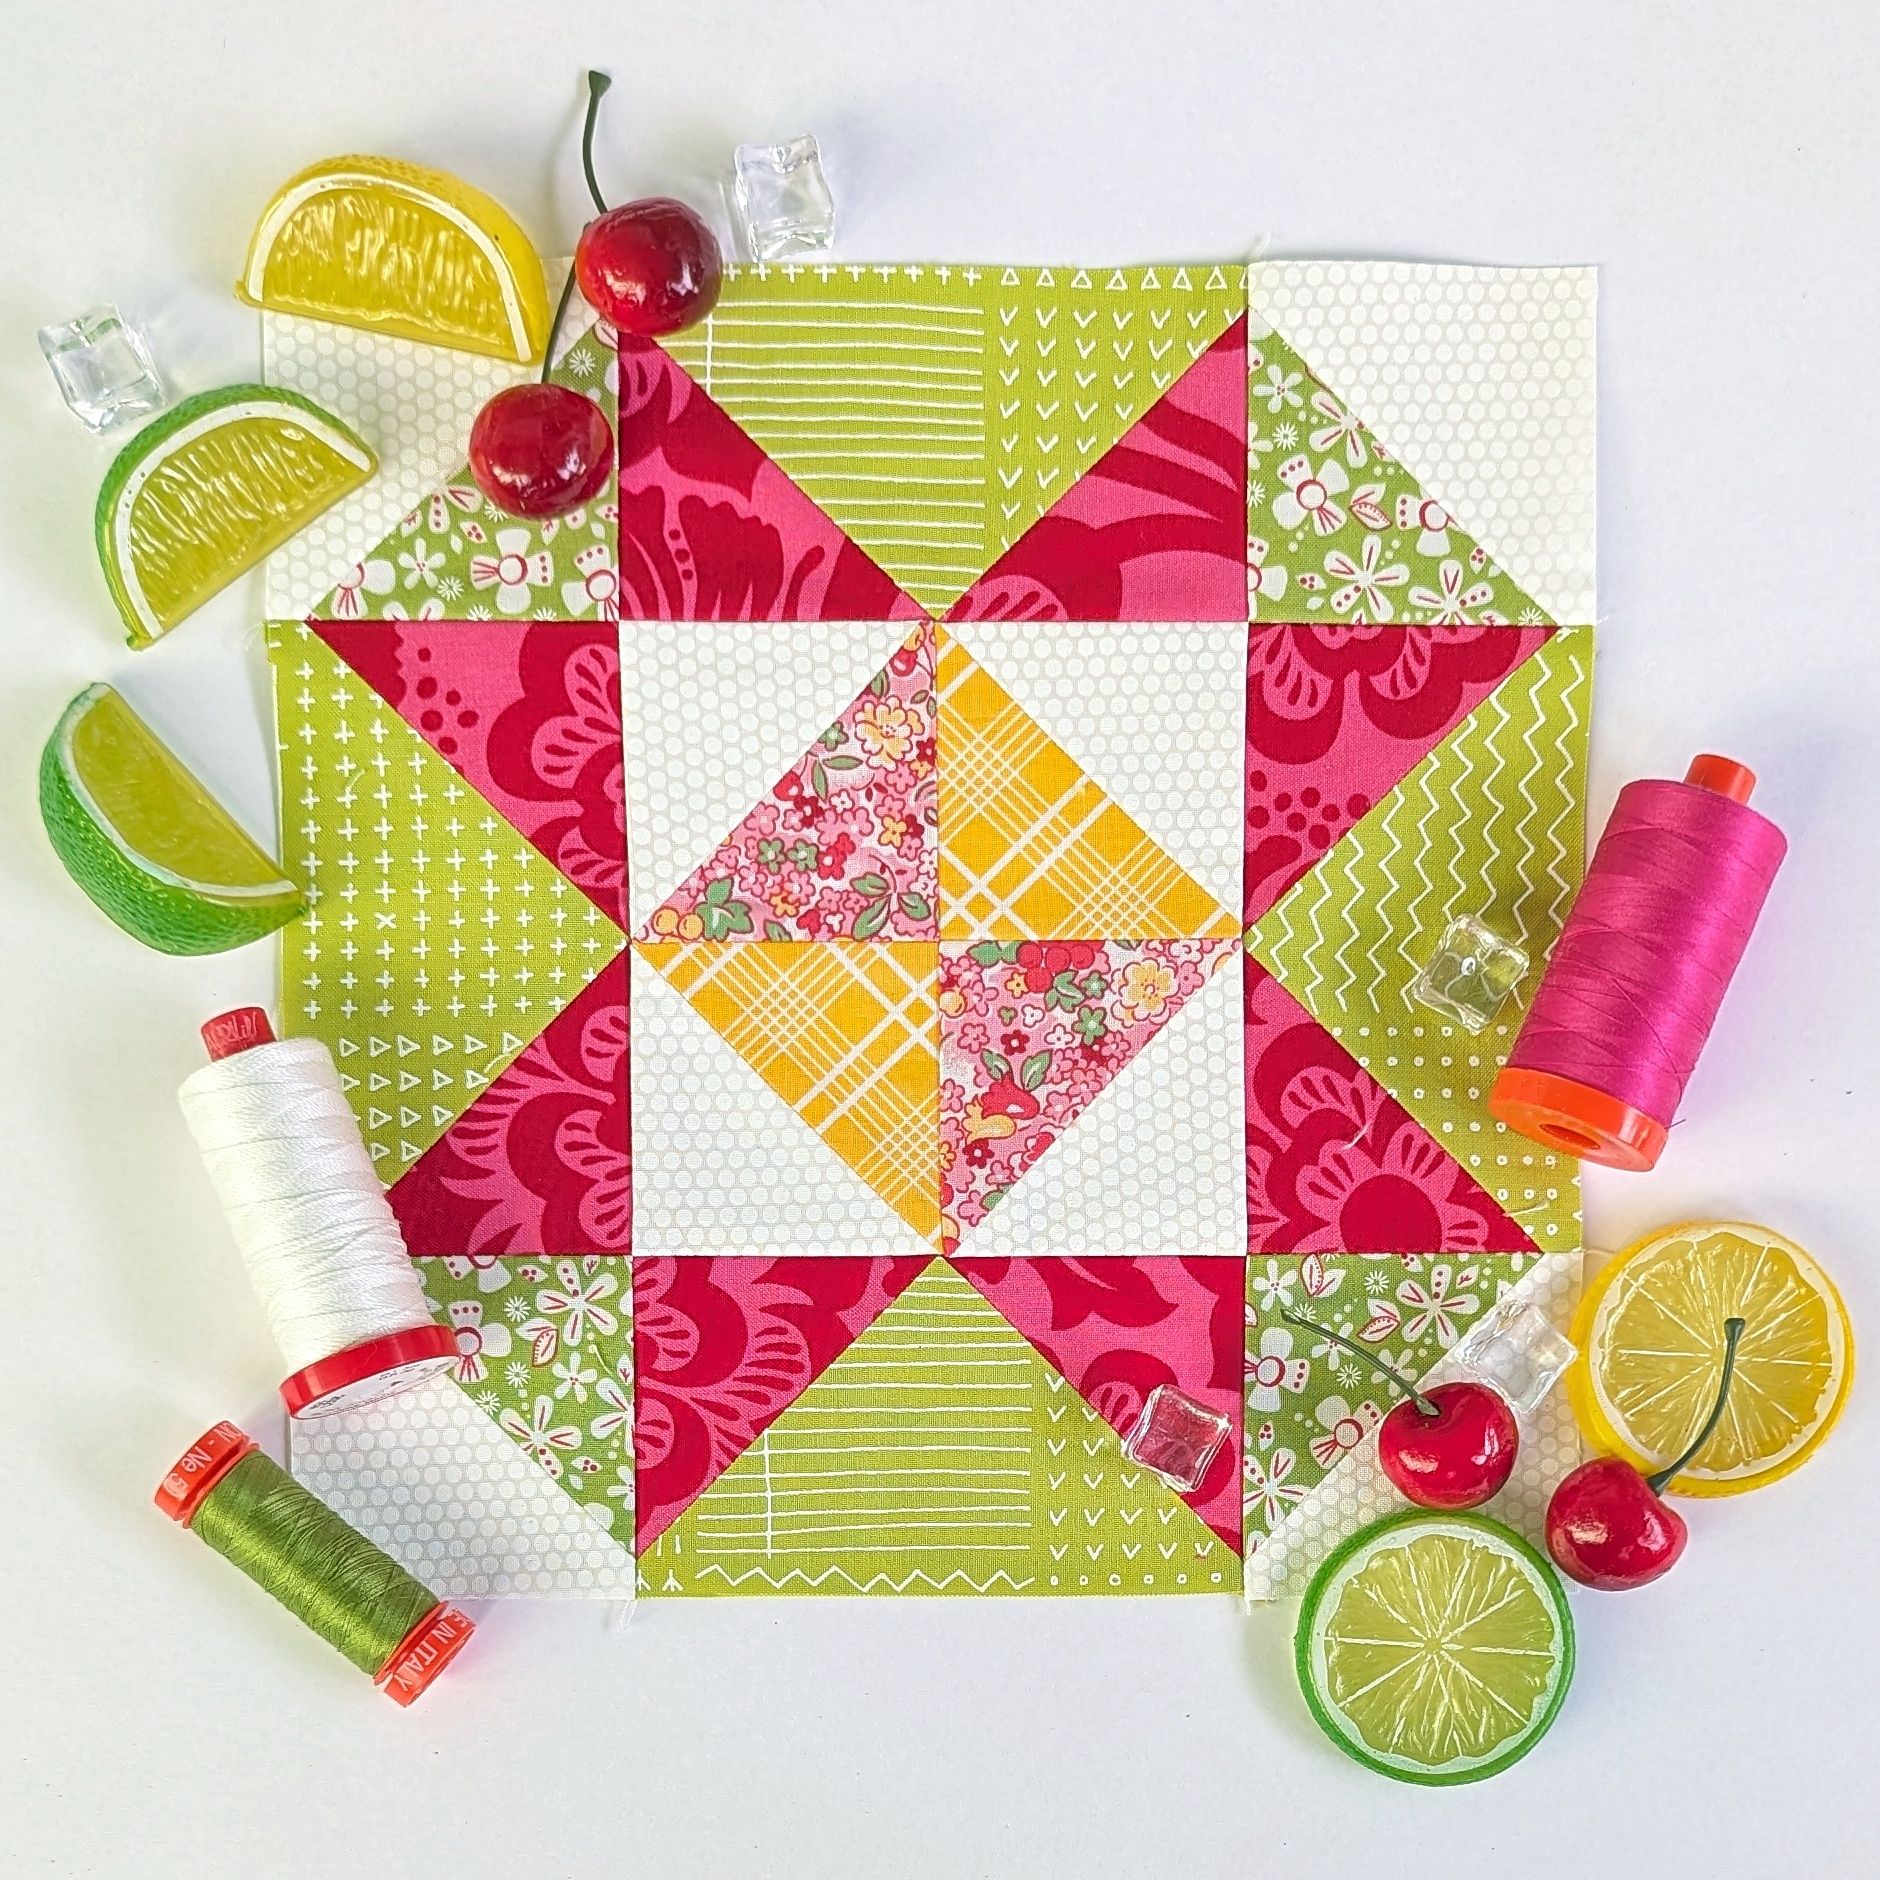
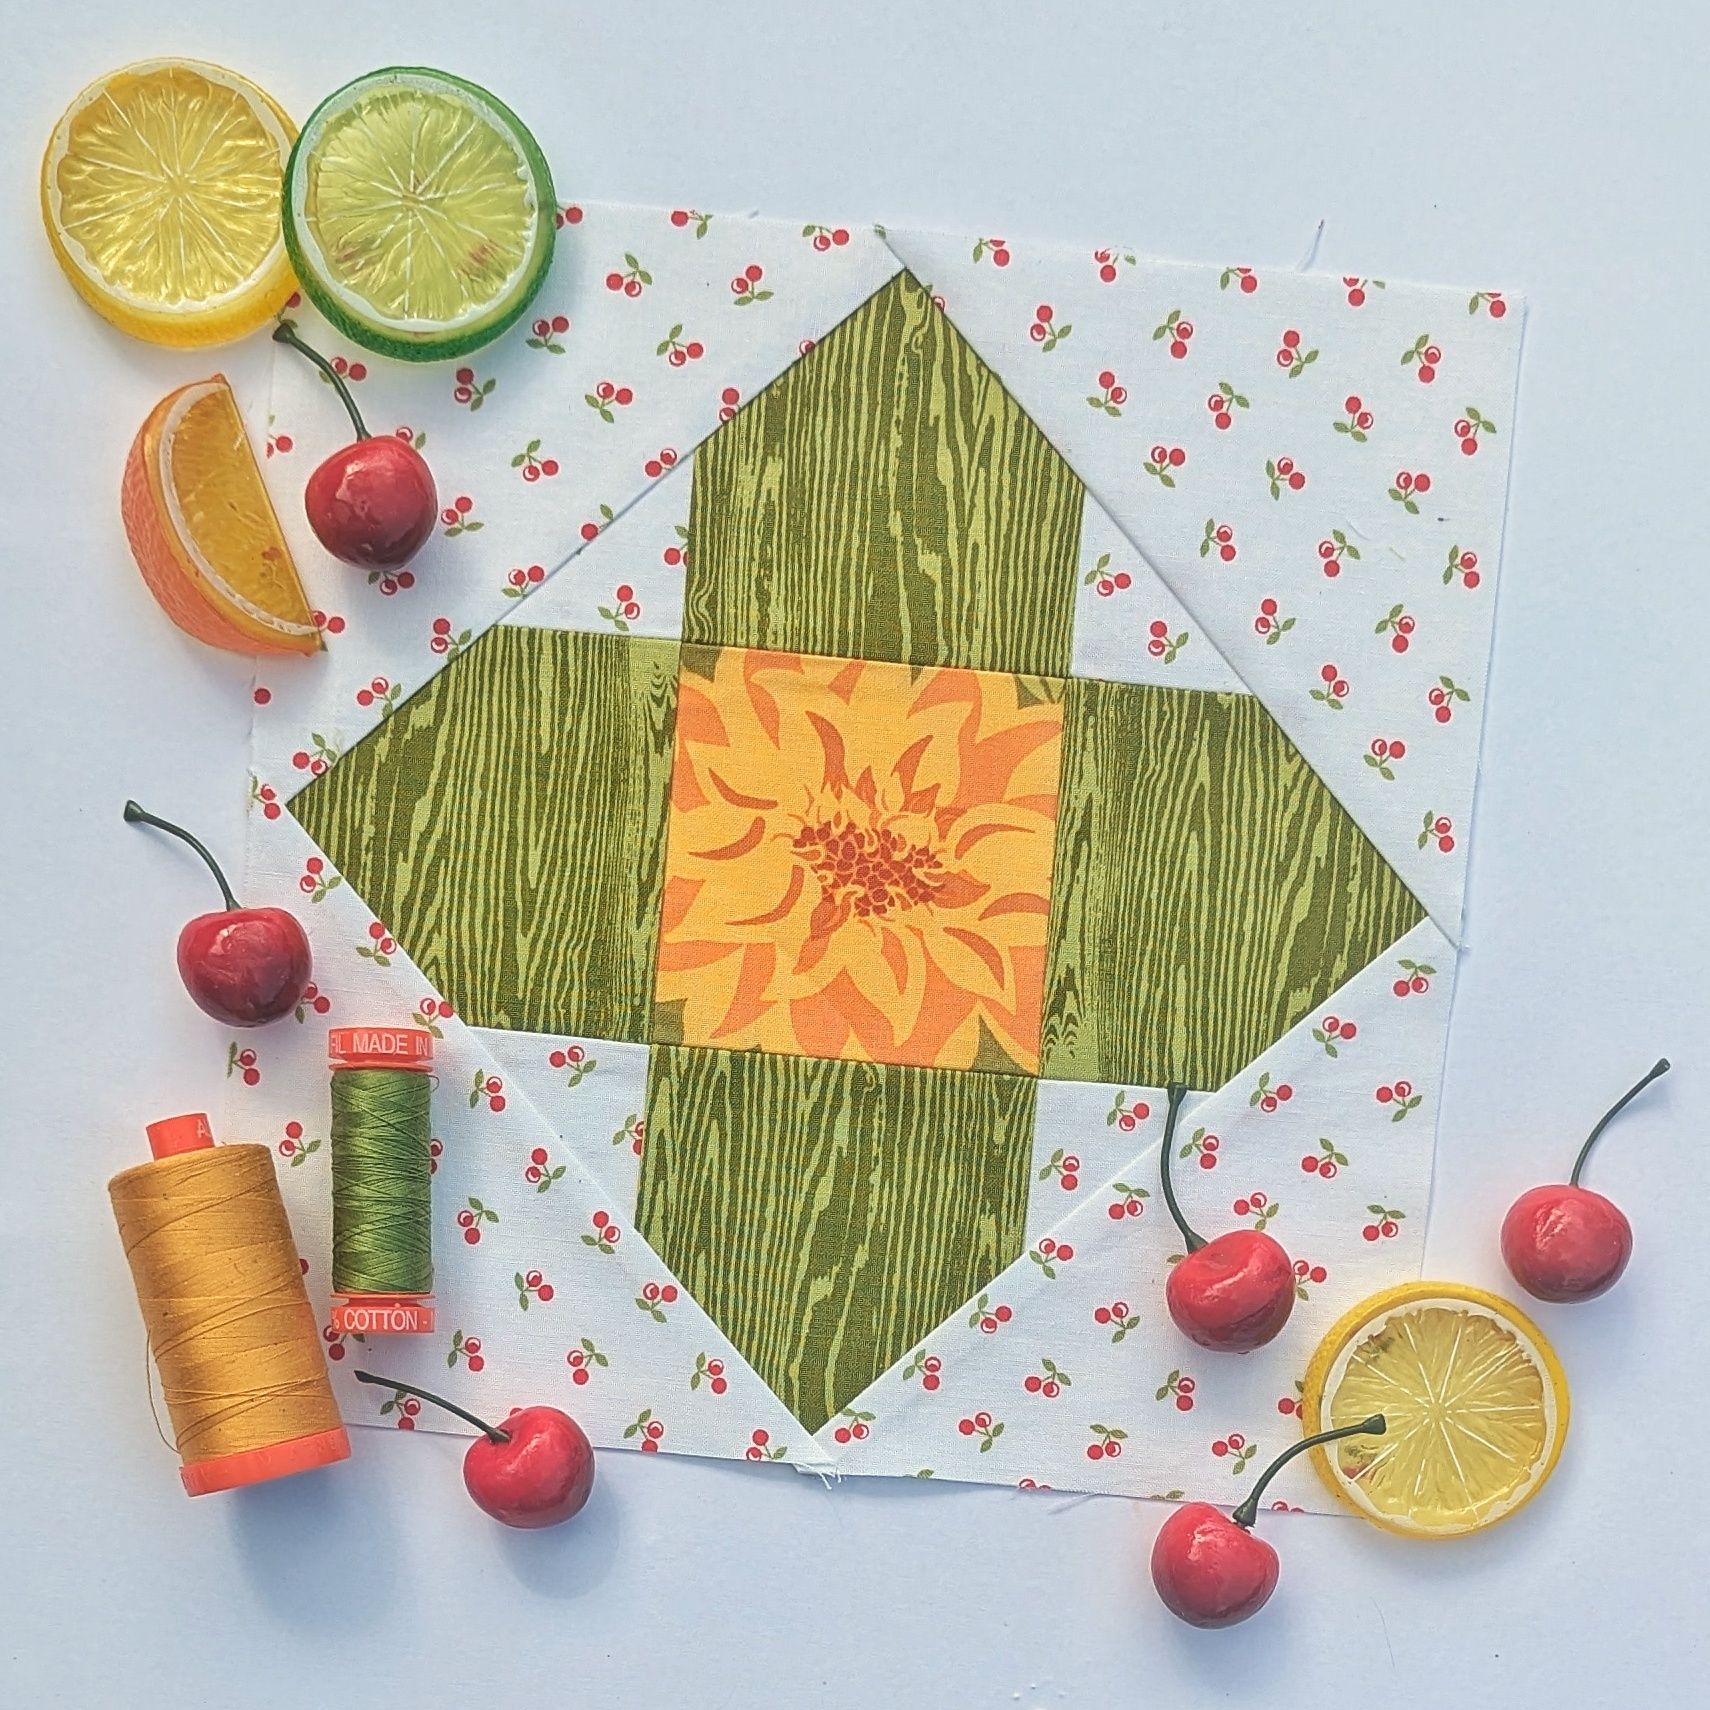
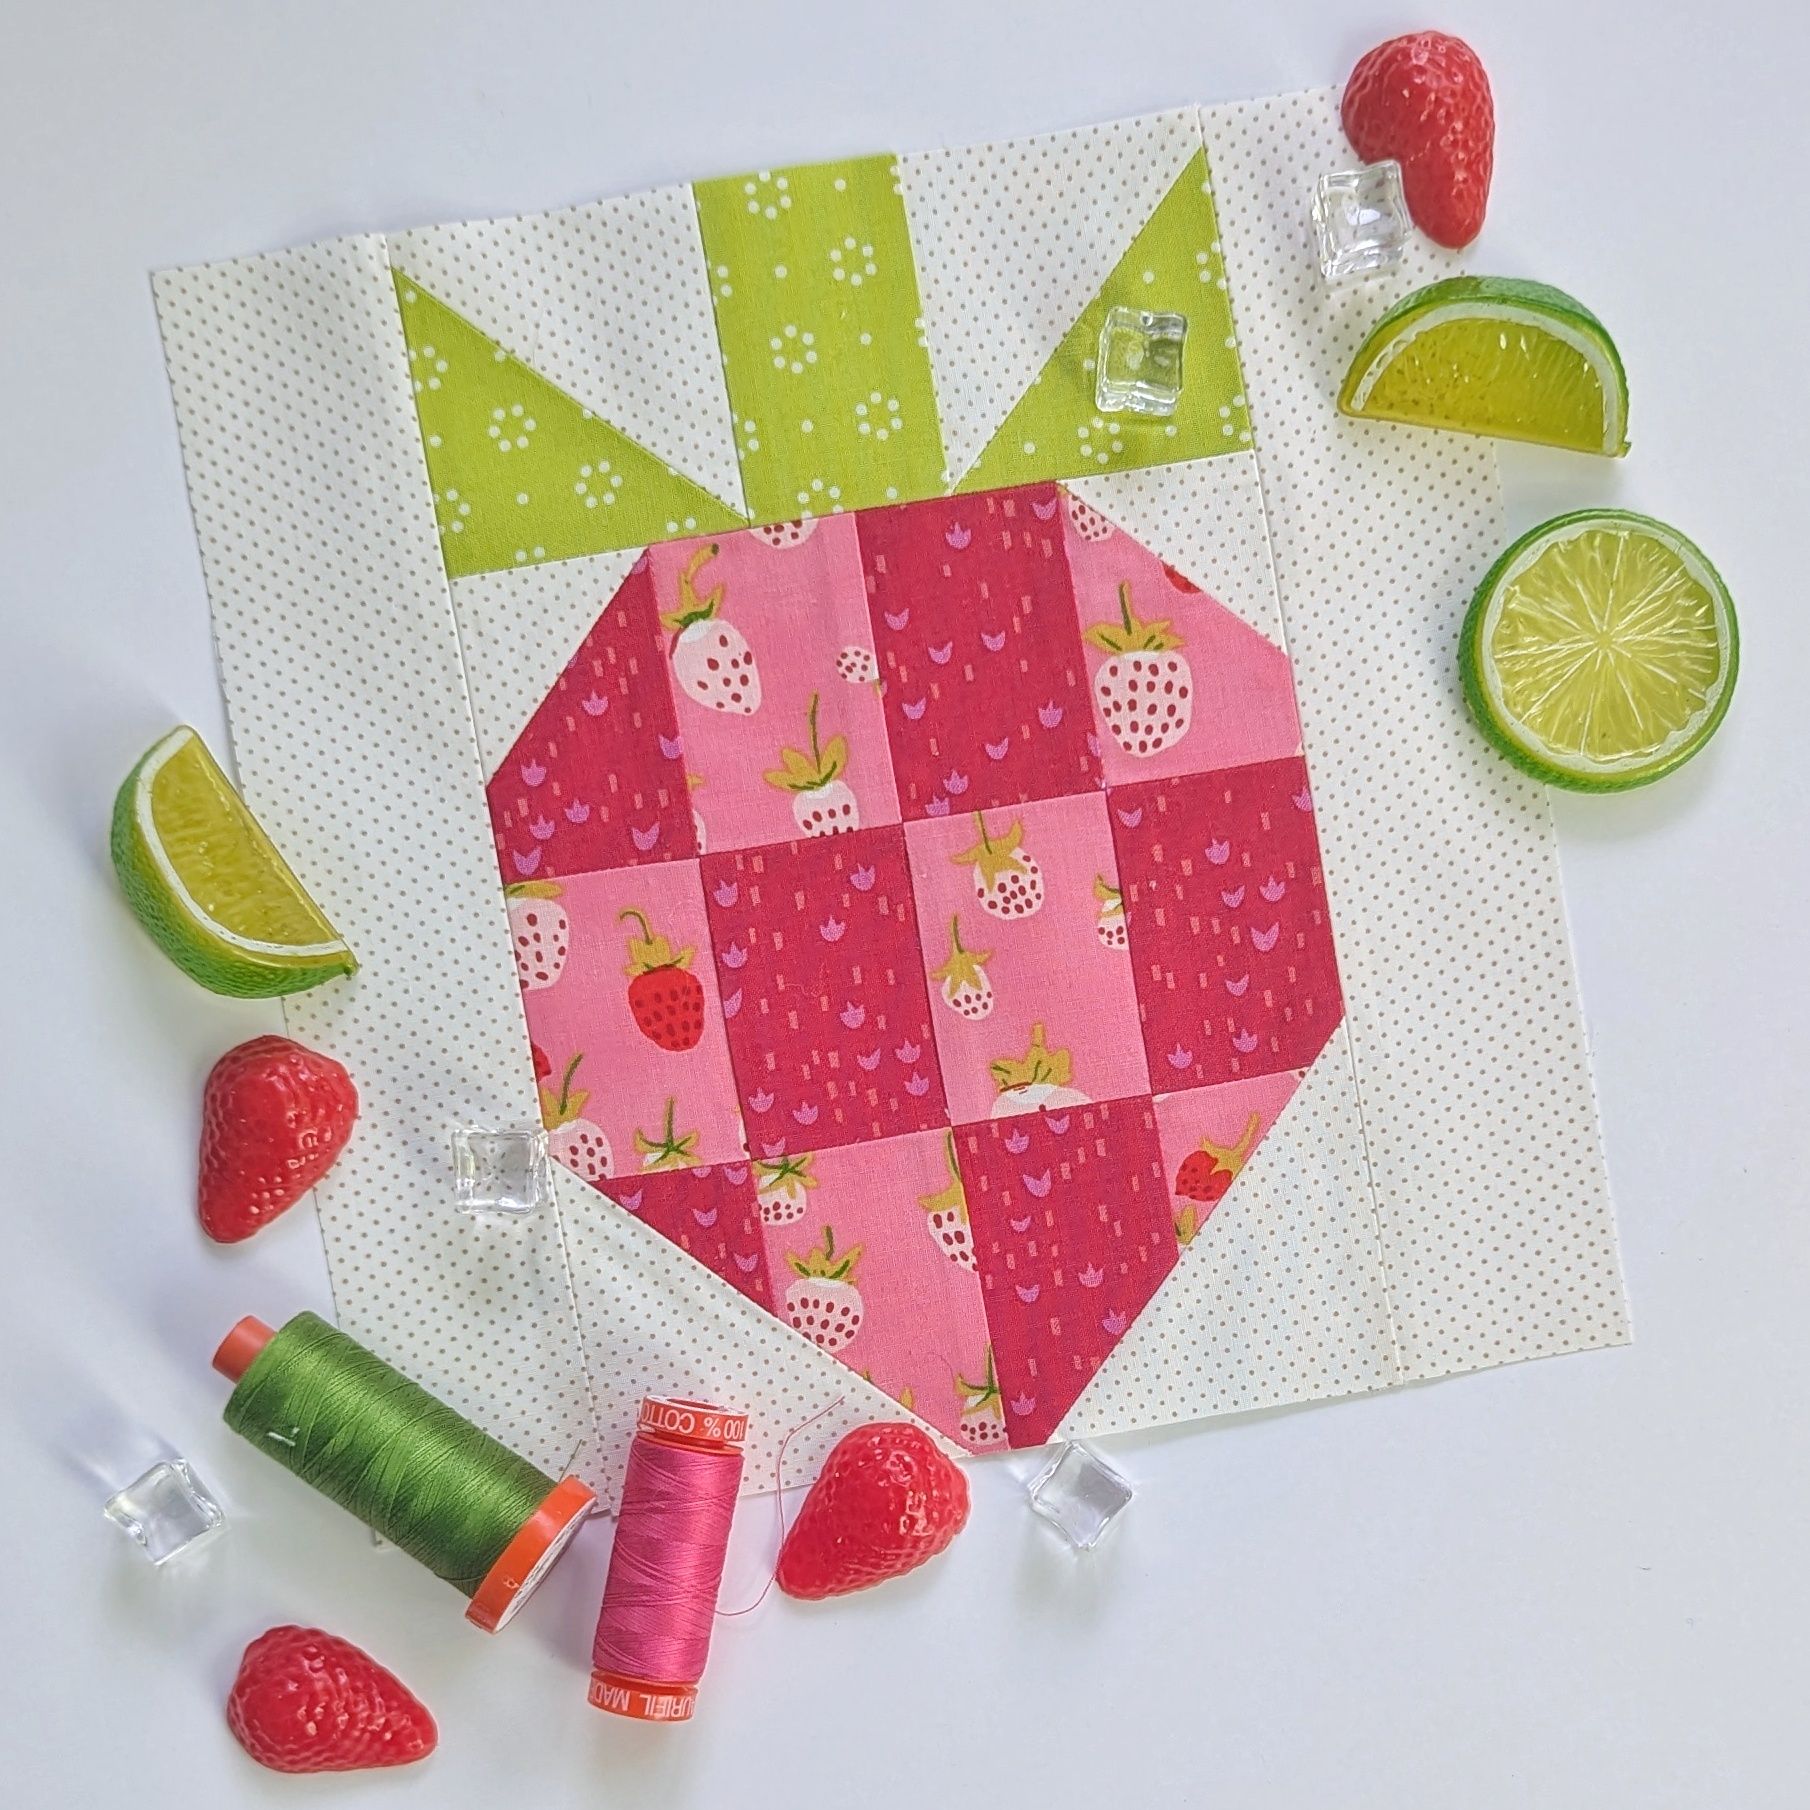
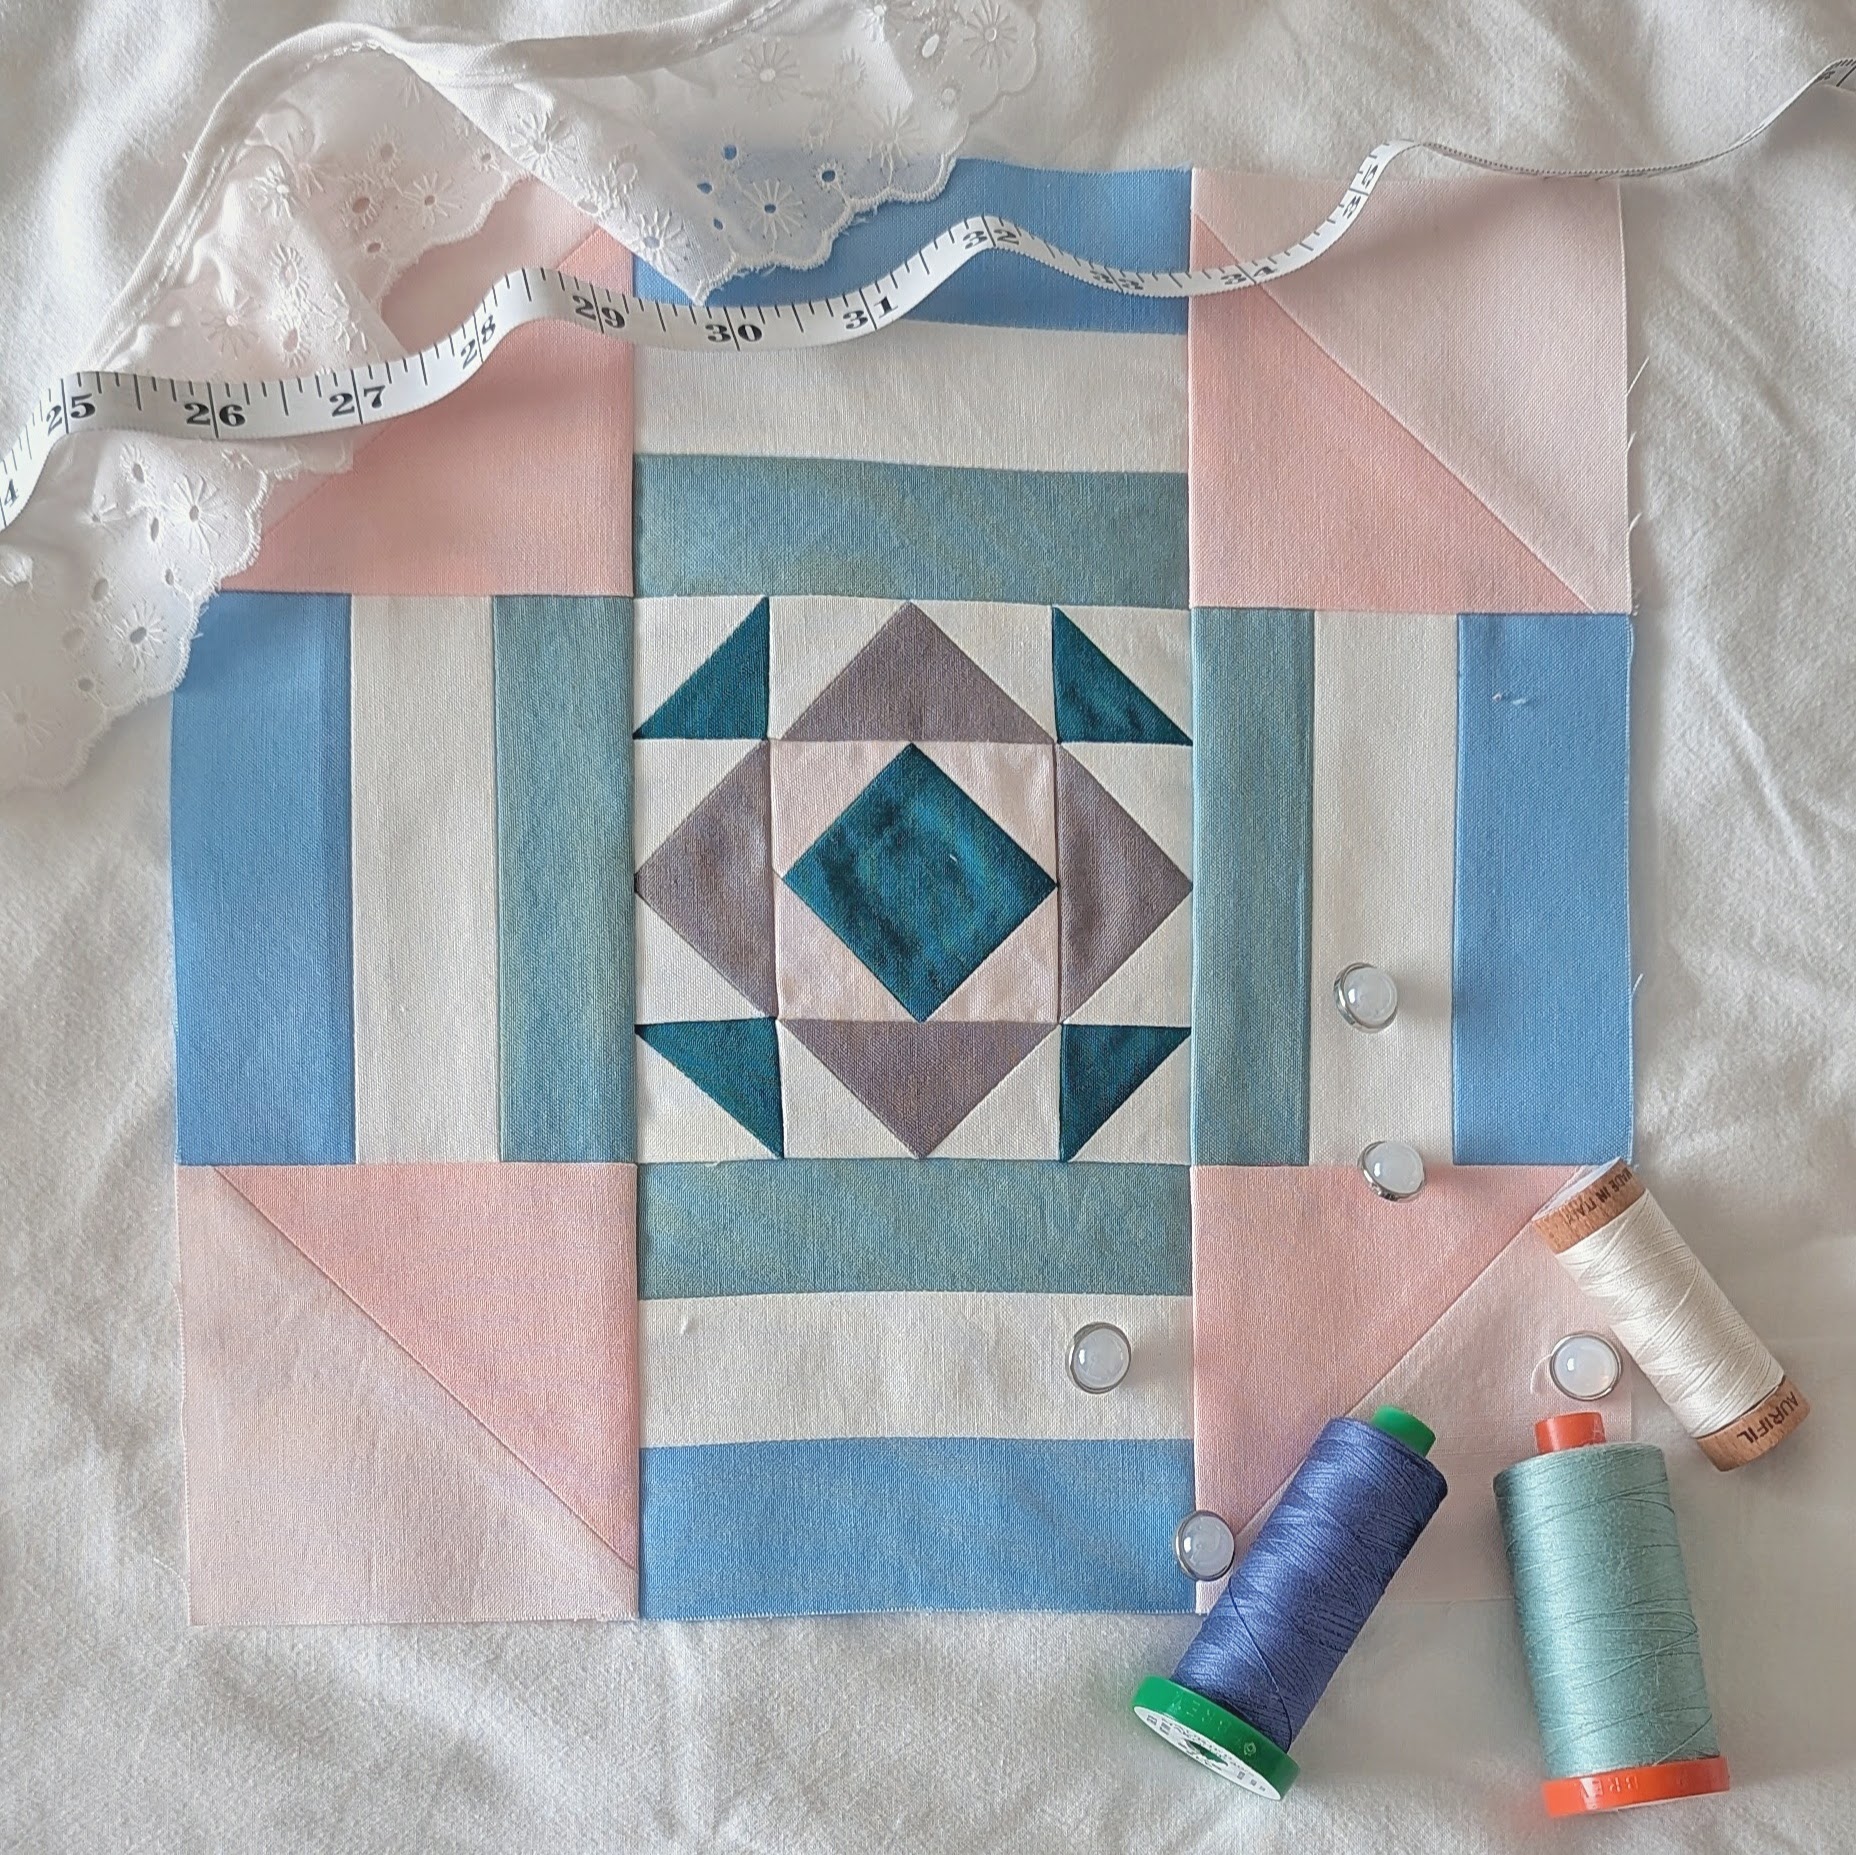
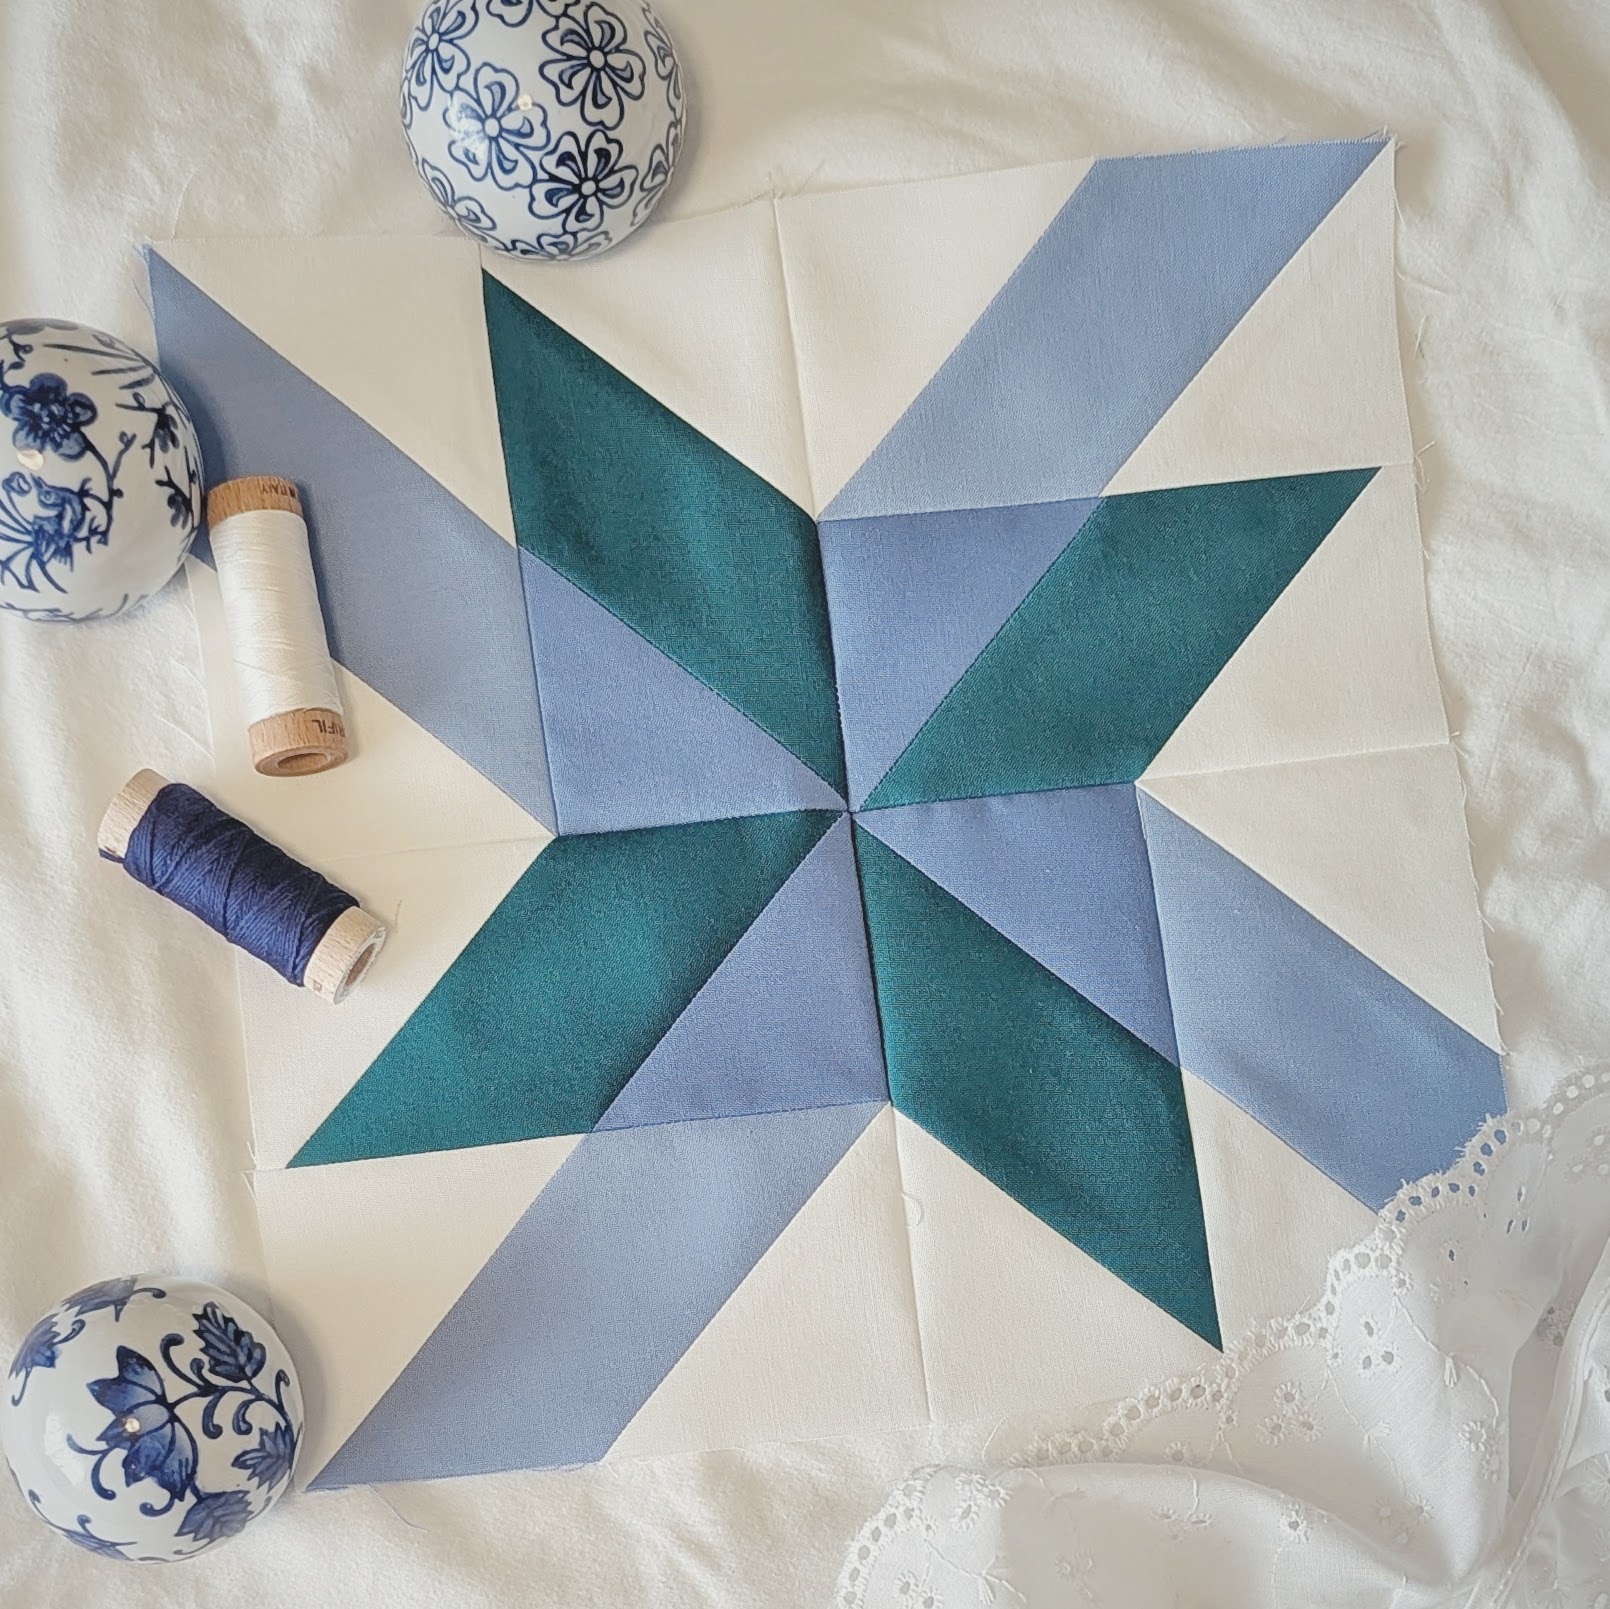
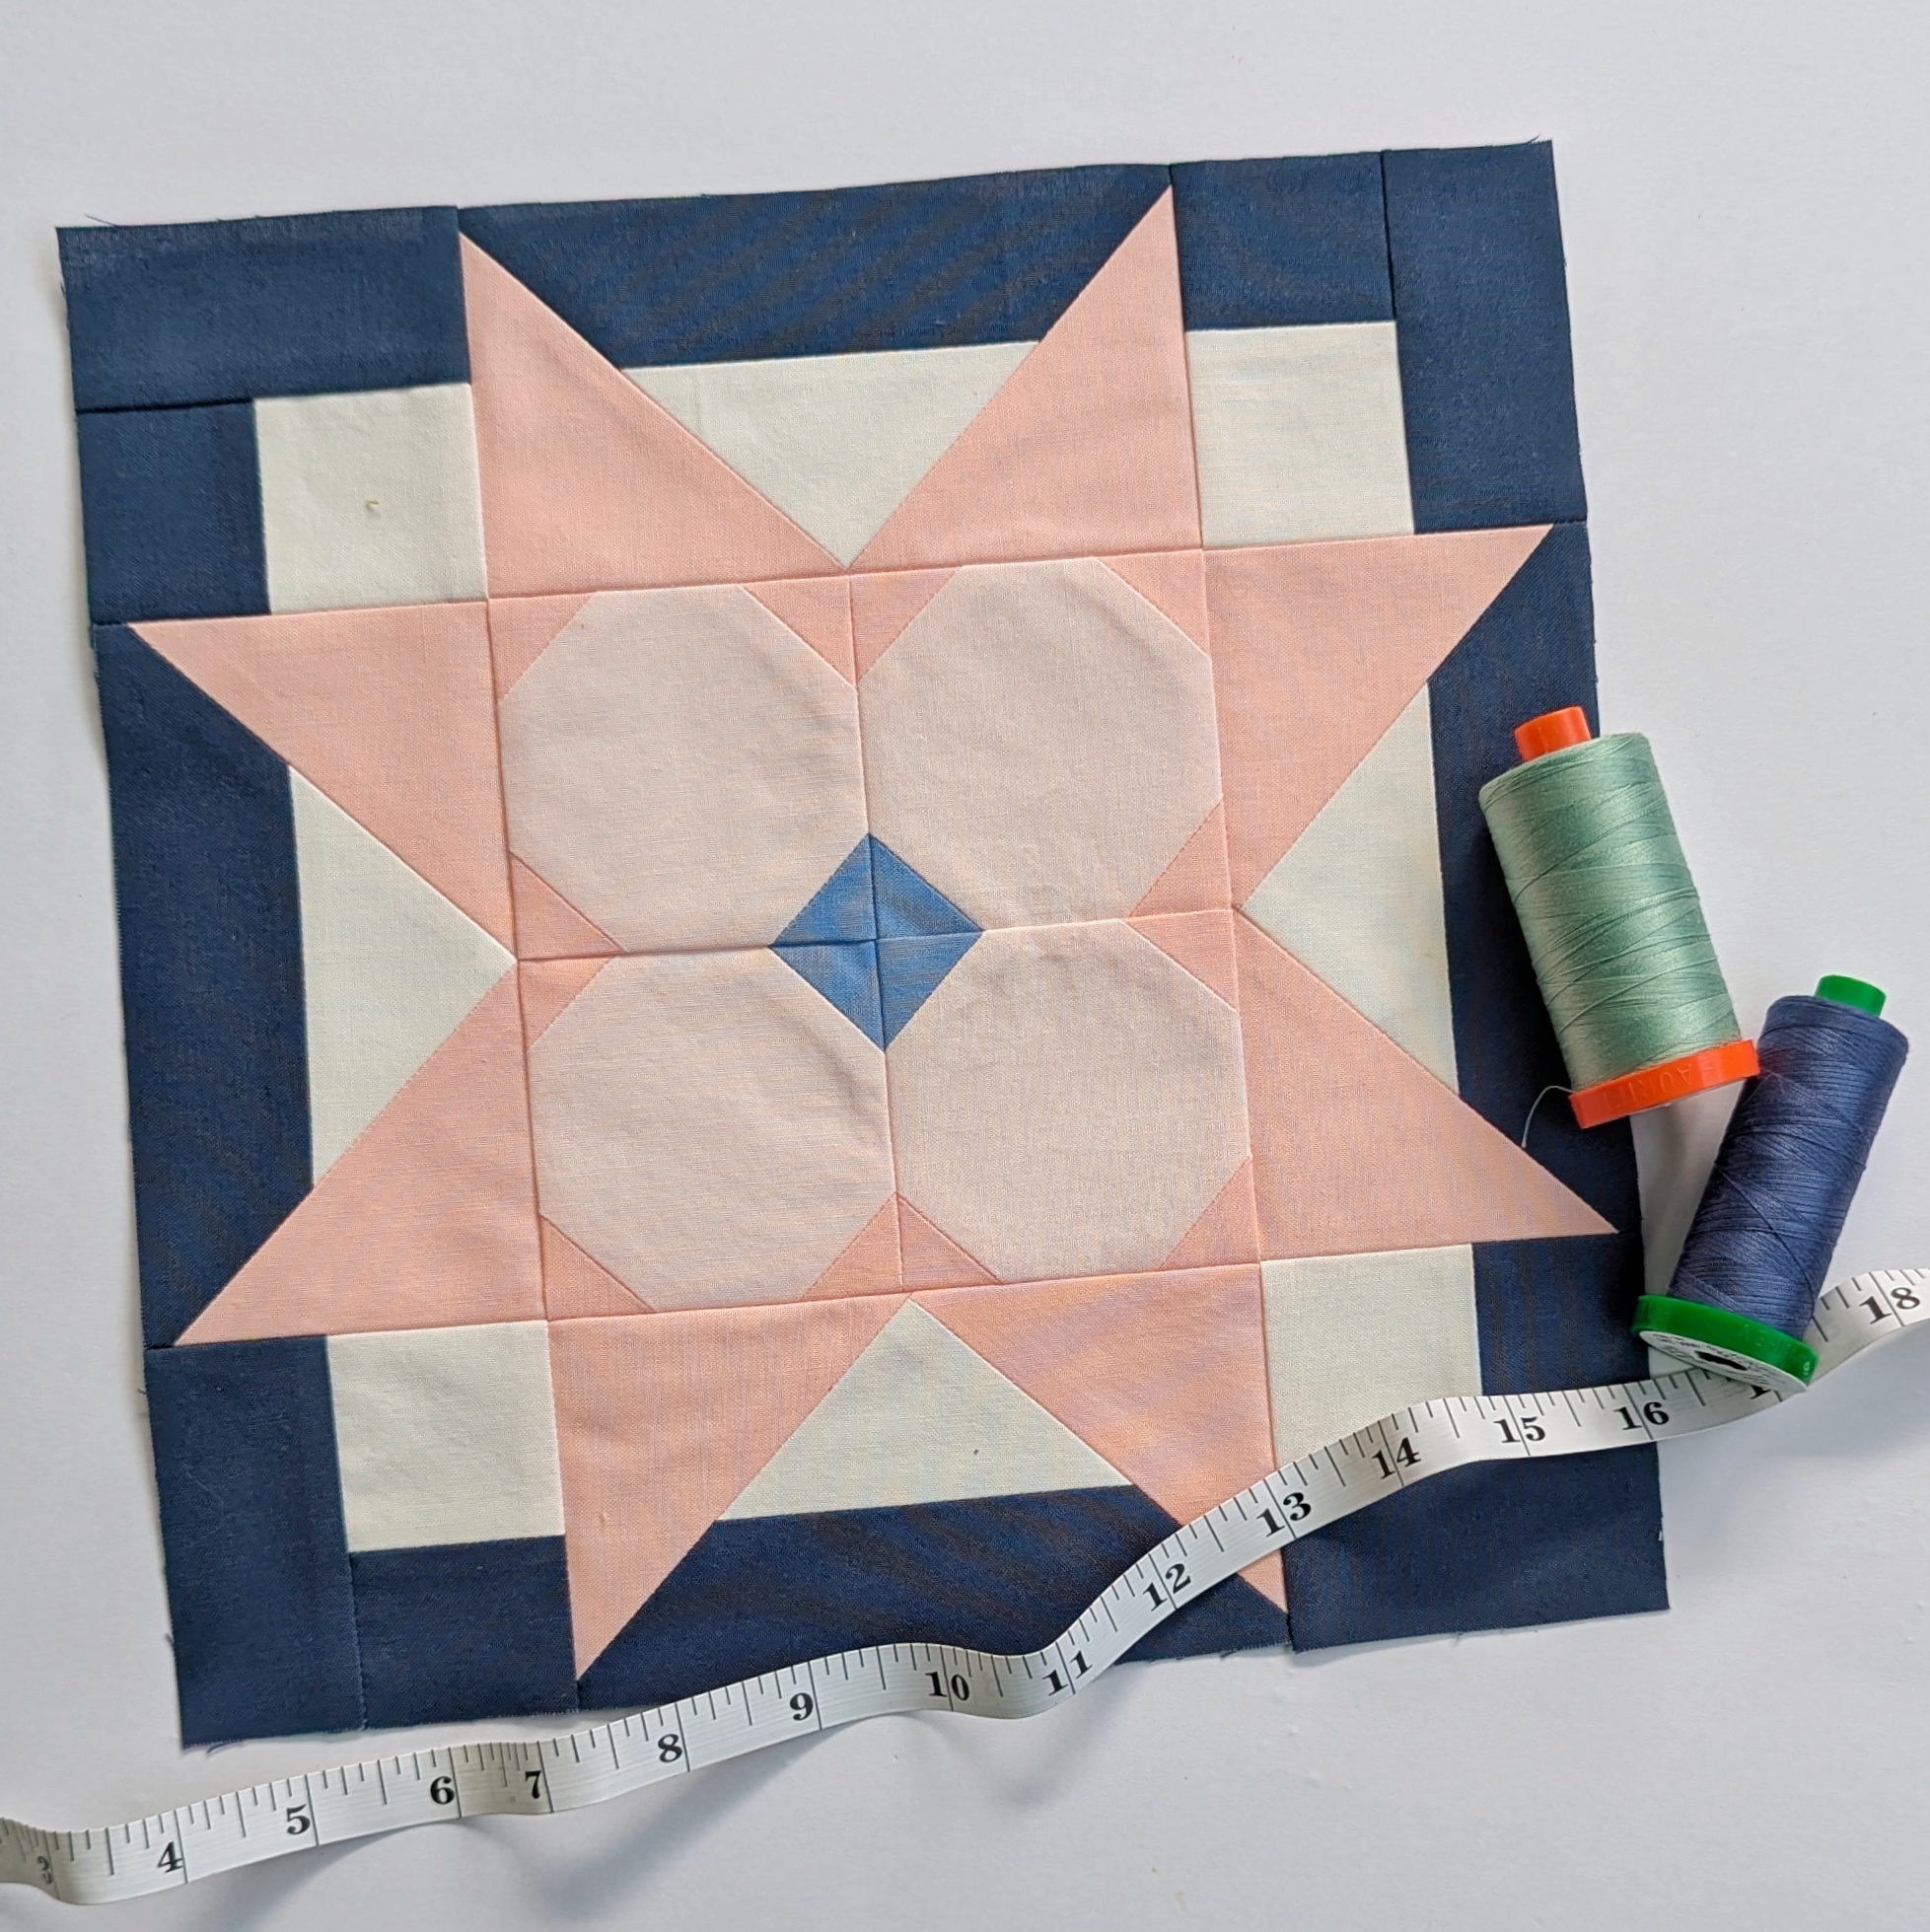
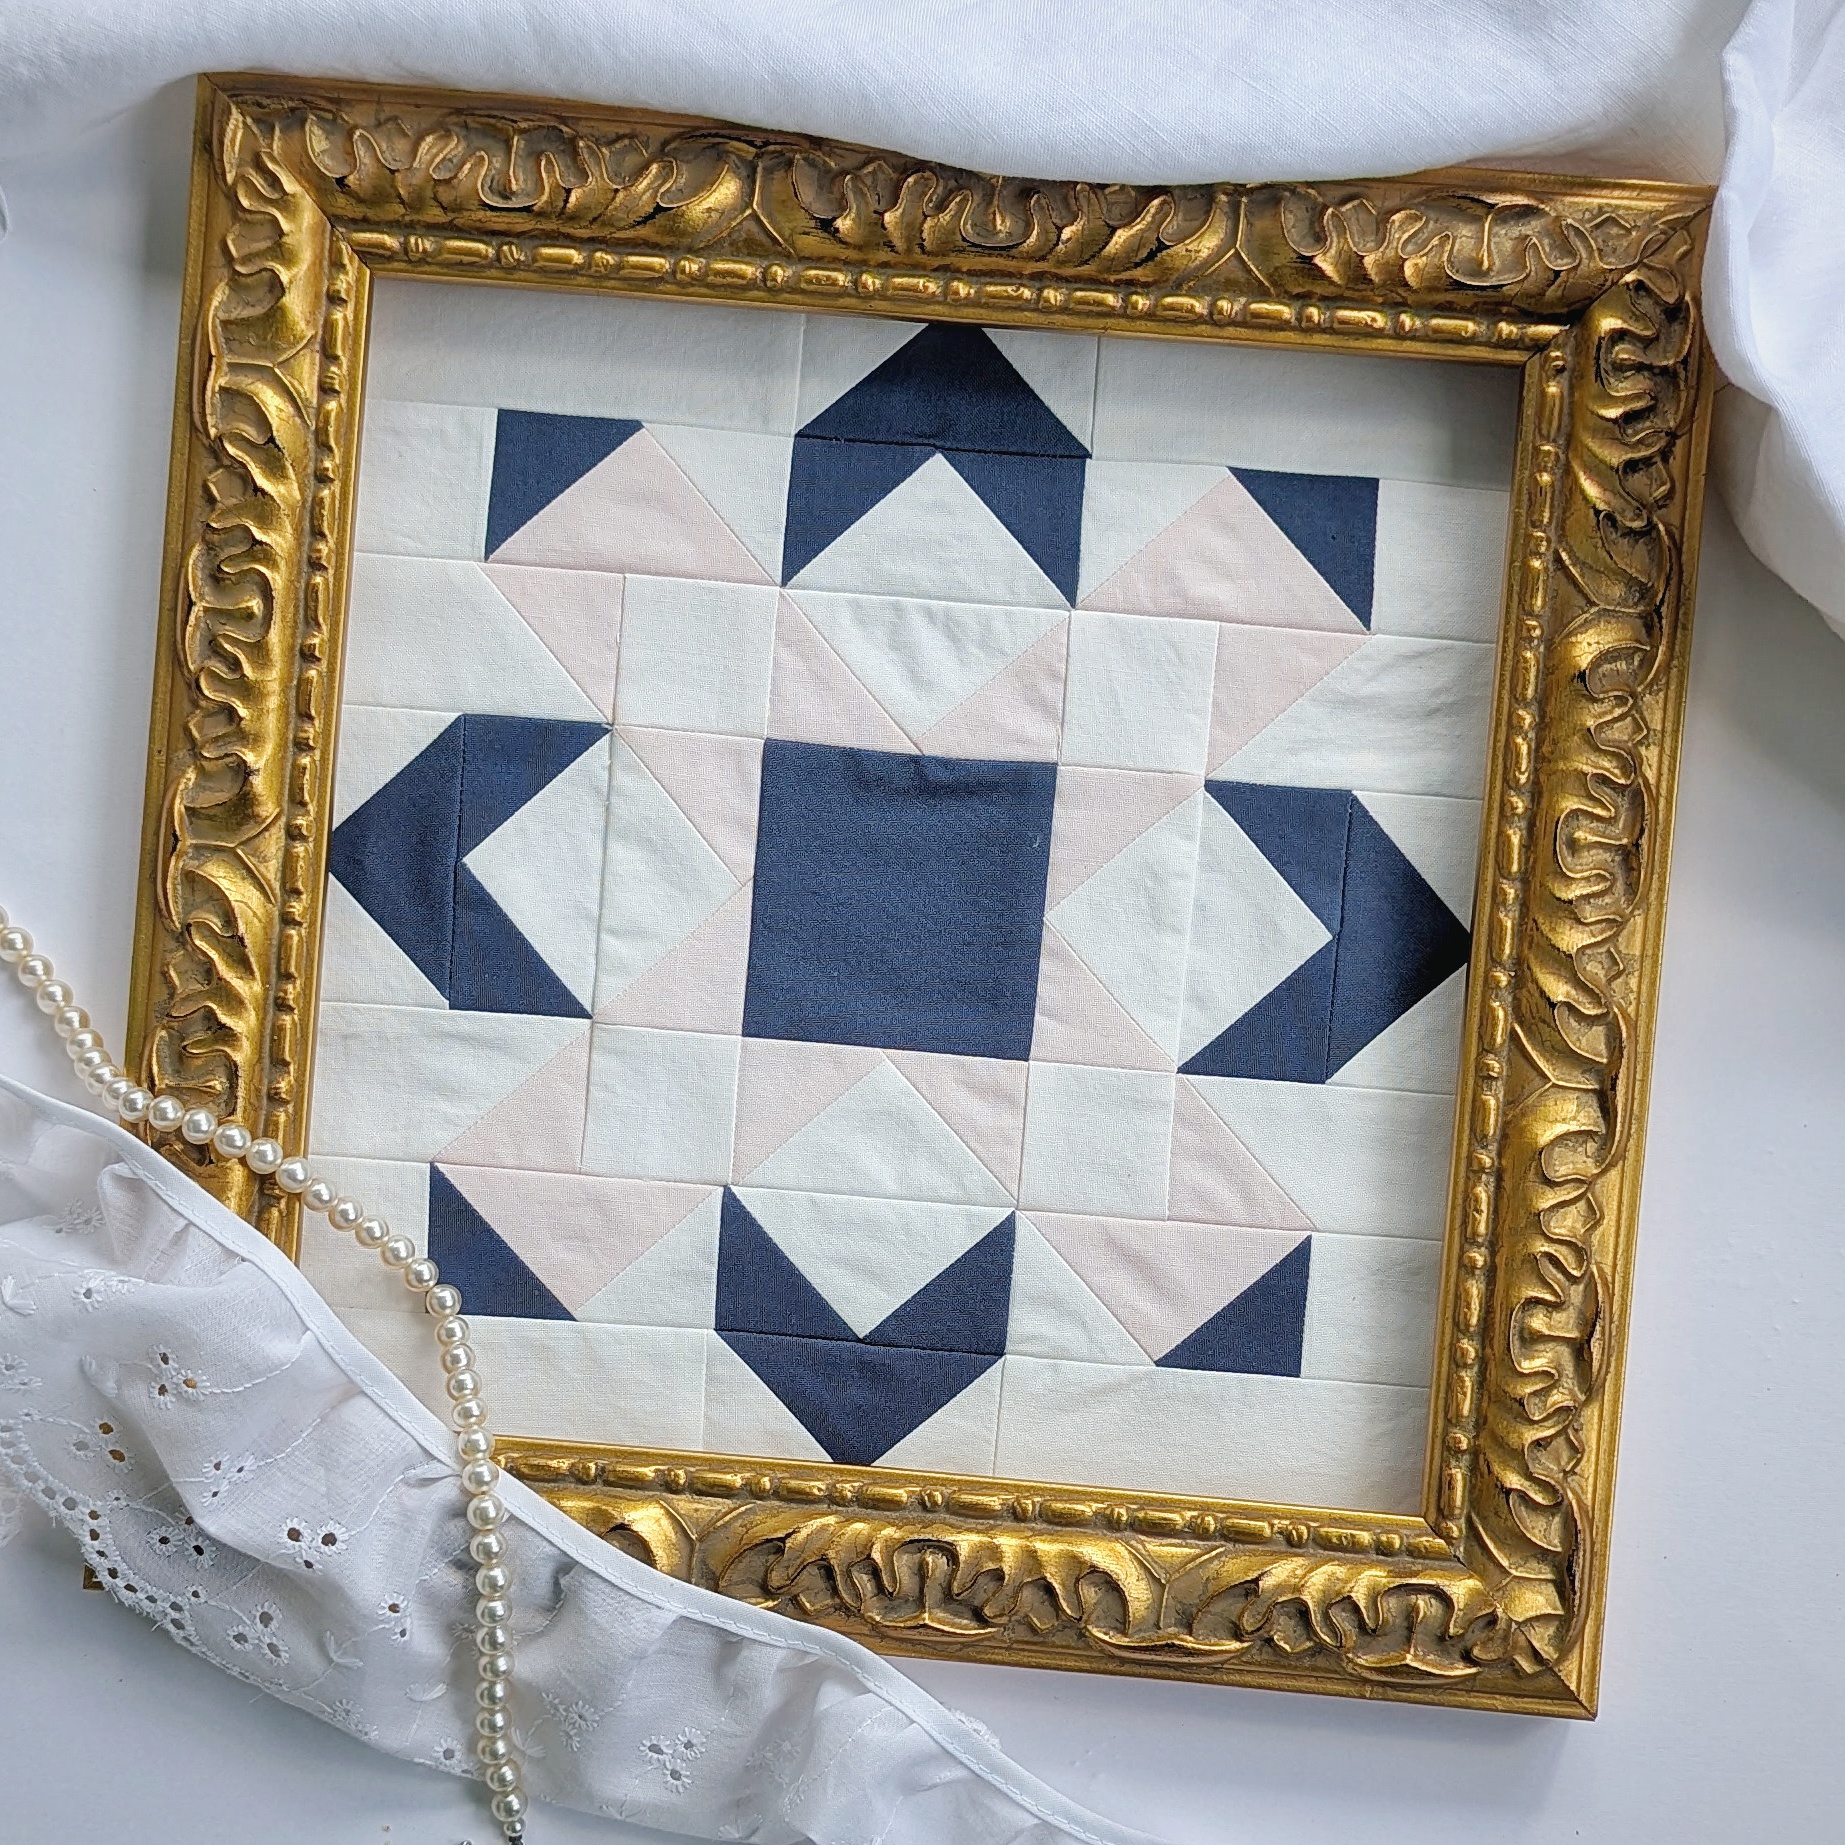
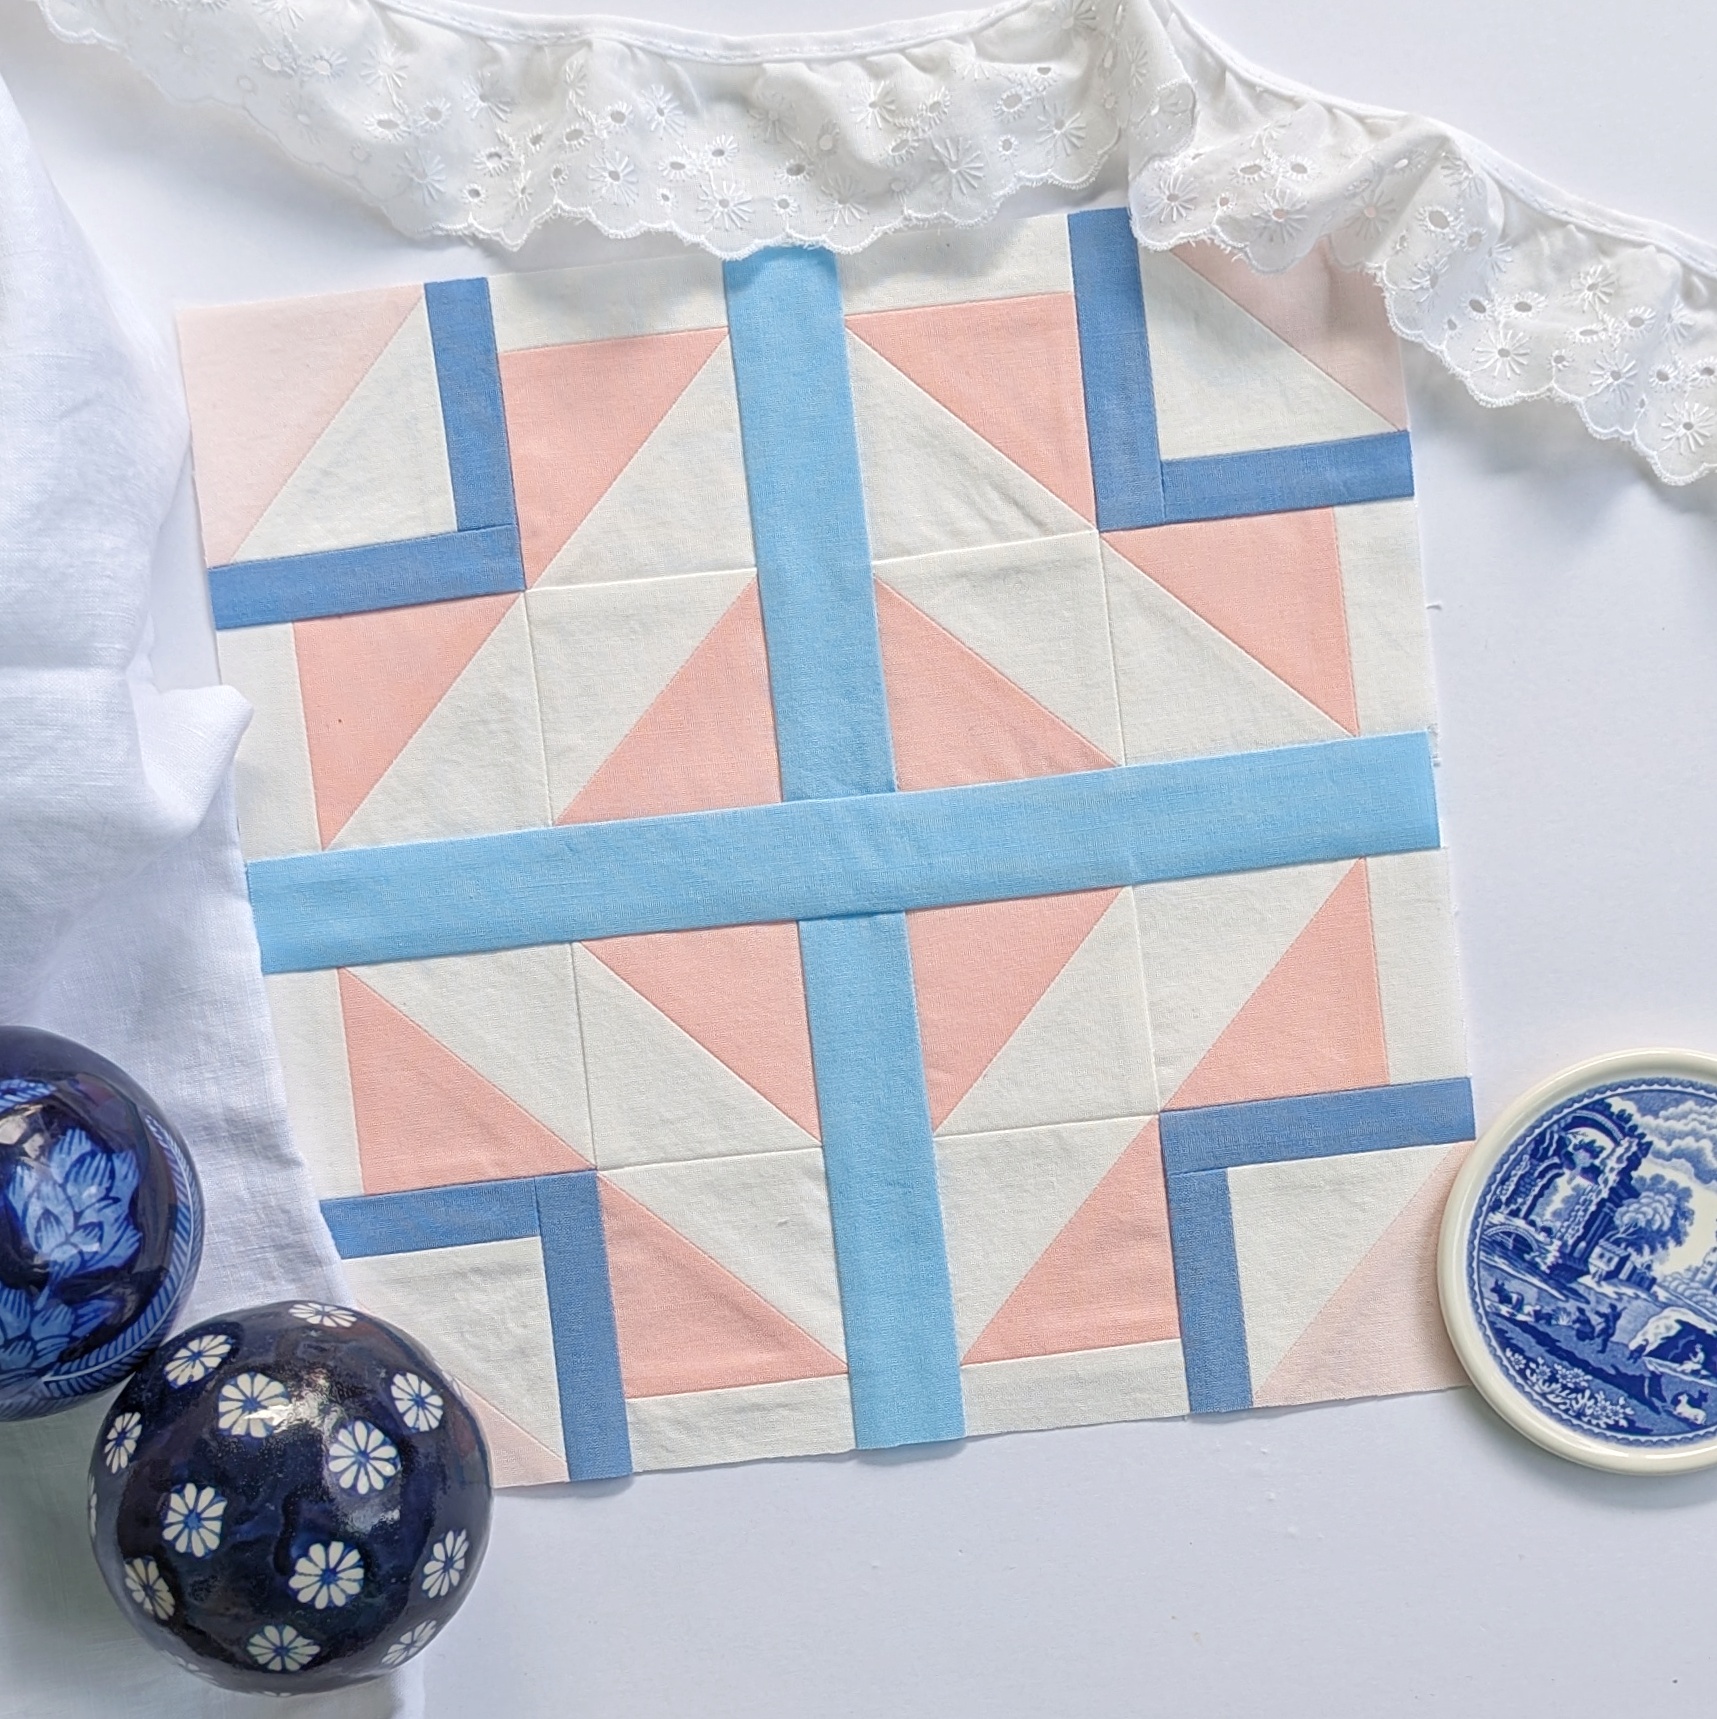
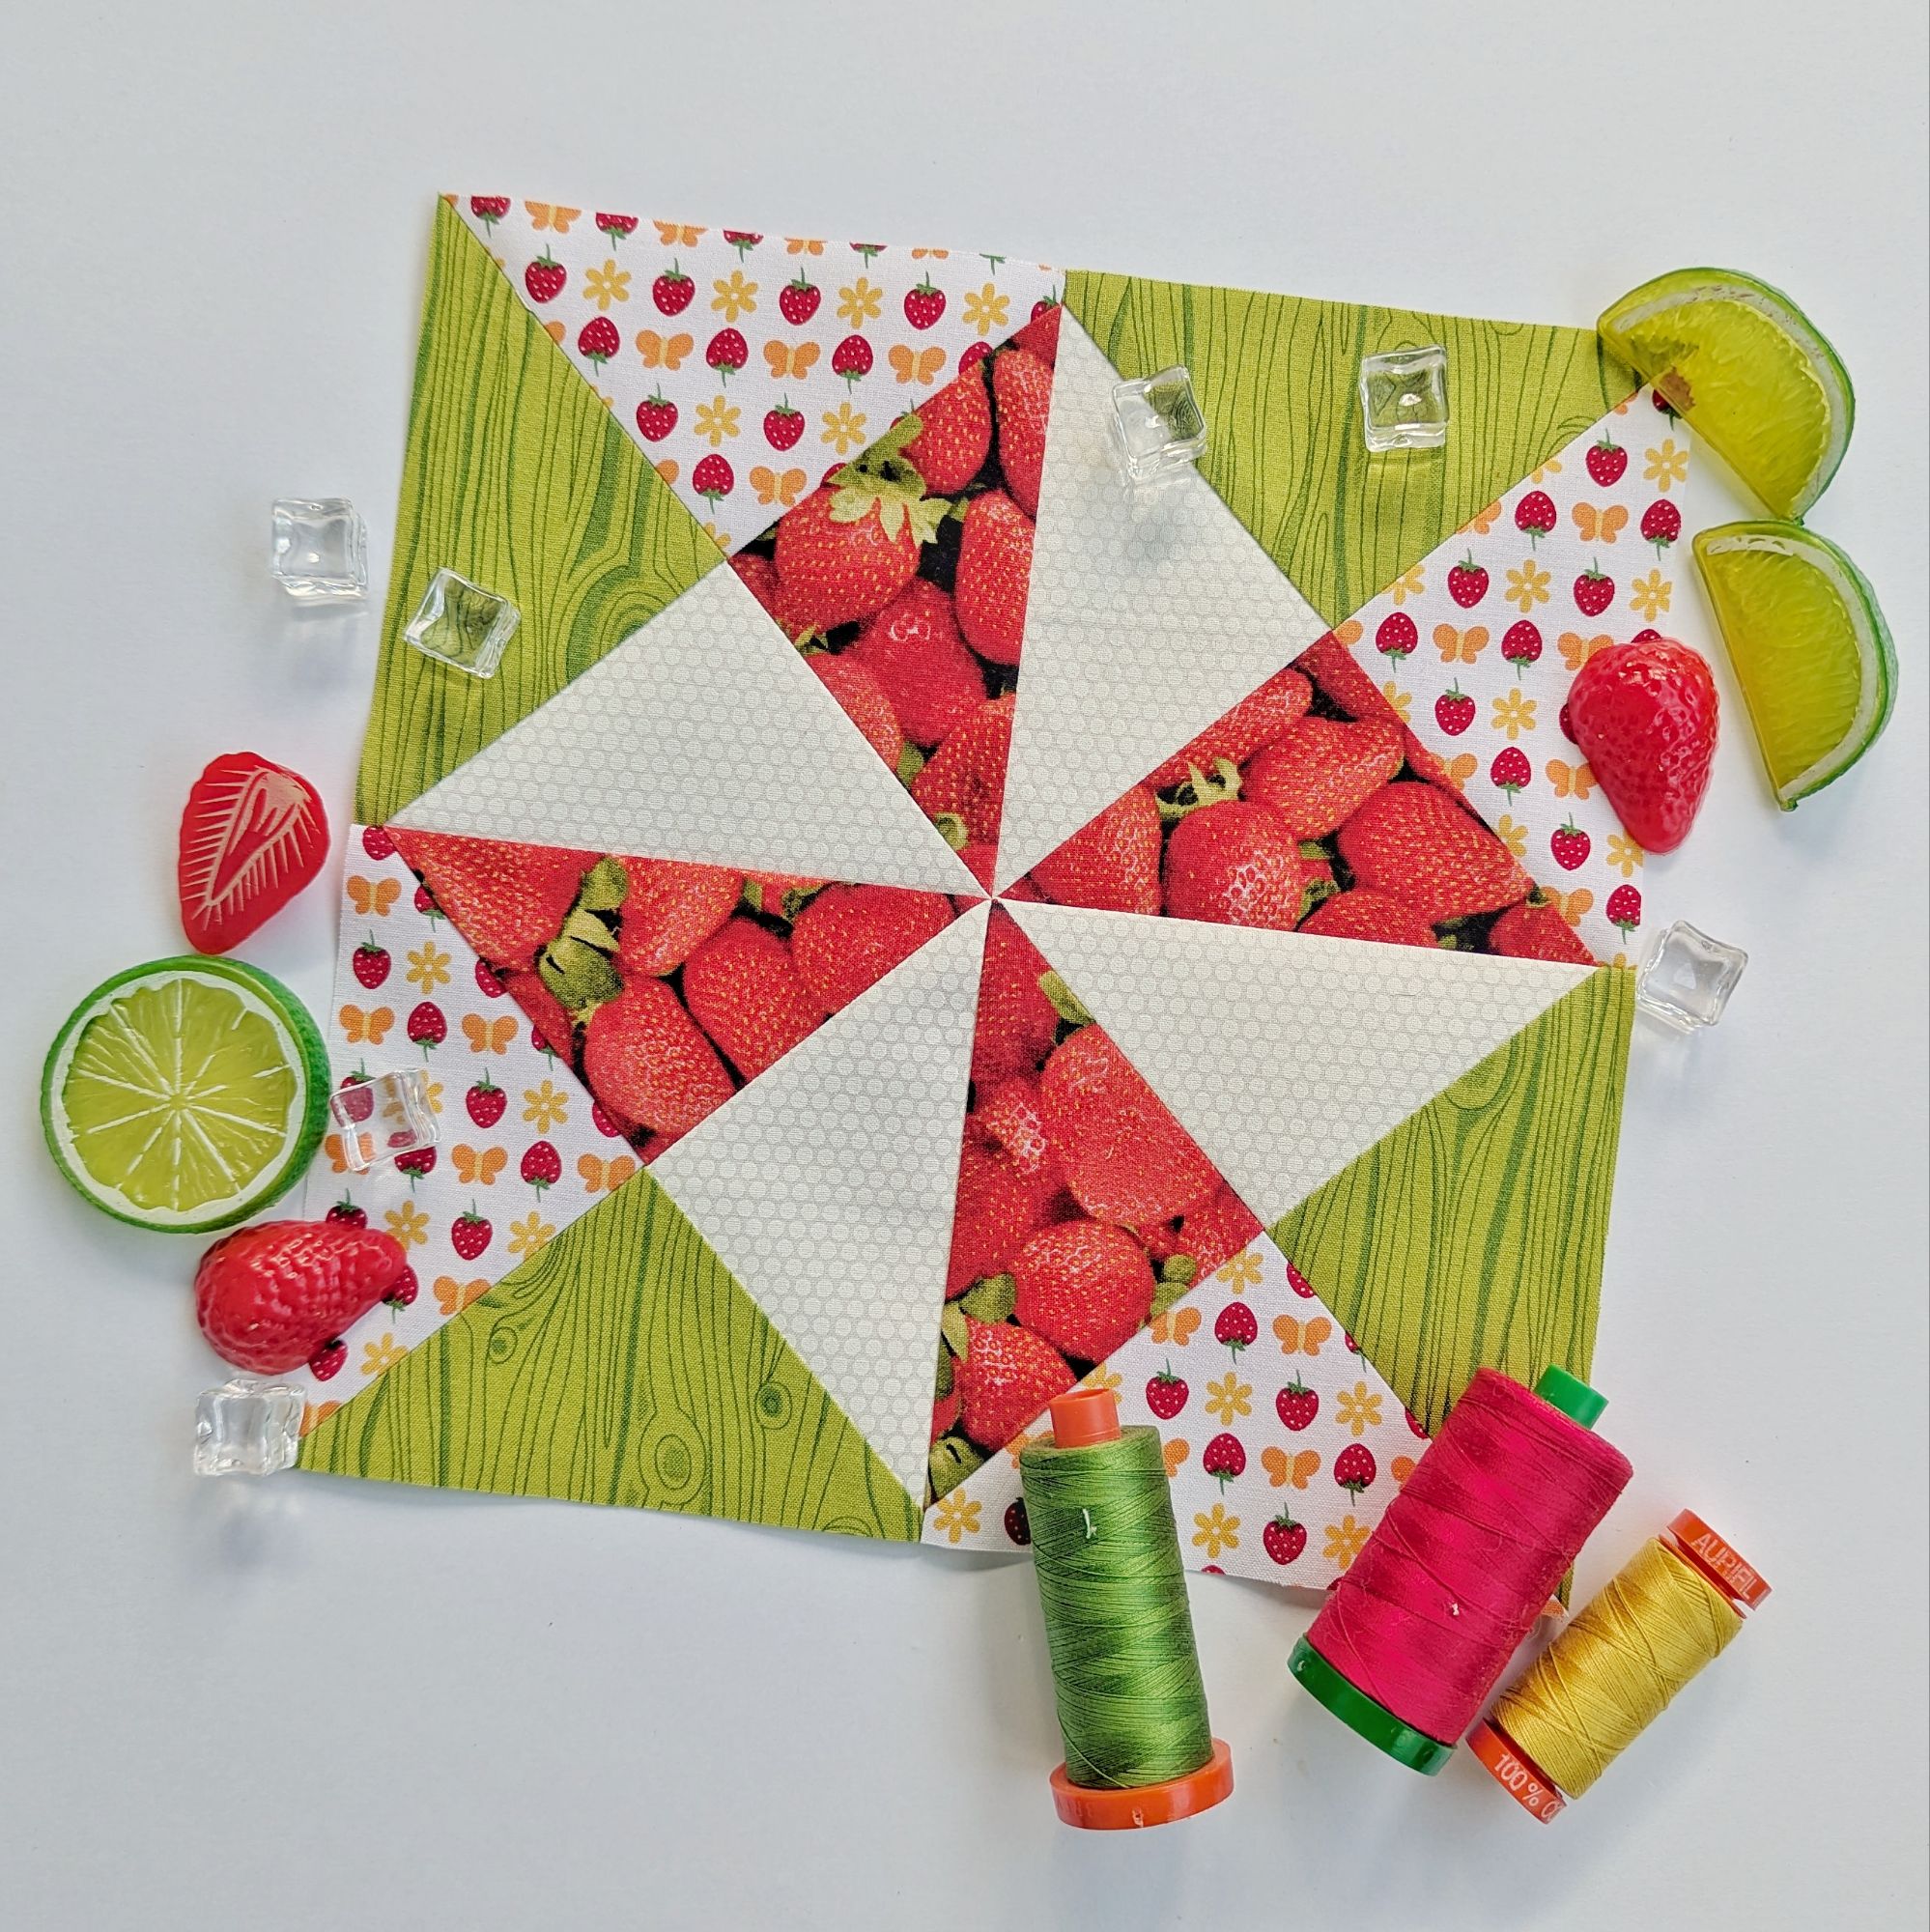
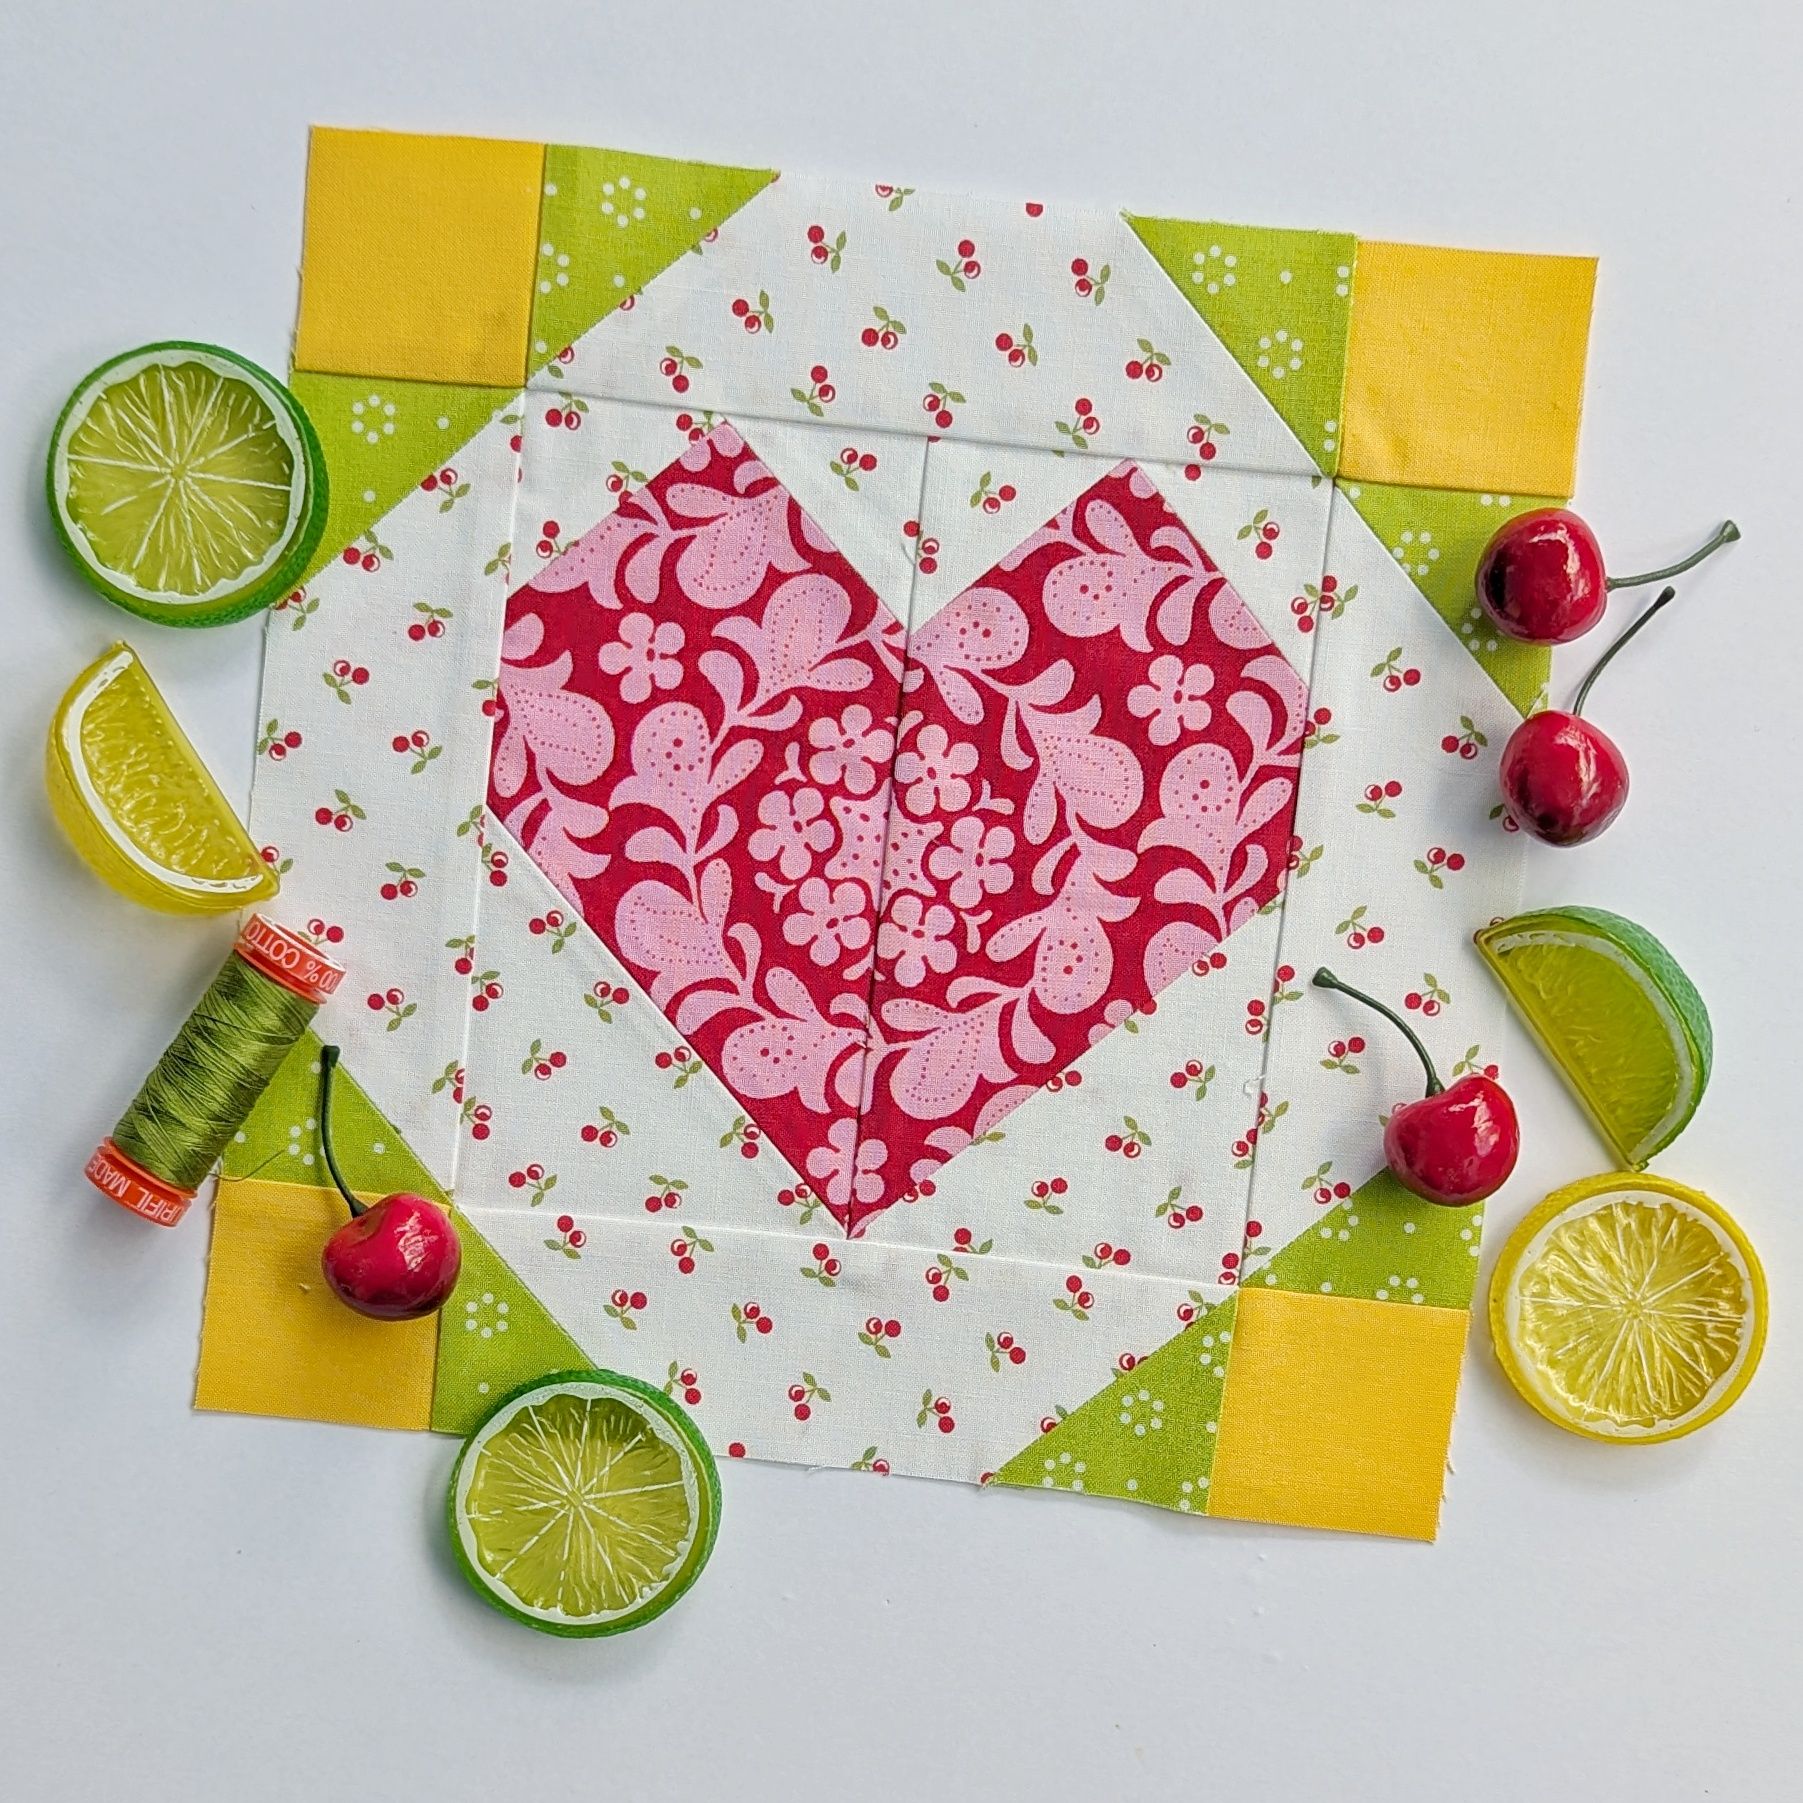
Sewcialites 3 Sew Along: I knew June would be busy and I’d fall behind on this, so I’m not panicking, but it is a goal to get caught back up with my blocks in the upcoming month. It’s just NINE blocks, no big deal…ha ha ha. I guess I’ll shoot for three per week. Oh, man…
Things to Work on After the ASAP Projects:
Machine Stitching:
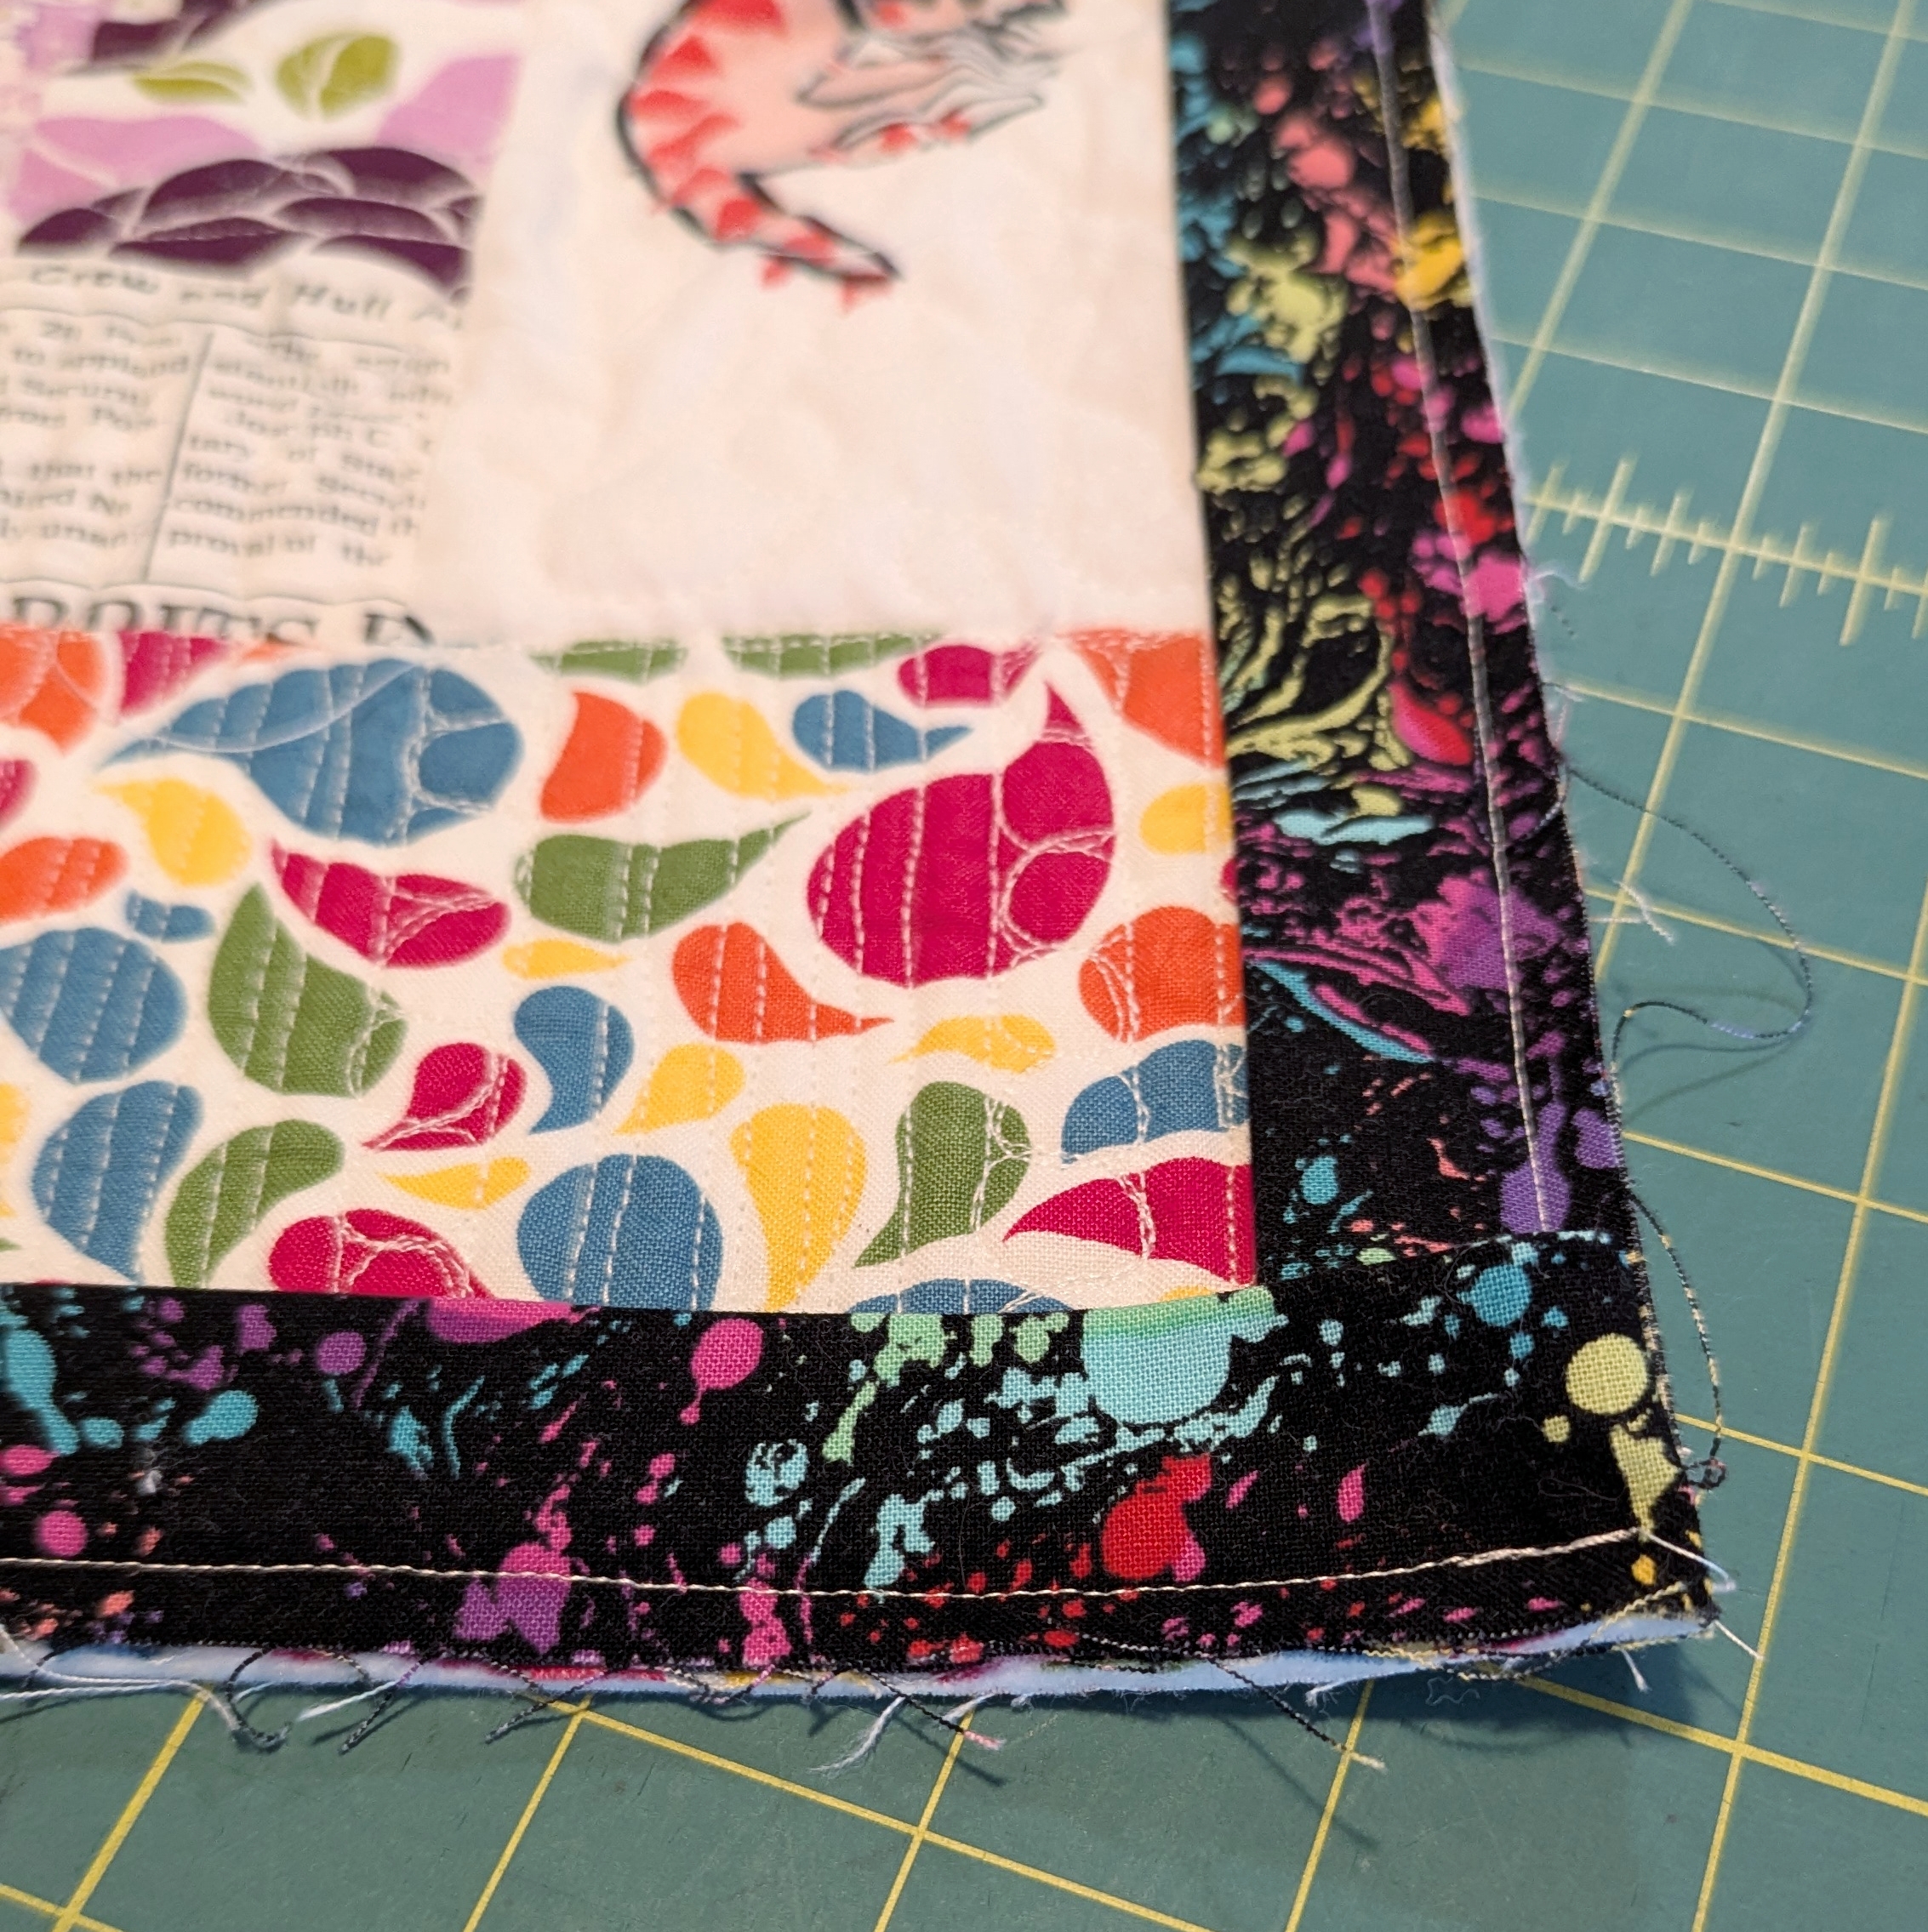
- Rainbow Coin Strip Quilt: The binding is done and Emily even slept under it when she was here for Rachel’s graduation. The label is not done yet, and I got it into my head to make a complicated label, so I’m working on piecing the label during my self-imposed mandatory 15 minutes of “Finishing Time” at the start of every work session in the craft room. It’s possible to get this done this month and do a legit photoshoot and all, but I can also see this label taking longer than that. Hopefully it all gets finished this month.
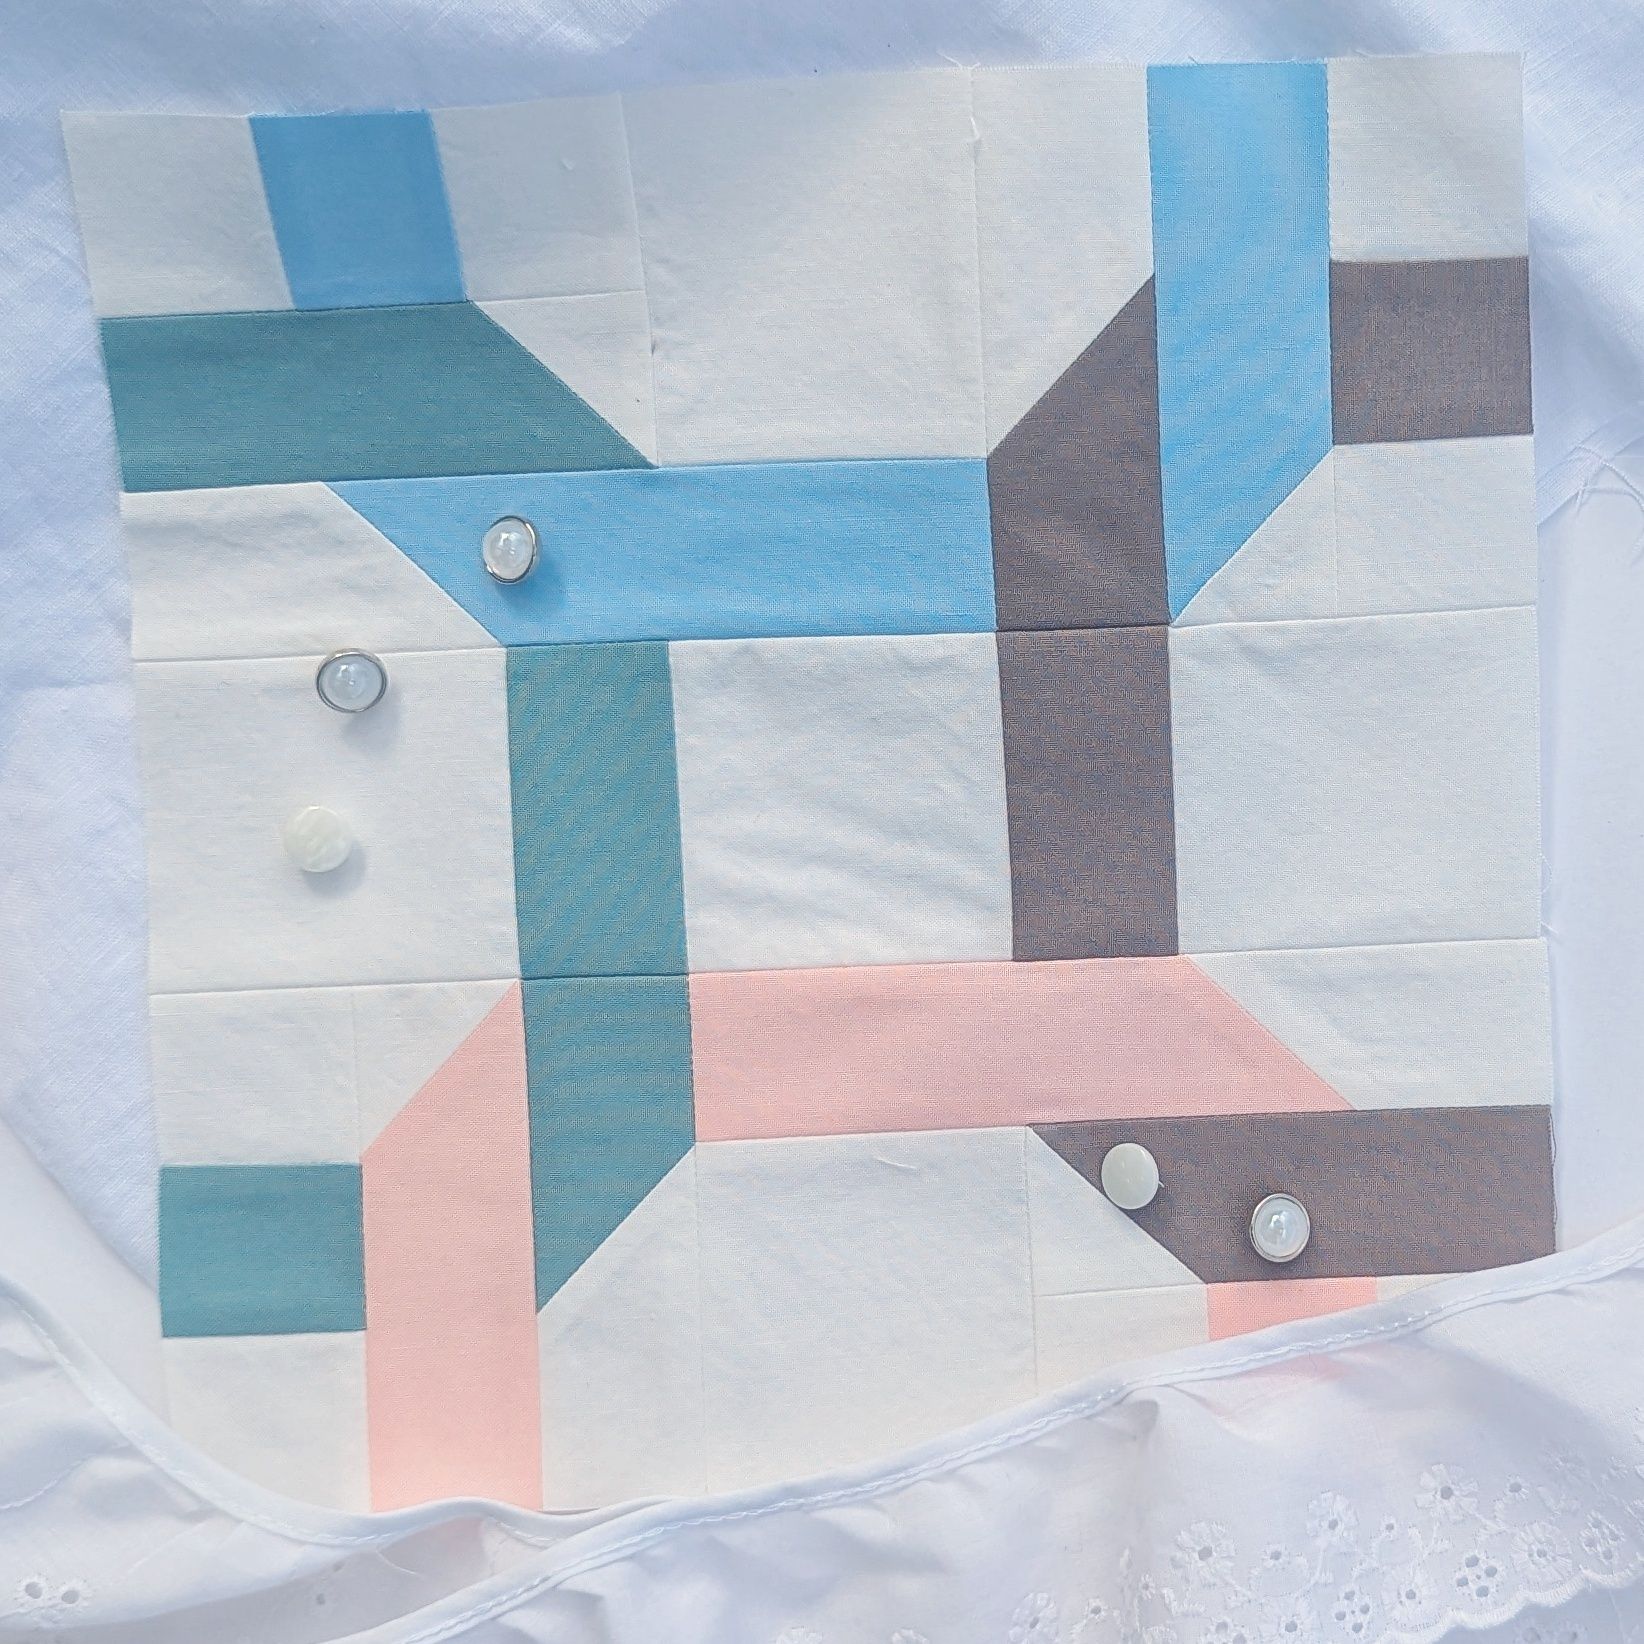
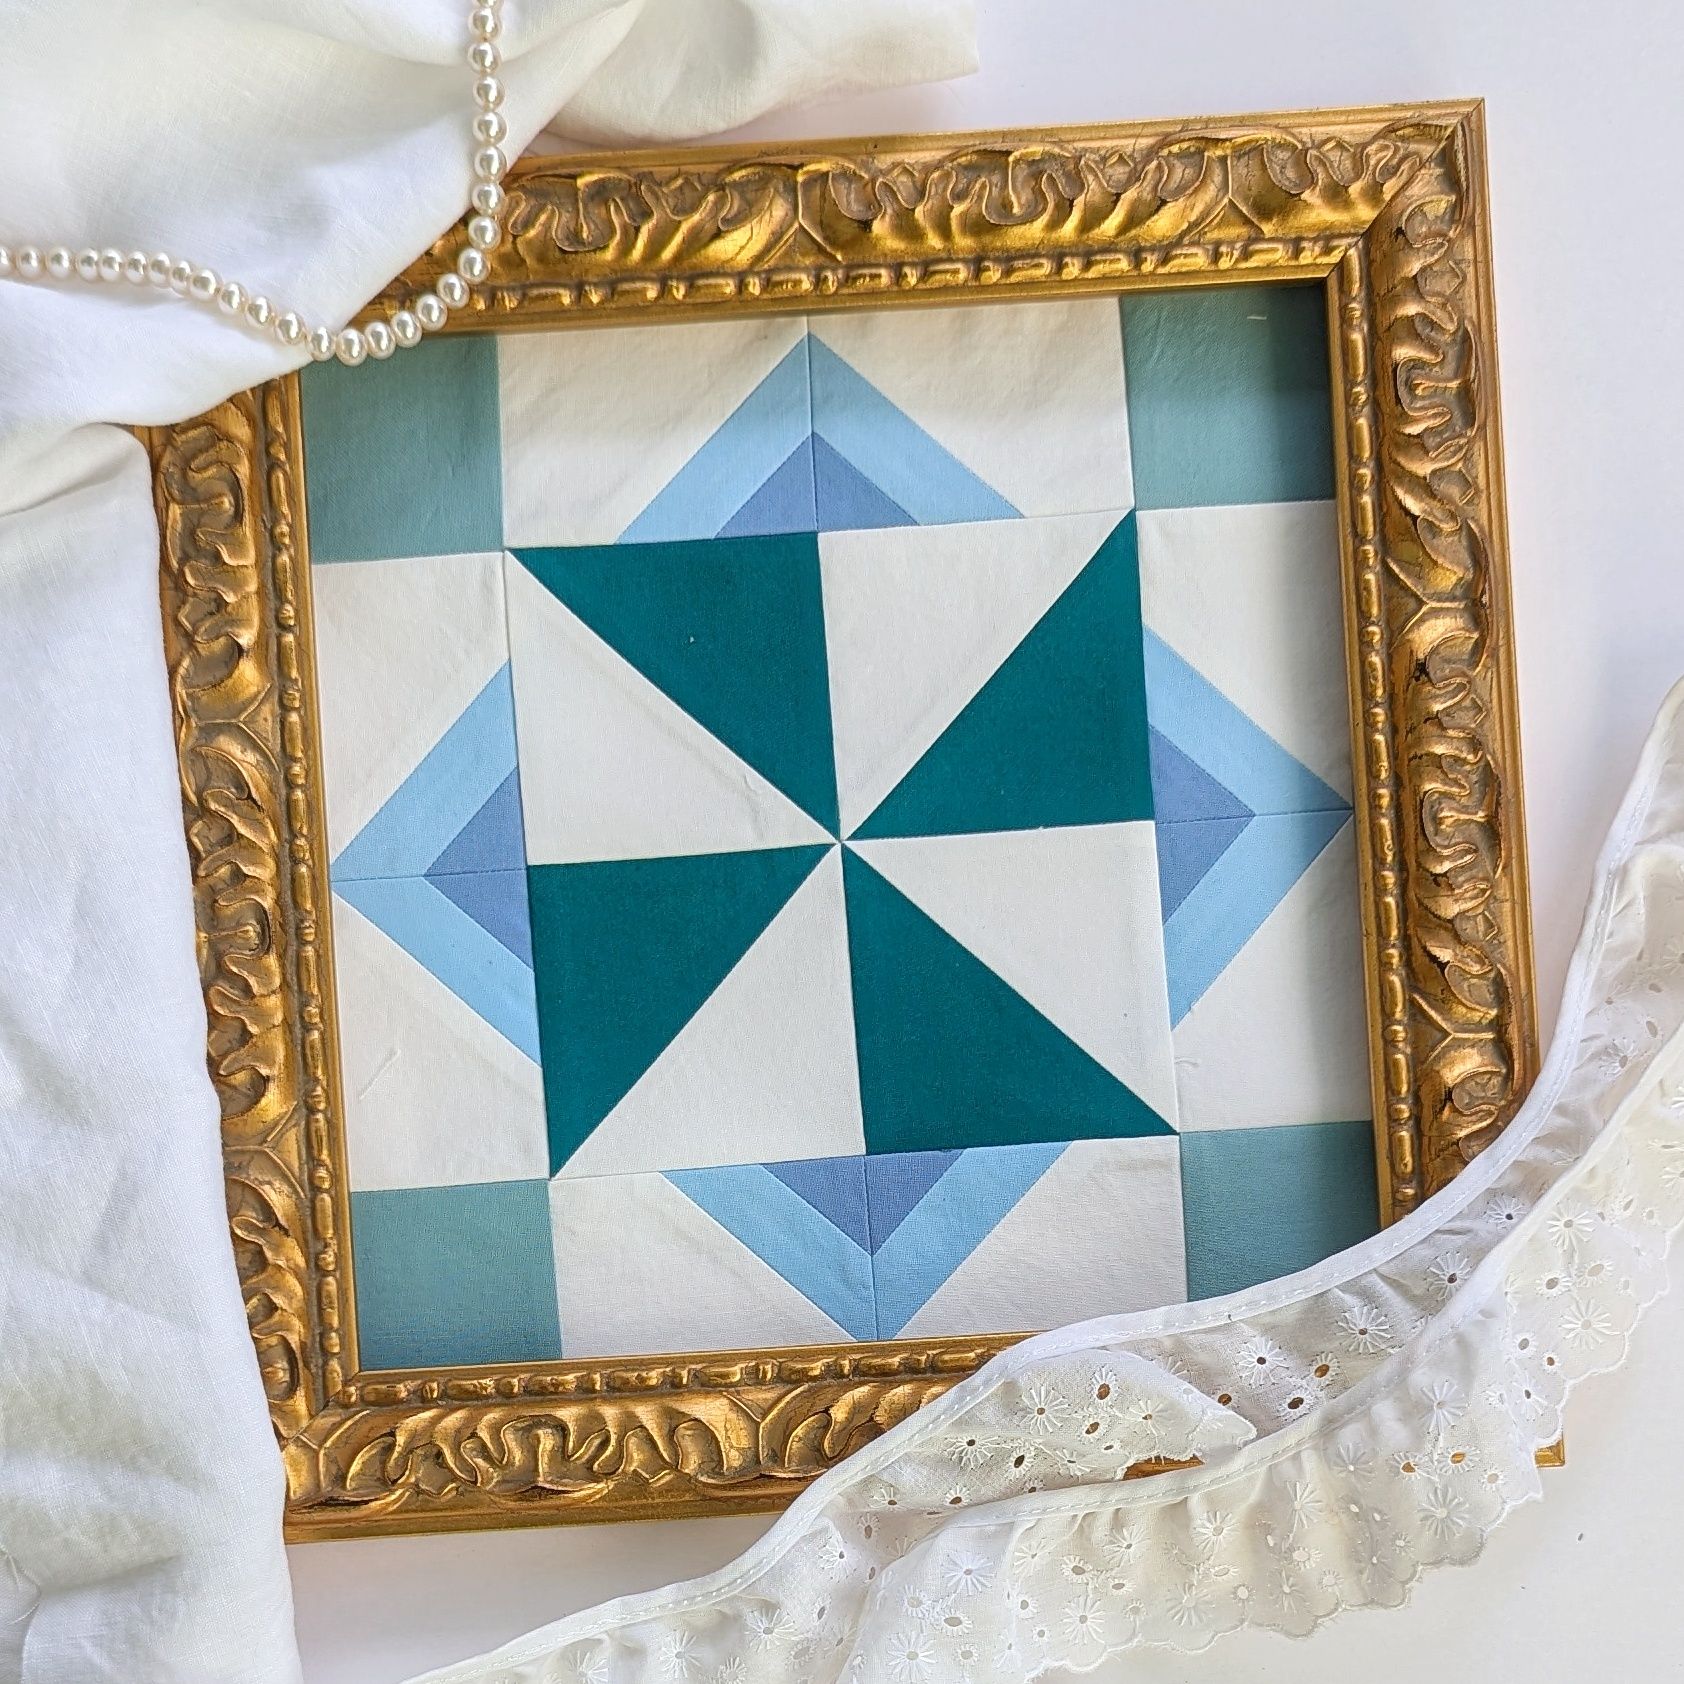
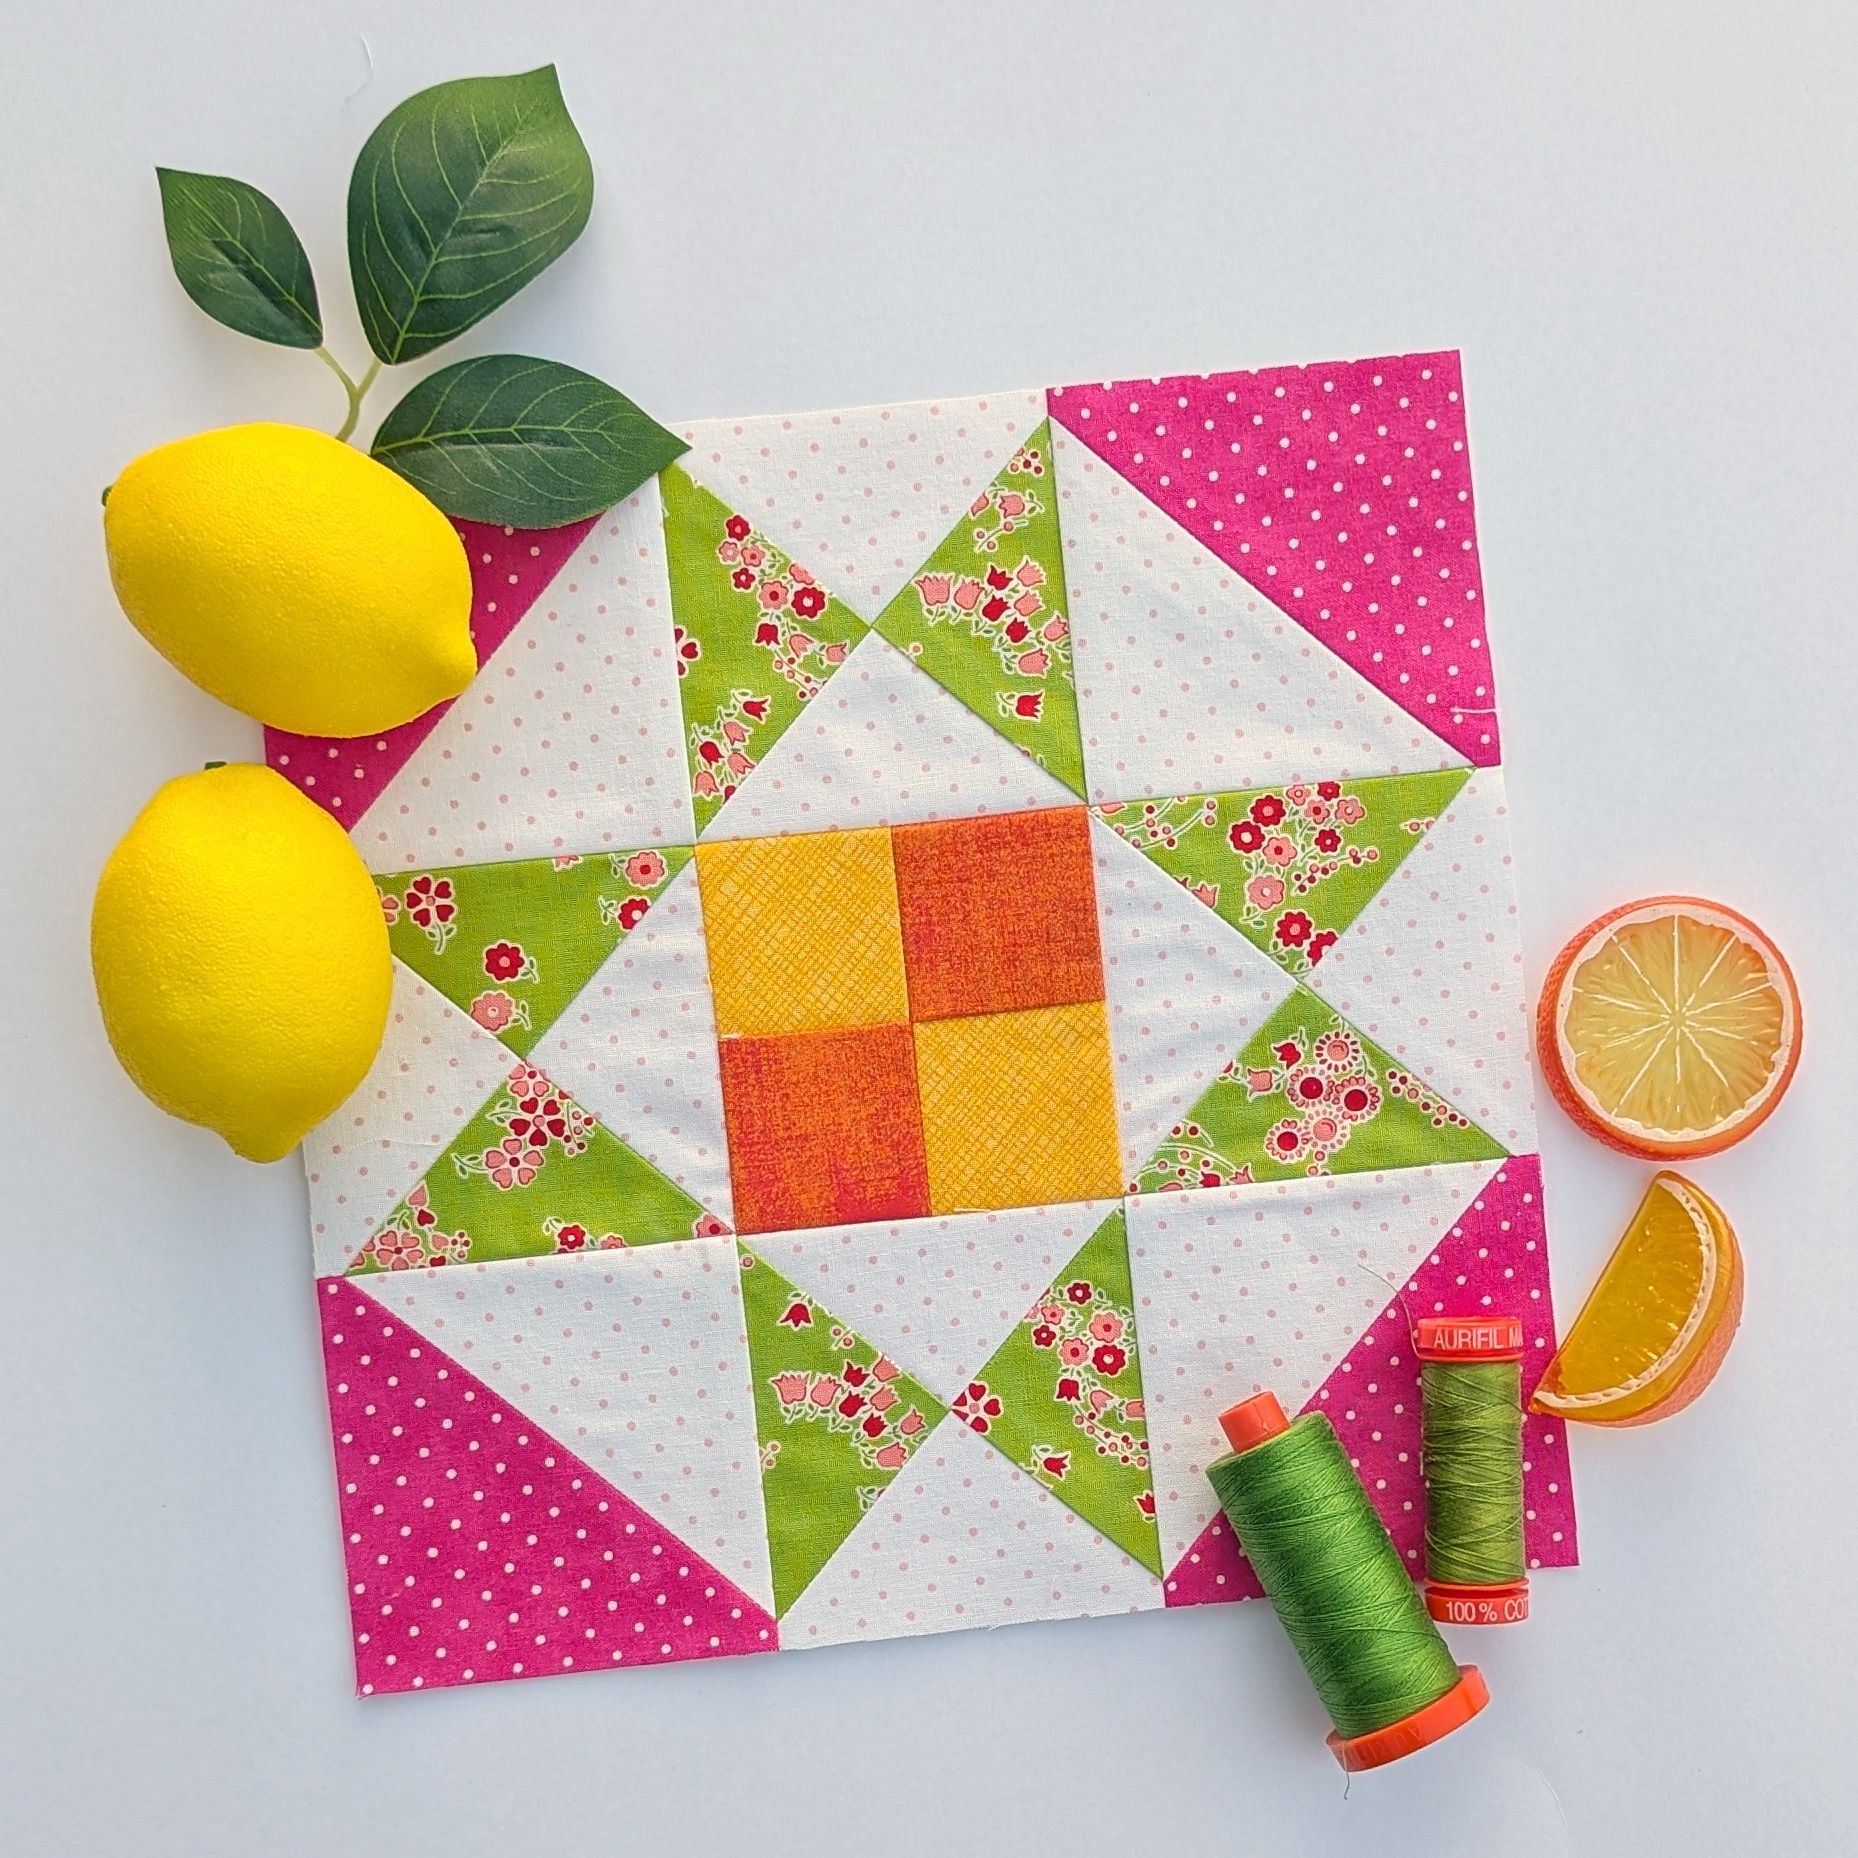
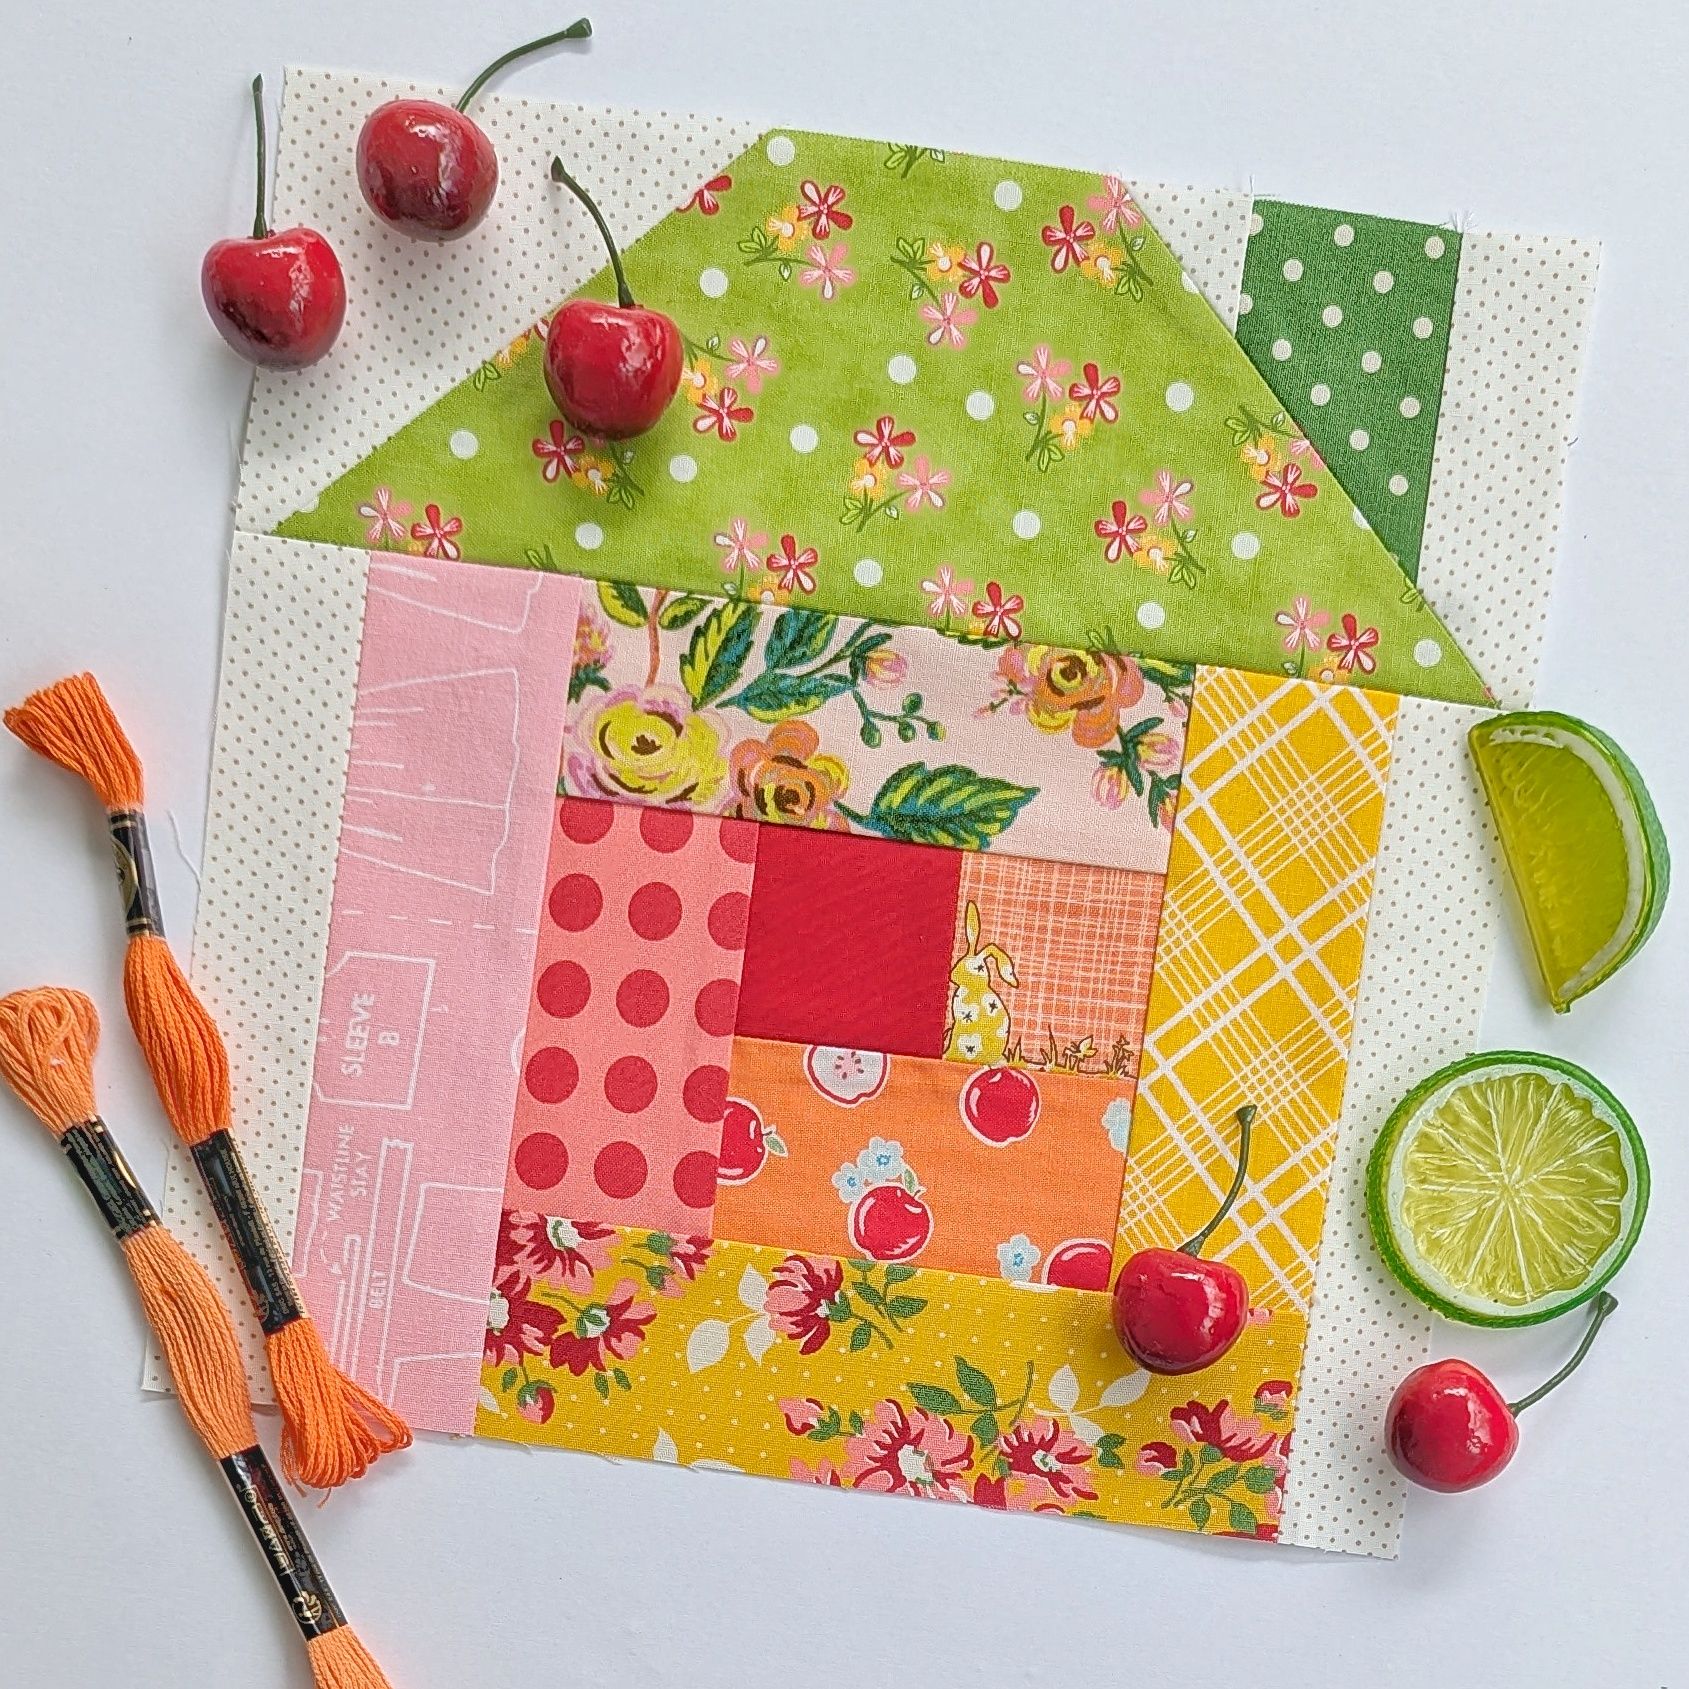
- Riley Blake Designs’ Block Challenge Quilt: There’s so much on my plate this month, so I’m going to shoot for getting six of the chevron blocks done.
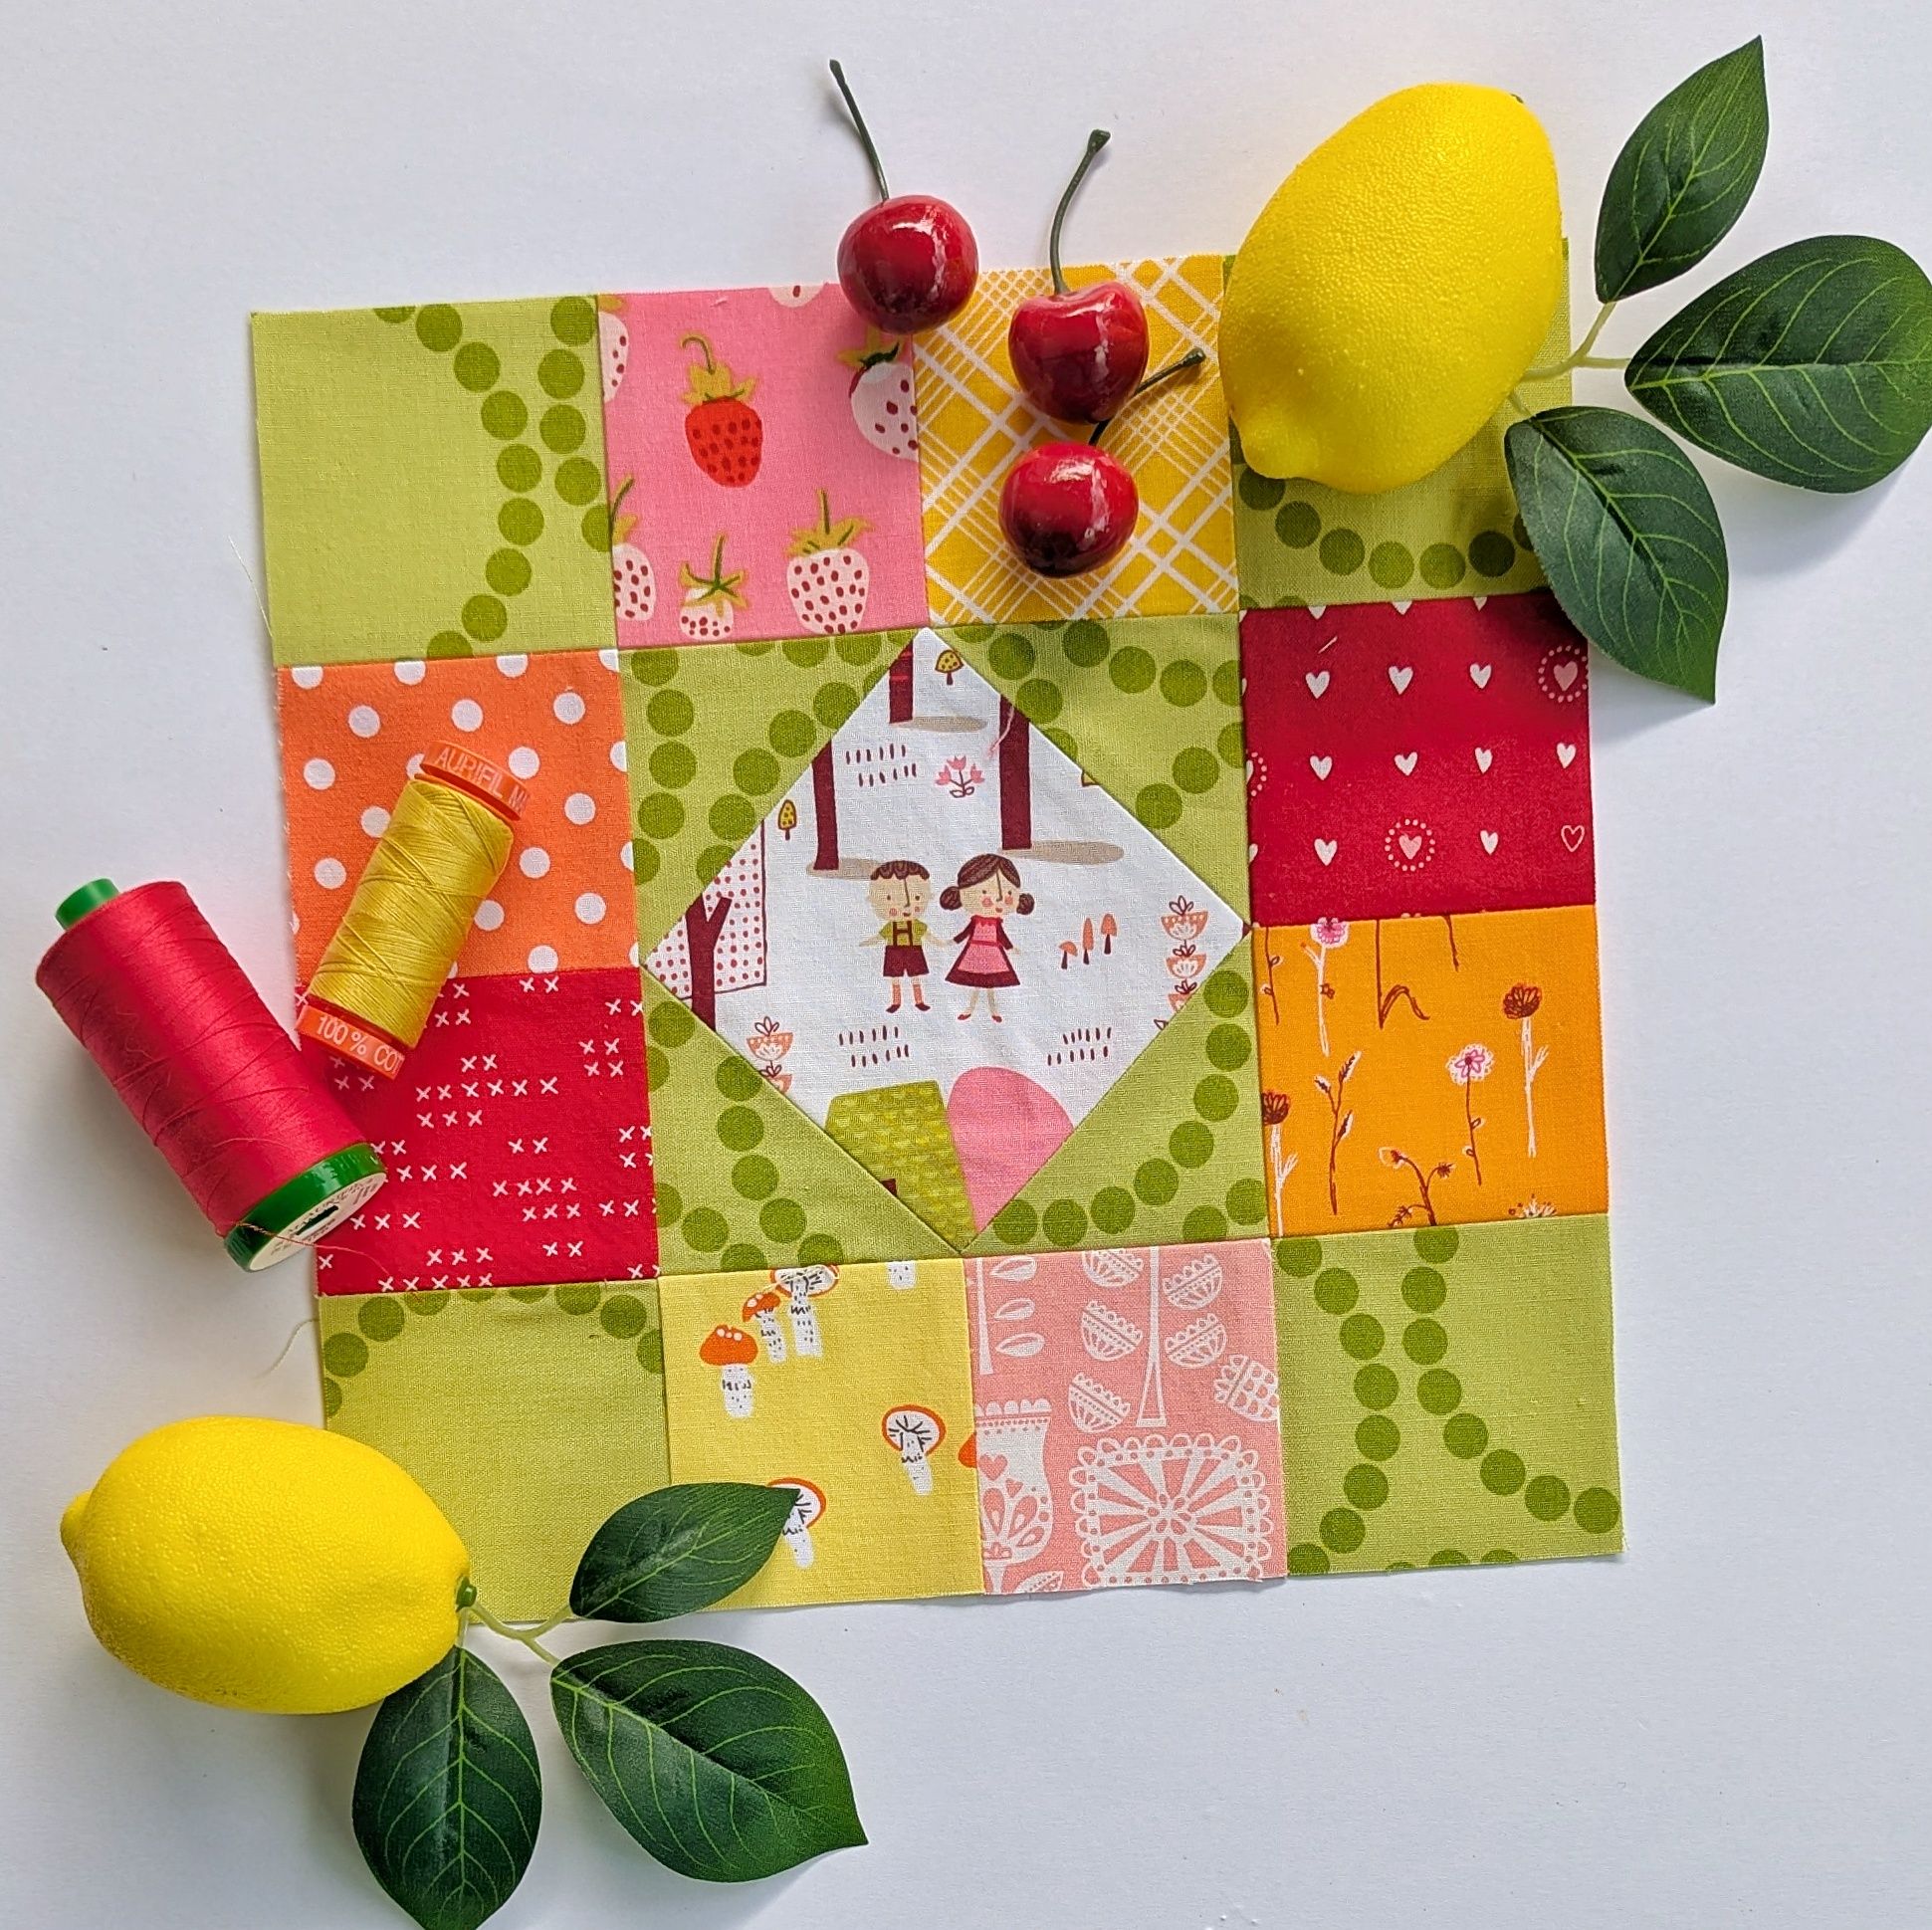
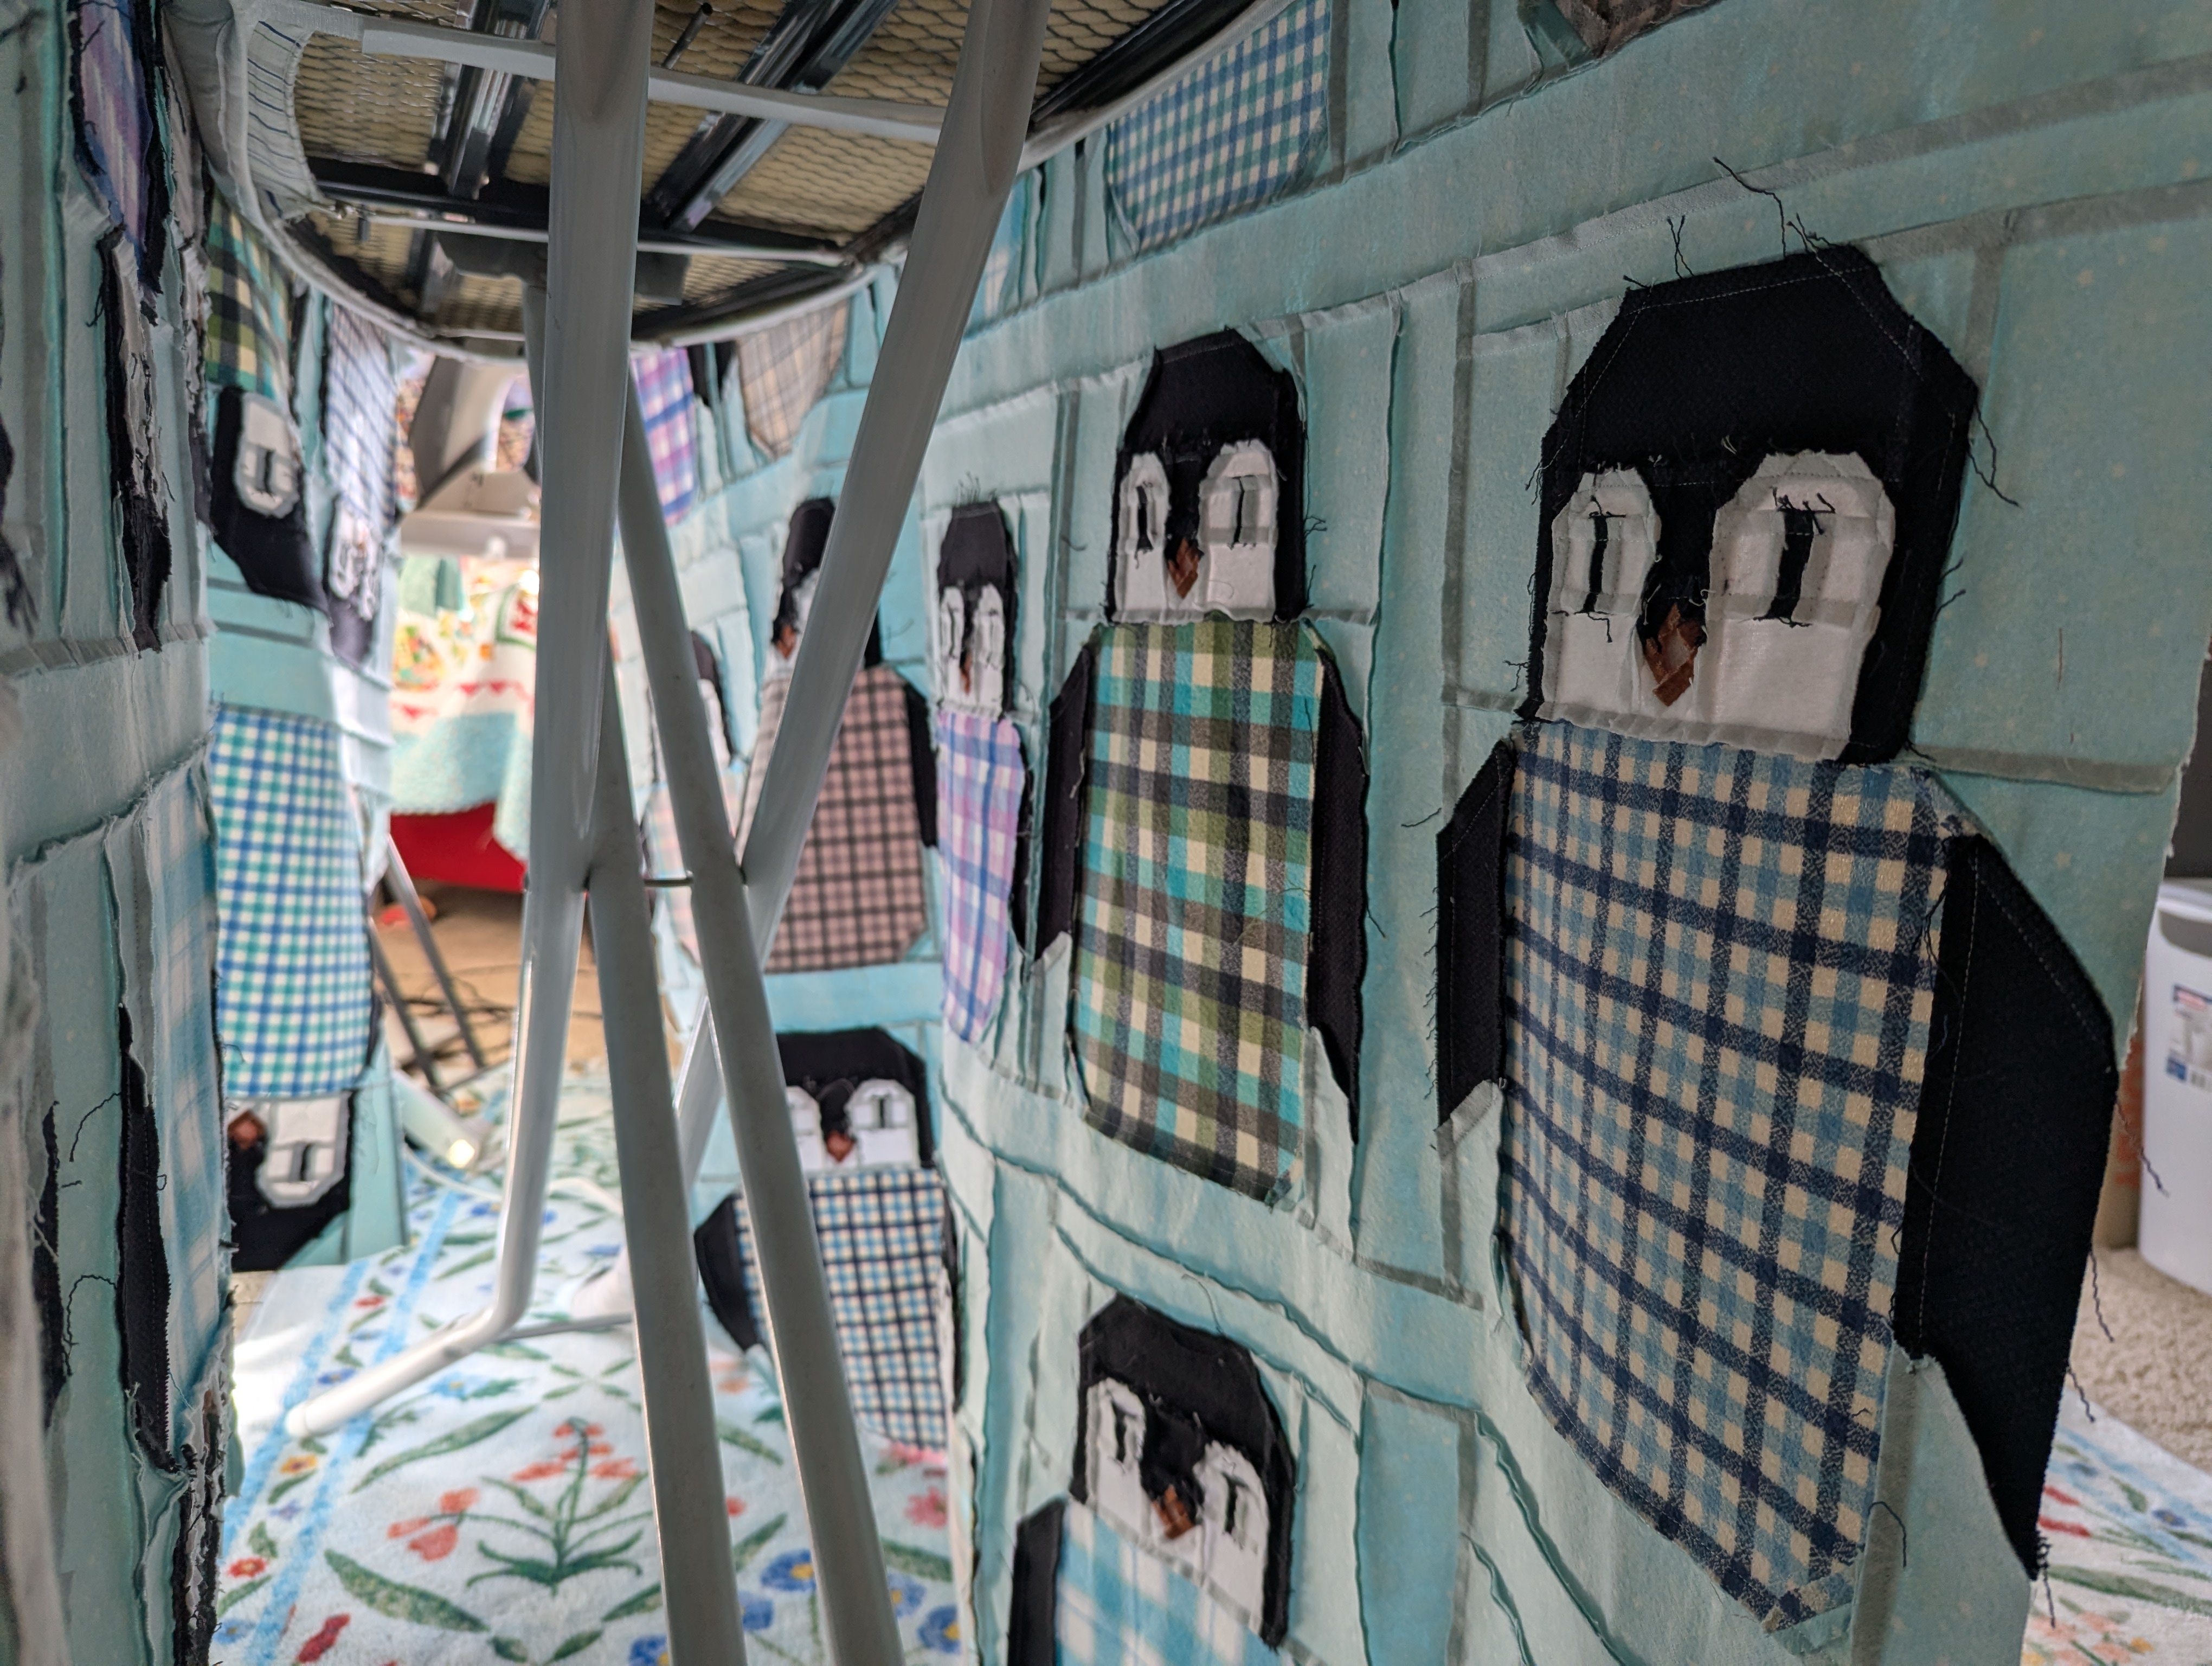
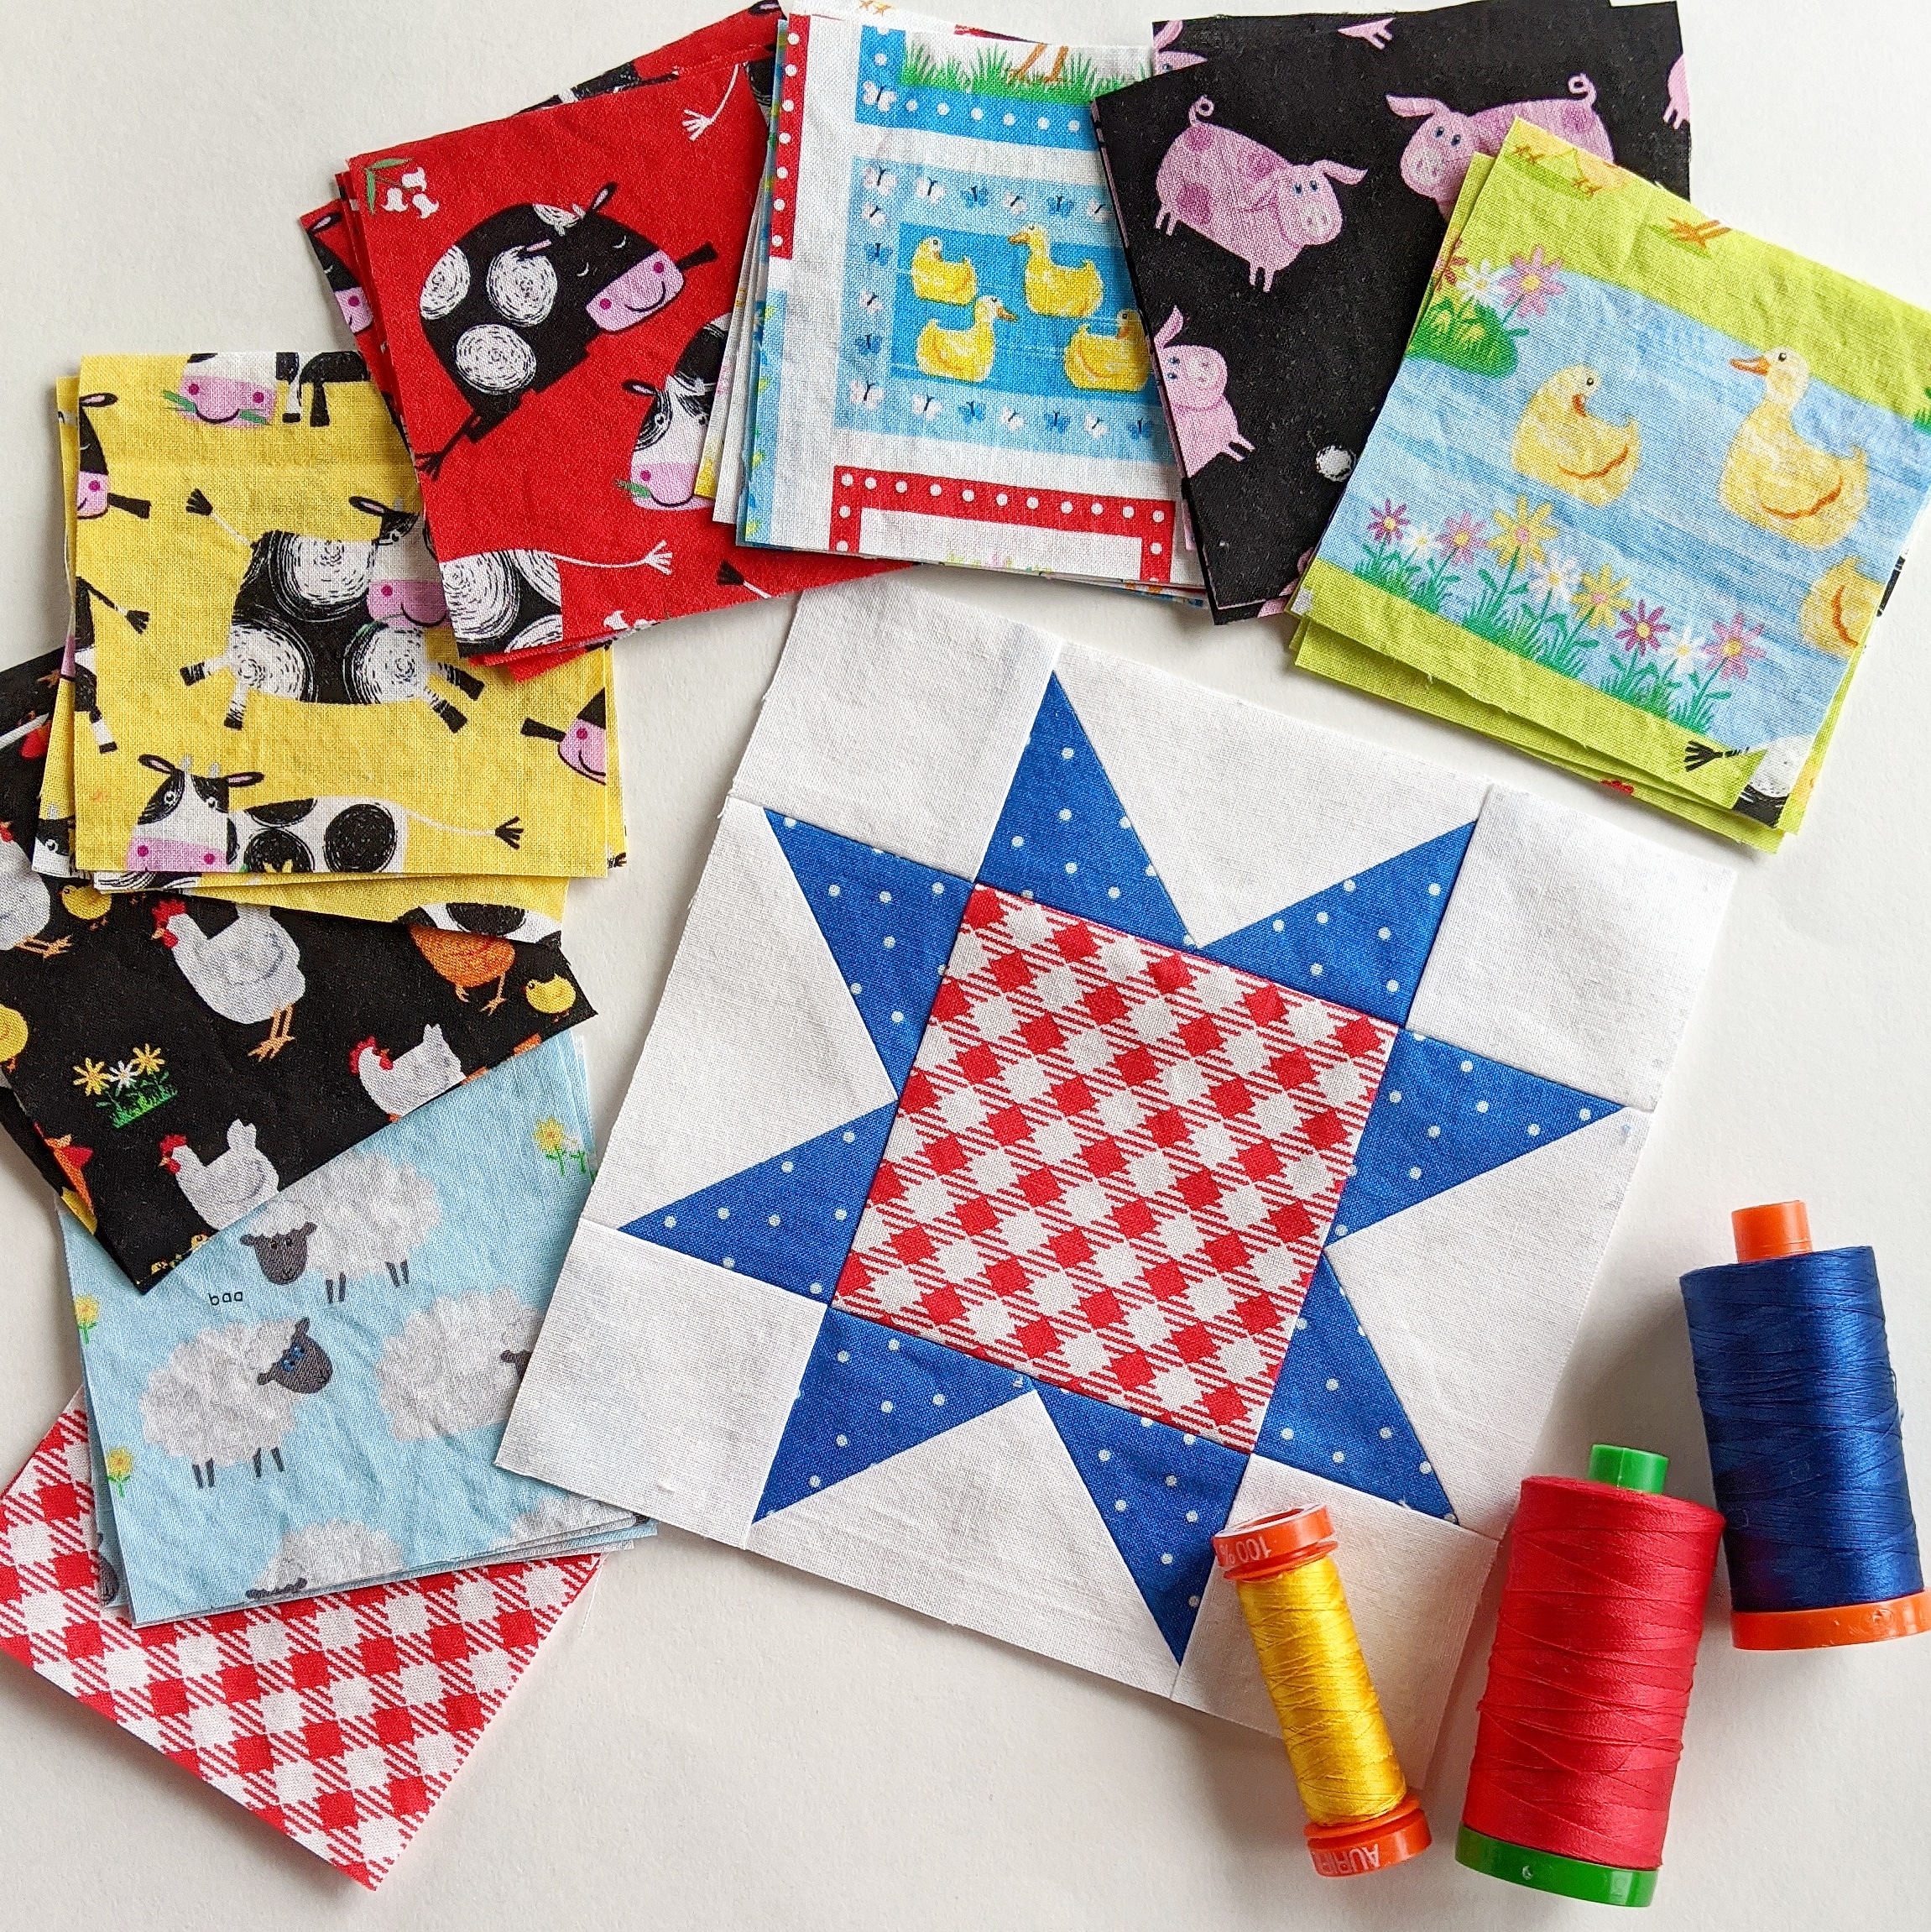
- Baby Quilt: A friend is pregnant! There’s a baby on the way! Yay for babies!!! I’m trying to decide on the direction I want to go with this—I have a flimsy already made, the “Best Friends Farm Wonky Stars” quilt from during my Blank Quilting ambassador days, that would work beautifully, but I feel guilty re-purposing something I already made? That guilt is silly, right? If I decide to go with the partially-made quilt, I’d like to have it basted by the end of the month. If I decide to make a new quilt from scratch, I will need to decide on my pattern and acquire the fabric by the end of the month. As I write my options down and look out upon the expanse of projects waiting for my schedule to open up so I can work on them, I’m leaning heavily towards using the already-existing flimsy.
Hand Stitching:
English Paper Piecing: Get as much work done as possible on Smitten. It’s HOT in the craft room in the summer, so hand-piecing is perfect for this weather. I should set a daily stitching time goal for this. Fifteen to thirty minutes a day or something. We’re in the slog of it; I just need to sit my butt in the chair and stitch and it’ll be over faster.
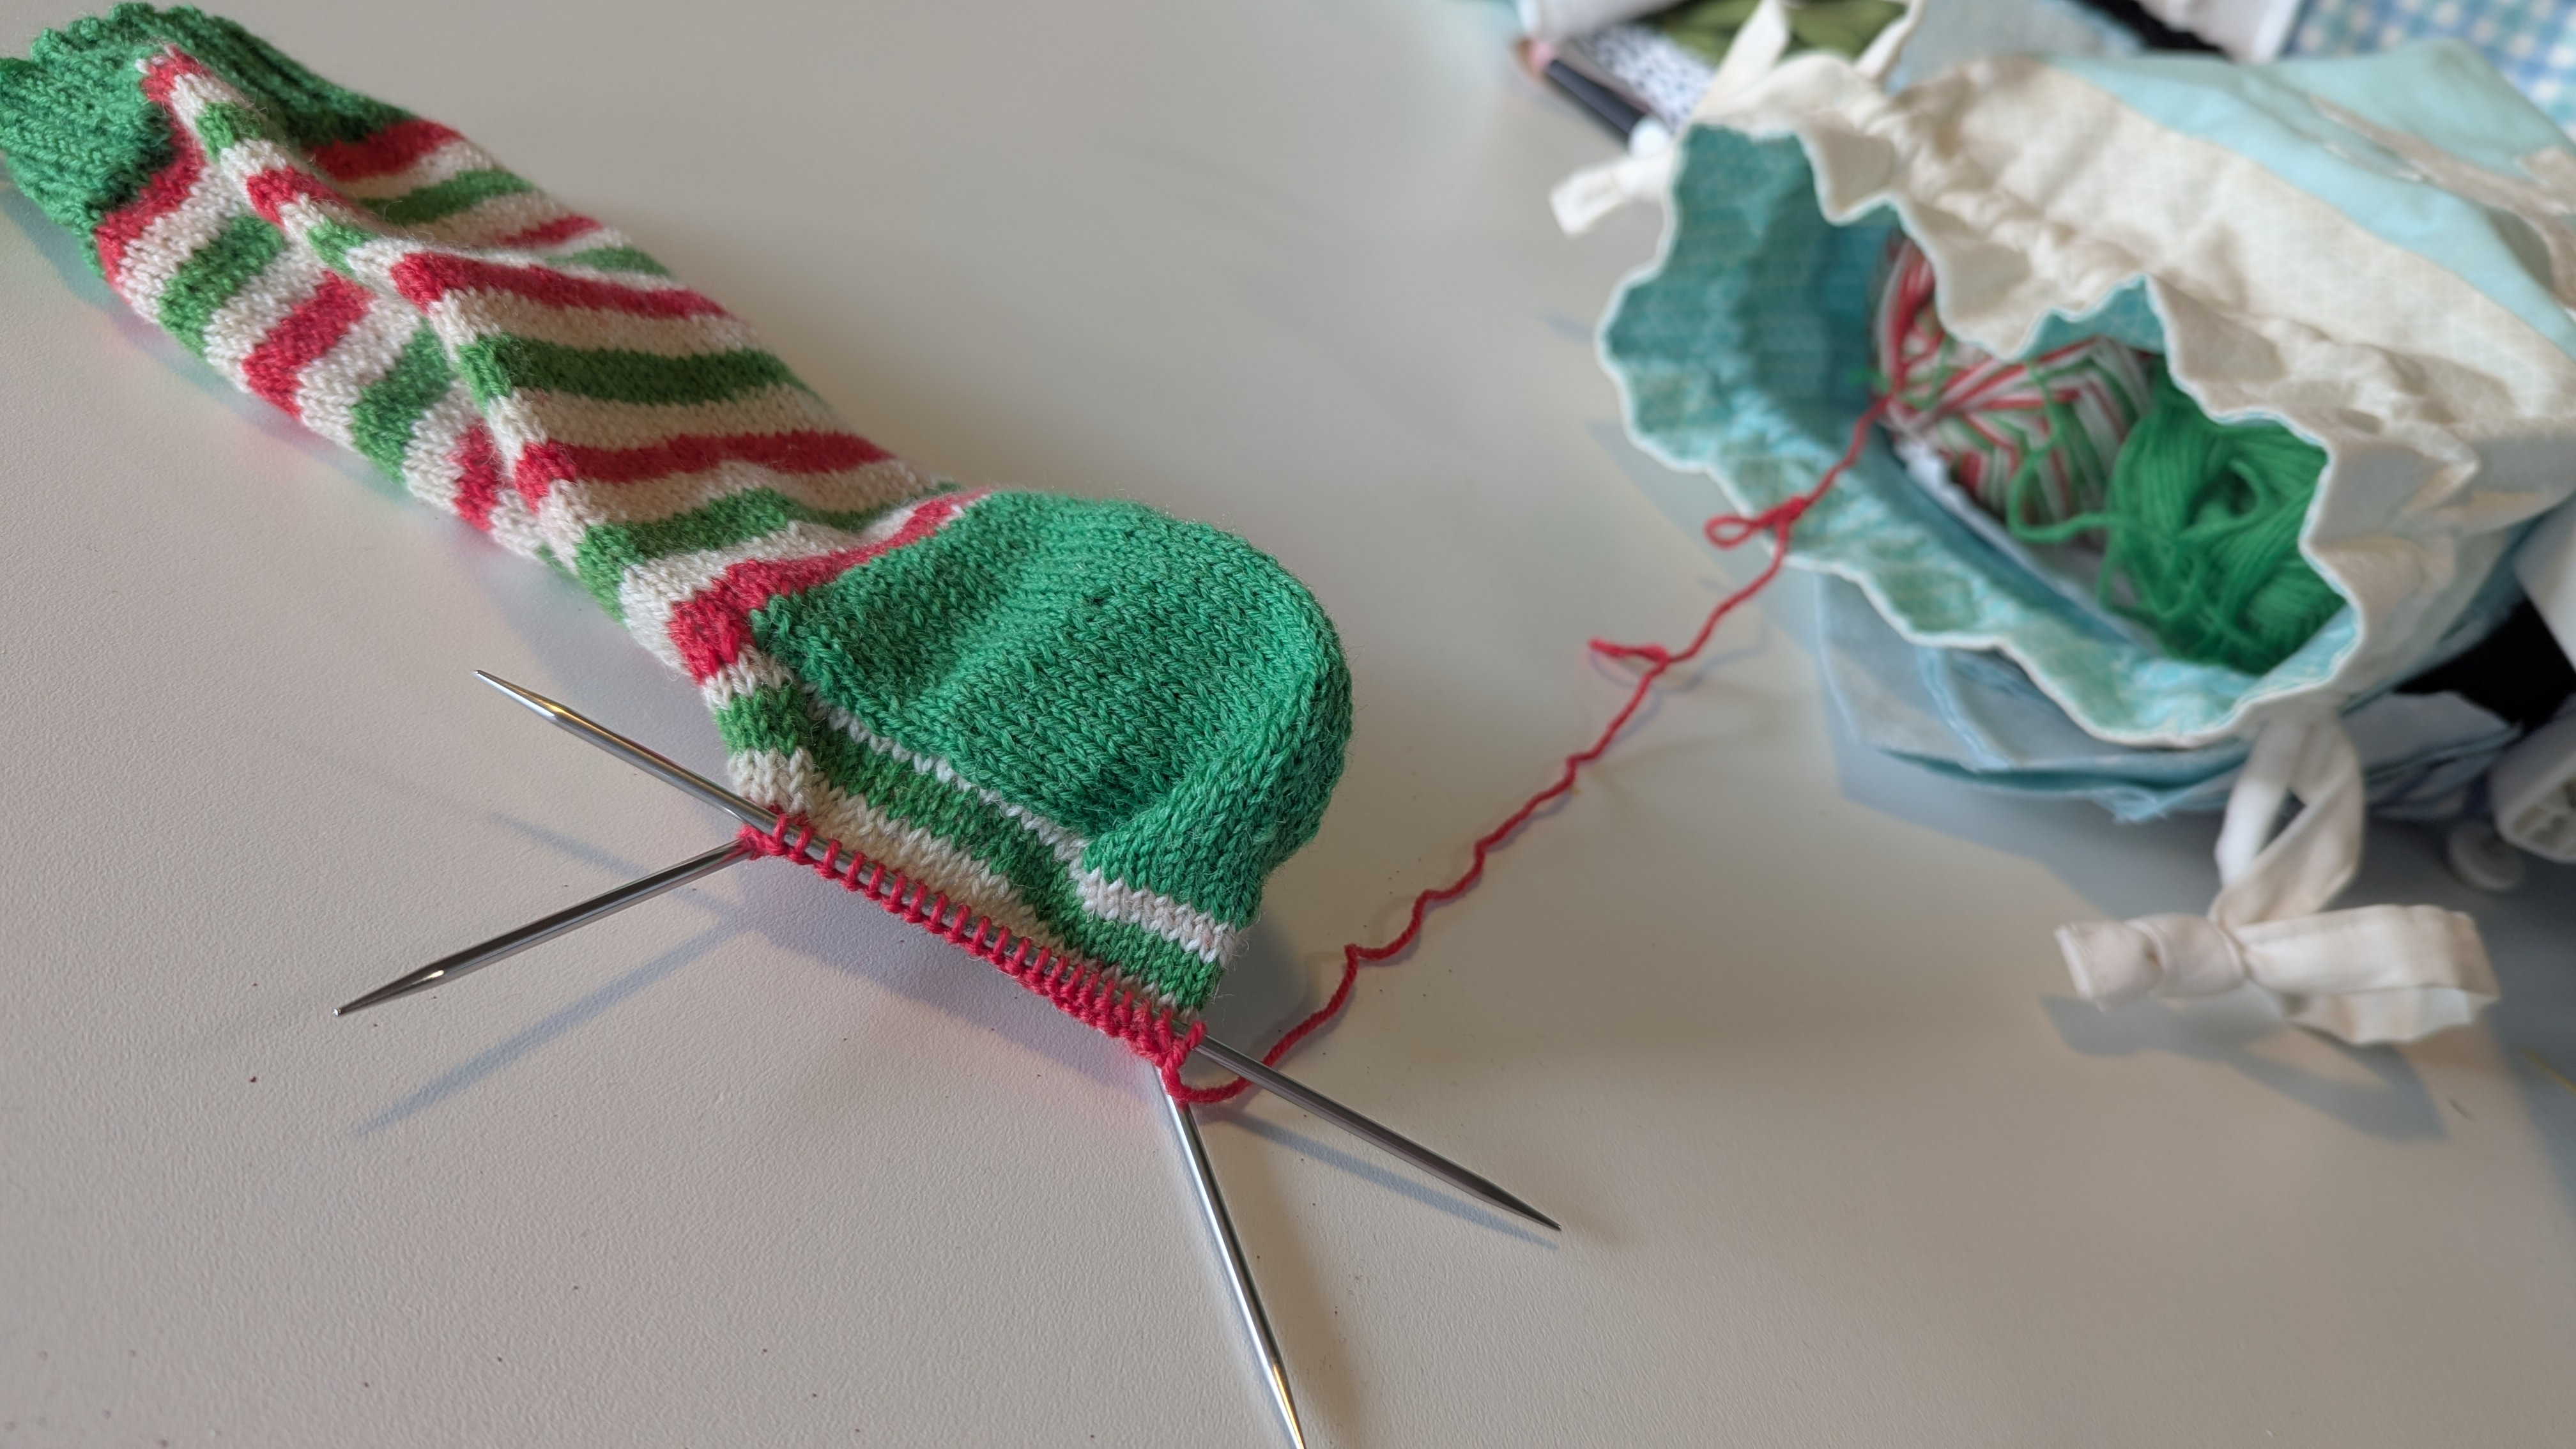
Knitting: I usually work on the Husband Christmas Socks in secret, but I am much further behind on them this year than I normally am, so I’m going to talk about them because publicly shaming myself works for me. I try to have the Husband Christmas Socks done by the Fourth of July so they don’t hang over me, but here we are, almost at the Fourth of July, and I’m only about two-thirds done with the FIRST sock. Eek! The situation isn’t dire, obviously, but some heat needs to be applied. I’ve been working on them for fifteen minutes a day for some months now, but I guess I need to bump it up to thirty minutes until they’re done. It’d be great to finish them up by the end of the month, but a practical goal would be finish the first sock and get to the heel of the second sock? That’s actually a little ambitious, but possibly doable. I have some other socks I’d like to knit up as gifts this year, so being behind on this is annoying to my Christmas junkie senses.
Embroidery: None for this month. But it is July and hand stitching is lovely in the summer, so hopefully I get through my projects so I can visit some embroidery projects. There’s nothing like sipping lemonade and embroidering in the garden while the bees buzz in the lavender plants.
Summary of July’s Crafty Goals:
- Rachel’s Graduation Quilt: Finish both the signature back flimsy AND the pencil crayon top flimsy.
- FQS Sewcialites 3: Sew up blocks #15-23. (3 per week.)
- Rainbow Coin Strip Quilt: Finish the label, photoshoot, blog post.
- Riley Blake Designs’ Block Challenge Quilt: Sew up six chevron blocks.
- Wonky Stars Baby Quilt: Baste. (Do I need to secure a backing and batting?)
- Smitten EPP Quilt: 30 minutes of stitching a day.
- Husband Christmas Socks: 30 minutes of stitching a day.
- Embroidery: Indulge in some summer garden stitching on Sunday afternoons and soak in the aesthetic.