
Alright, as promised, a debriefing on Renaissance’s prom dress:

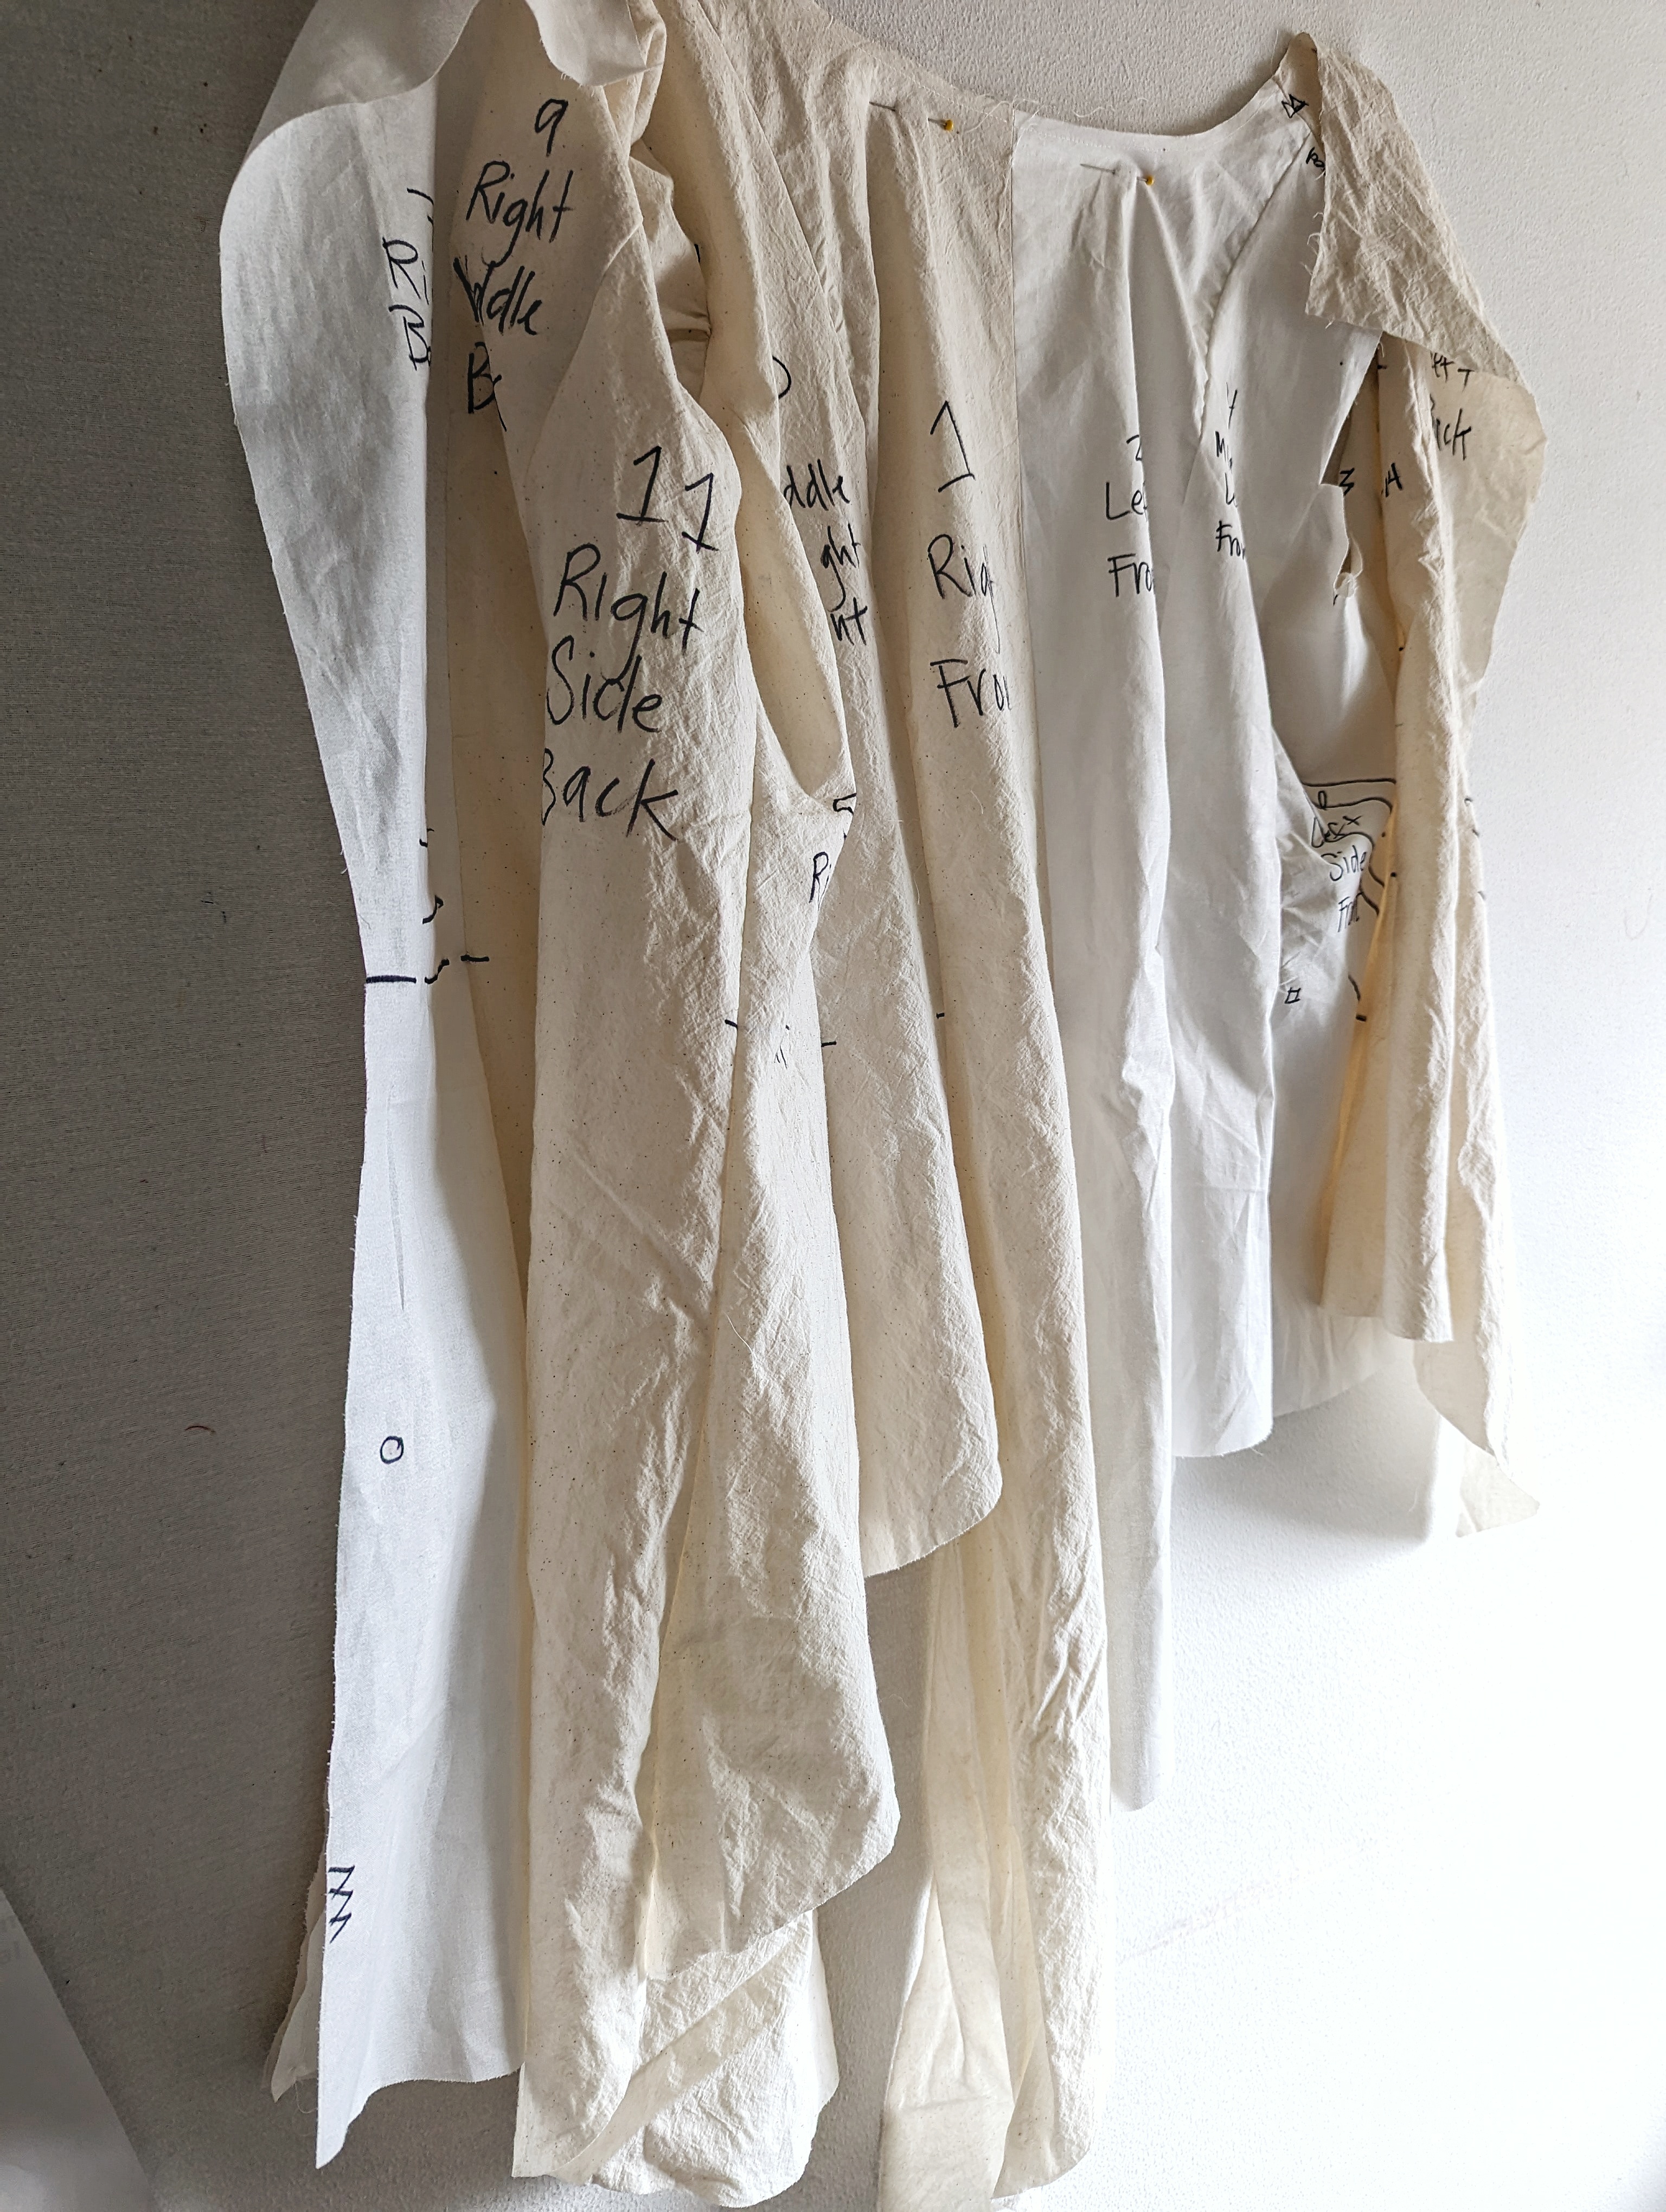
Pattern
McCall’s #7091, discontinued but available online as a PDF file.
Caution: It’s a batch of three downloads with up to sixty pages in each download that you have to tape together. An A0 printing option is NOT available. It took me four hours to tape the one hundred and twenty-seven pages together.

Materials
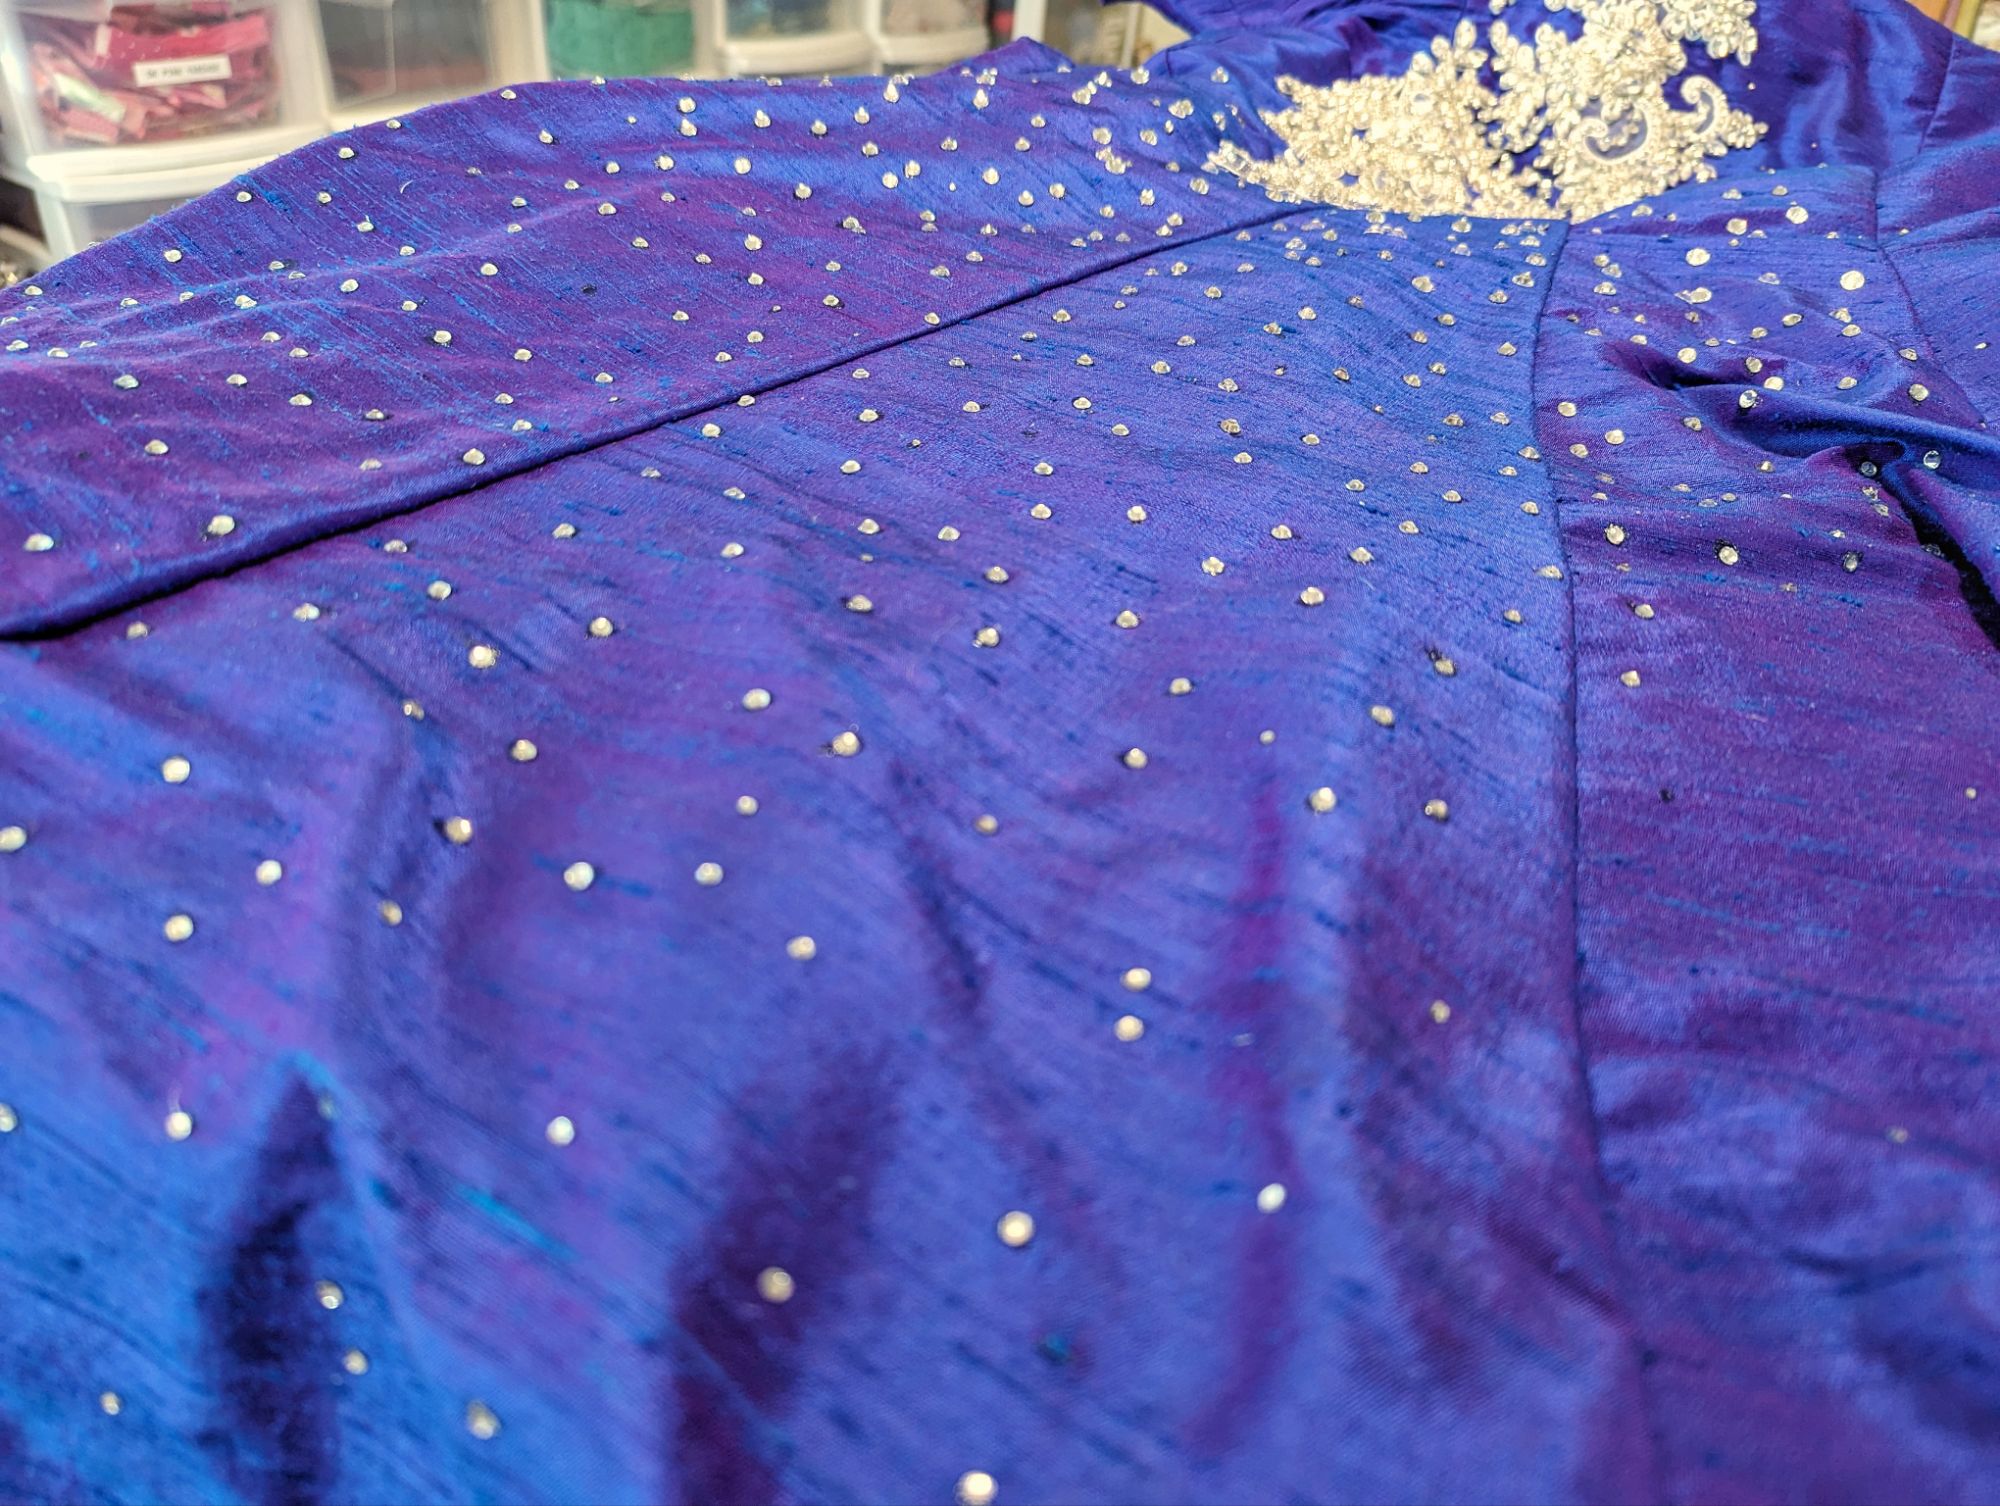
Dupioni Silk in colorway “Comet Tail” (5 yards), Shantung Silk in colorway “Nolana” (4 yards), and Batiste Silk/Cotton in colorway “Apparition” (2 yards). All three were purchased from Silk Baron.

Working with silk is a lovely experience. I opted to do all of my cutting of the fabrics with a pinked rotary blade in order to cut down on fraying, and that was an excellent choice.
I will not use the Batiste Silk/Cotton as a lining in the future because it has too loose of a weave and stretched and grew like crazy inside the dress, causing the neckline to sag more and more as Renaissance wore it. It’s a beautiful fabric and I want to make more things from it in the future, but it’s not well-suited to give structure to a garment.
Notions
- Thread: Aurifil 50 weight #2780 when piecing “Comet Tail,” Superior Threads’ Pima 50 weight #8035 when piecing “Nolana,” and I used Coats & Clark Dual Duty XP All Purpose #3510 for piecing the “Apparition” gray lining. Ren used an invisible monofilament thread (that she hasn’t put back so I can’t tell you for certain who makes it) for securing the rhinestone appliques.
- Zipper: I used a light purple invisible zipper from my zipper drawer, still leftover from the ill-advised purchase of the “scrap bag” of invisible zippers that really only included colors that I’ll rarely ever use. I used blue Sharpie on the zipper pull to camouflage it against the Comet Tail silk.
- Rhinestones: We bought two rhinestone appliques “Devine Pair Applique LA-11” from Planet Rhinestone on Etsy, and a loose pack of various sizes of rhinestones from Amazon.
I originally planned to use silk thread for sewing this all up, but read online that it was a bad idea and that silk thread should really only be used for embroidery and the like. So I went with cotton.

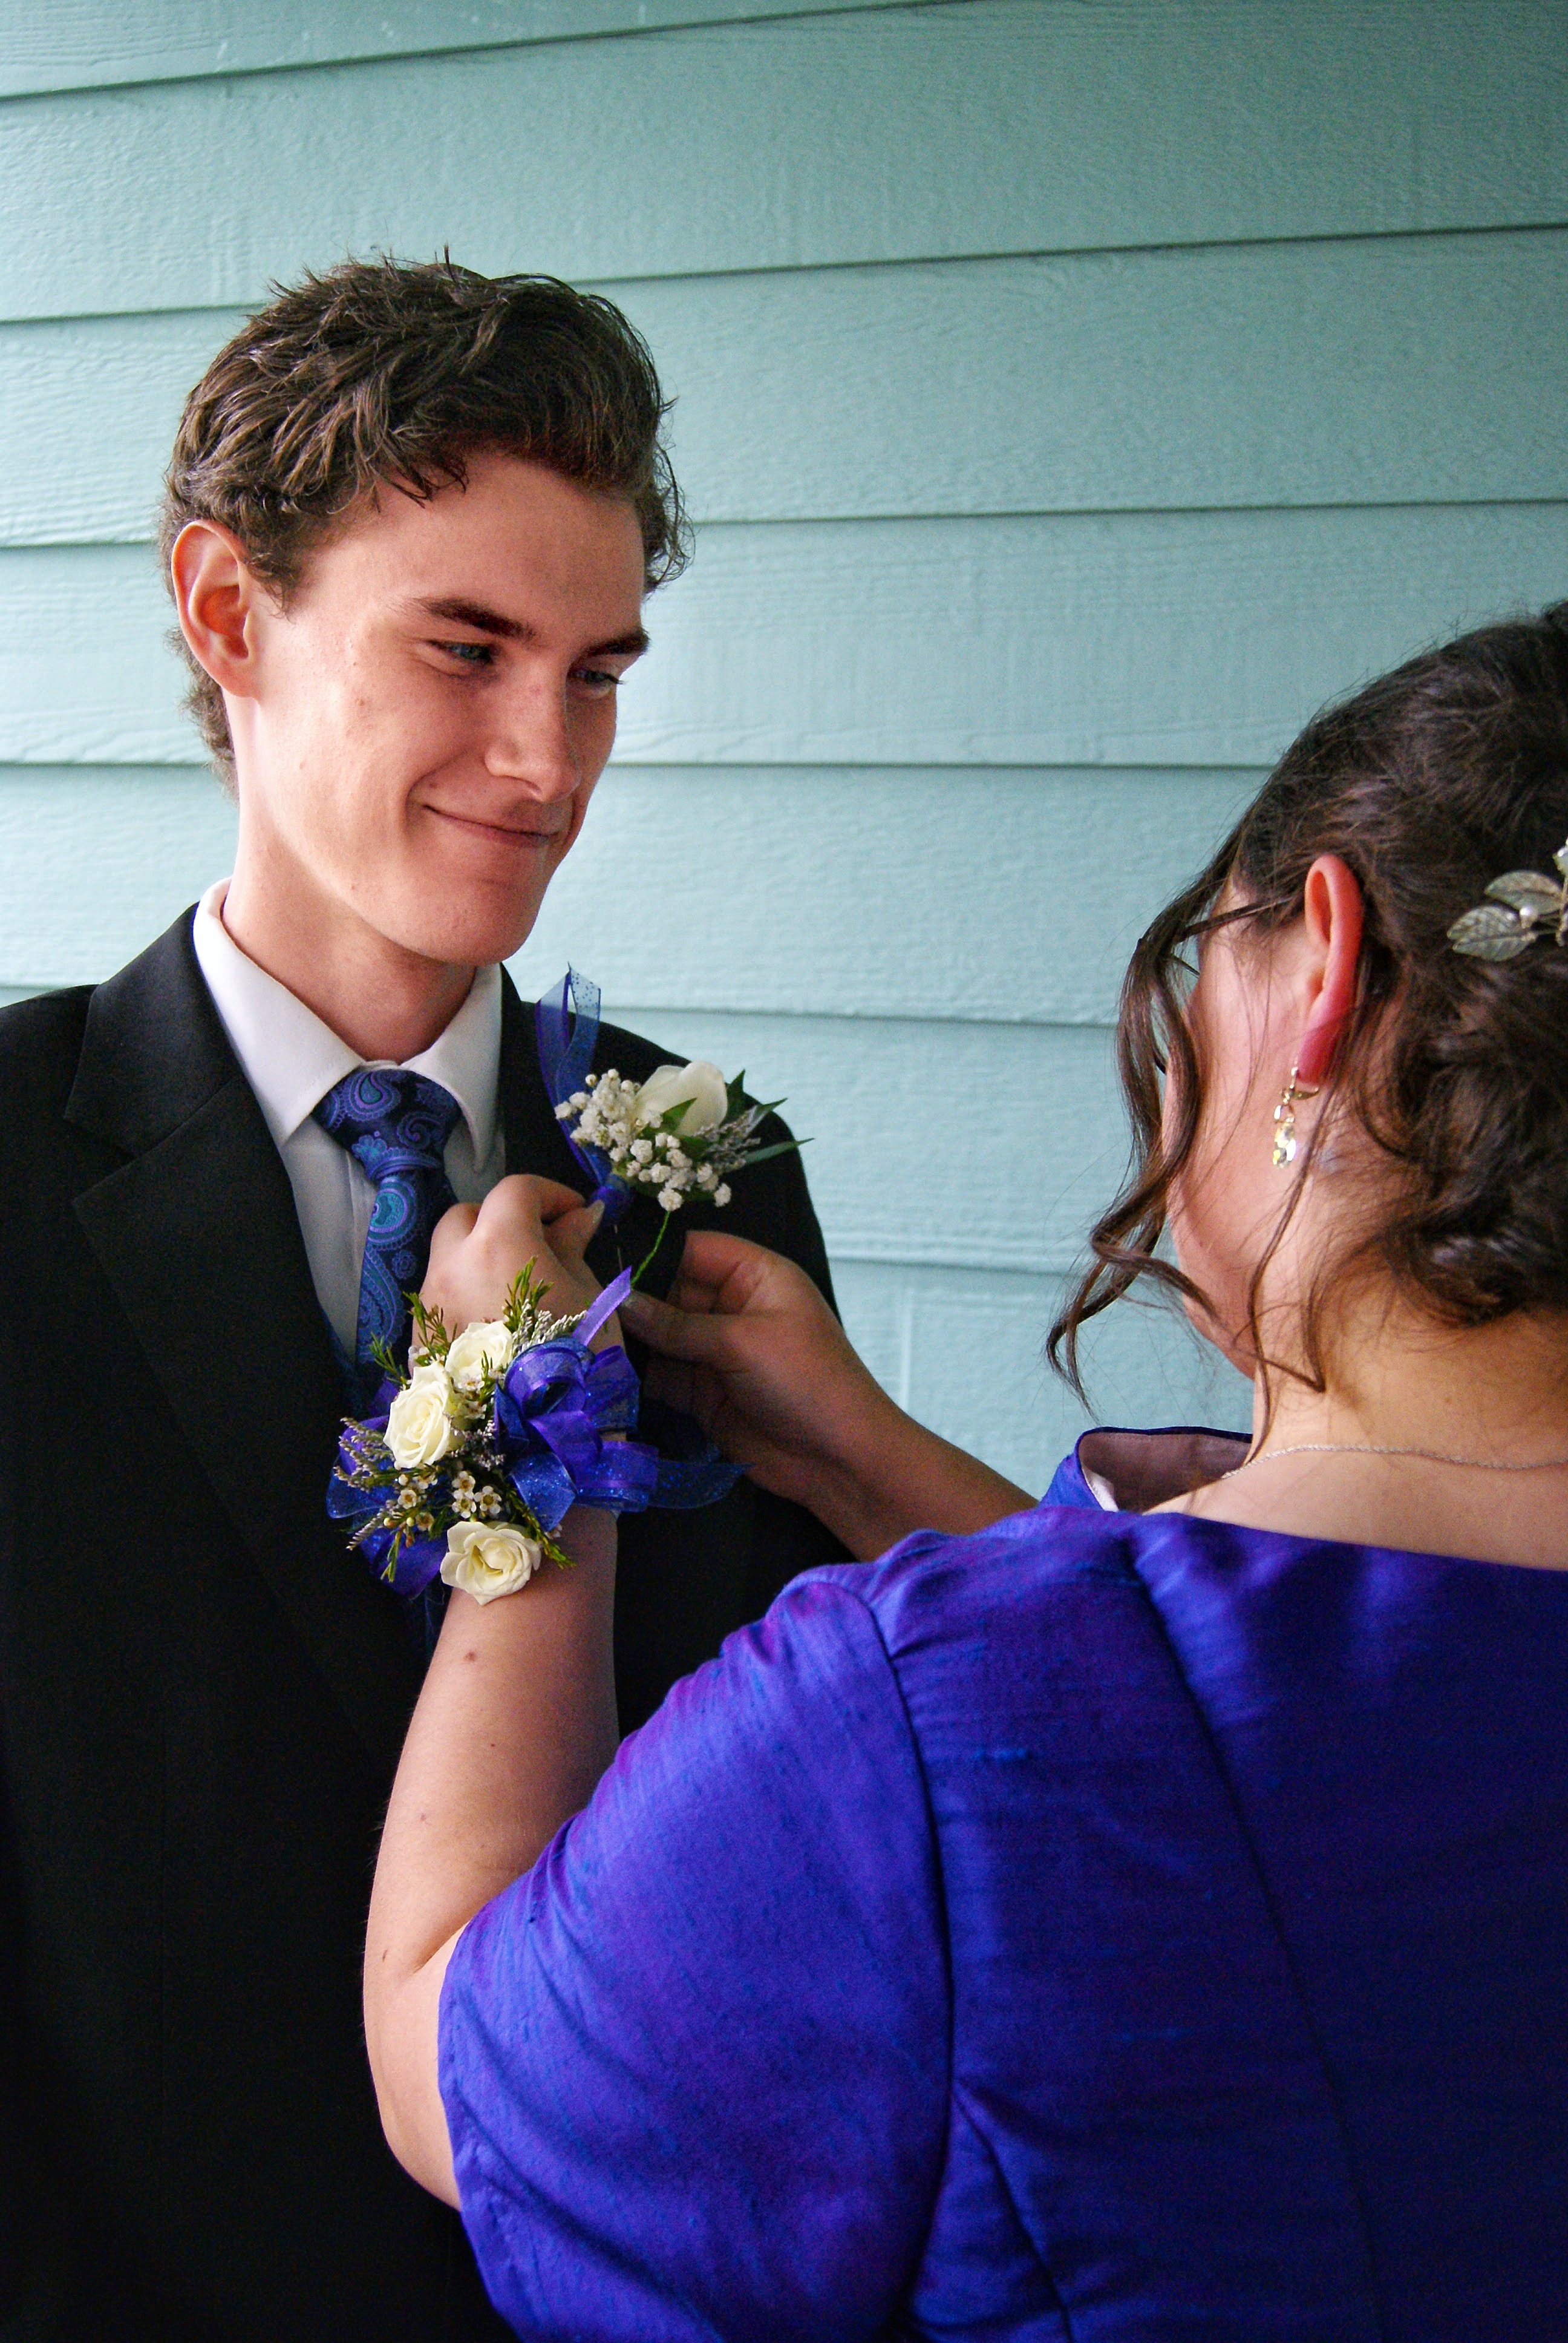
Renaissance spent all of her free time in the week leading up Church Prom attaching the appliques, and Emily, Ren, and I spent a frenzied two hours on the day of Church Prom gluing the loose gems to the dress with Beacon Gem-Tac adhesive and toothpicks.
Time Spent
- Assembling the pattern: 4 hours
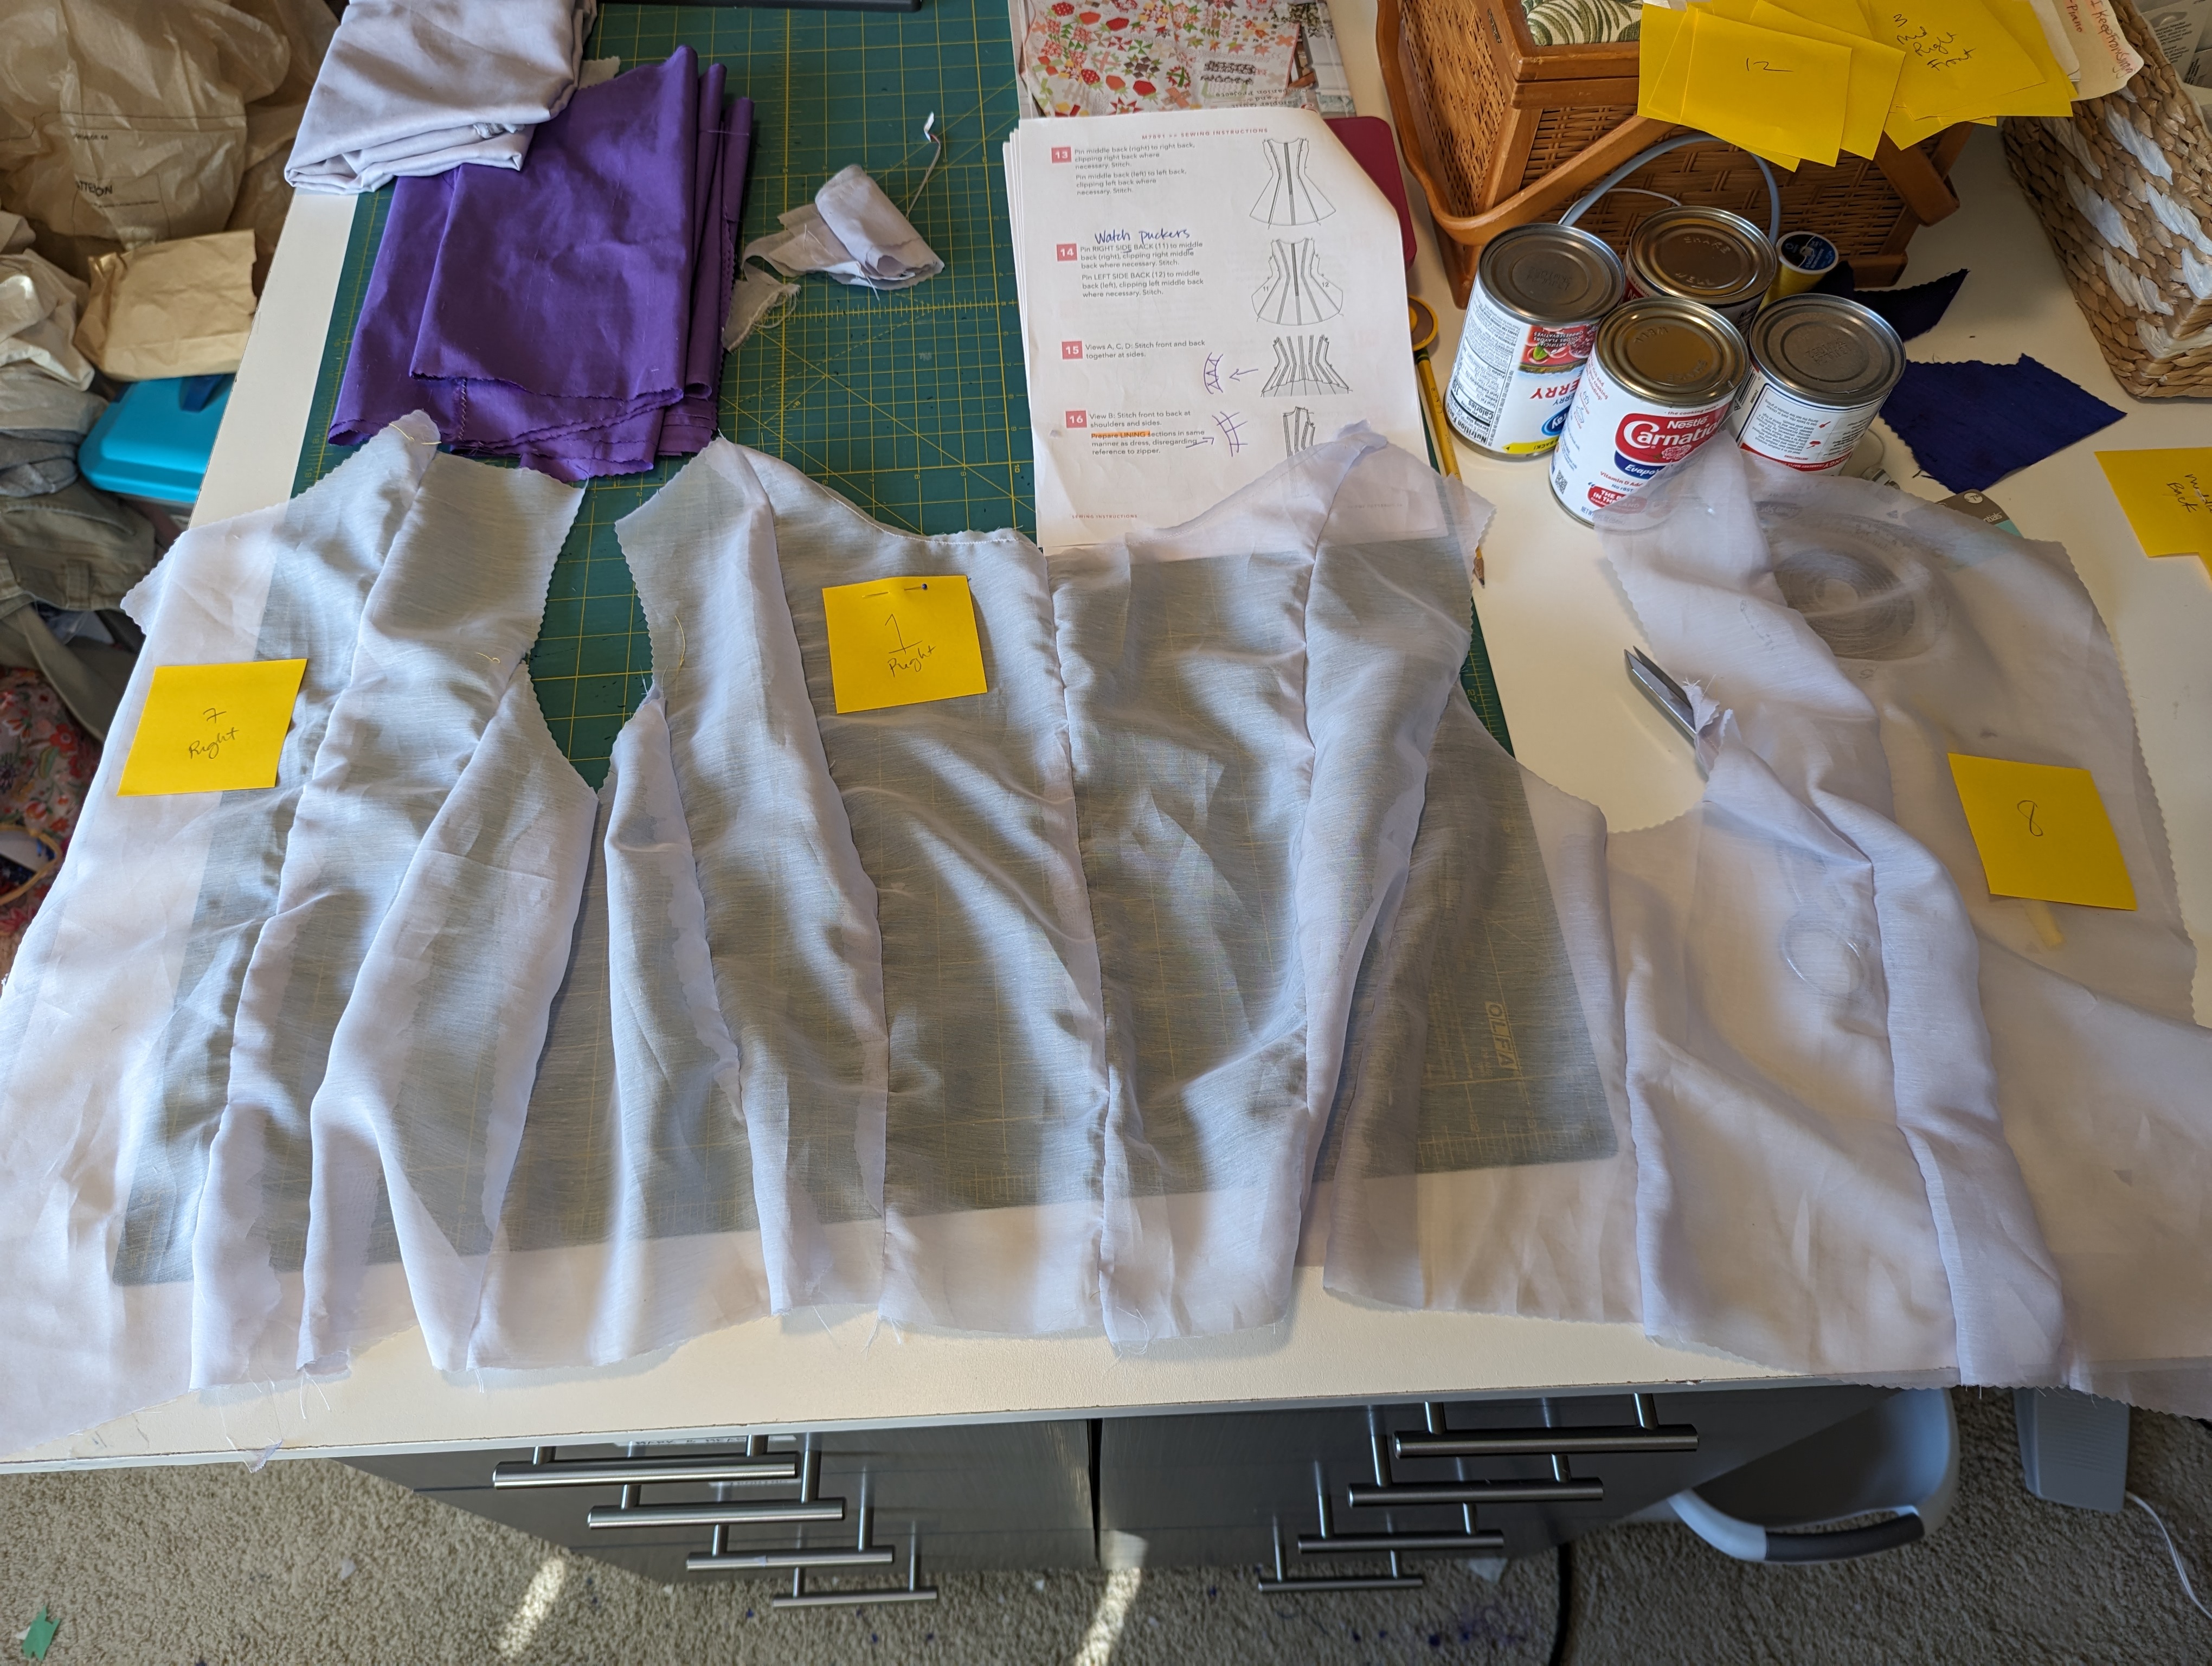
- Sewing the dress: My memory is fuzzy on this, but I feel like it was five weeks’ worth of sewing a few hours a day. My estimate is forty hours of work? All those princess seams took a long time to assemble, and I handstitched the contrast skirt’s hem.
- Rhinestone application: Renaissance estimates that it took at least ten hours to sew the two appliques onto the dress. It was her first time doing something like that. And then three of us worked for two hours together to glue the loose rhinestones on, so 3 x 2 = 6 hours.
- Total: ~60 hours of work
Highlights

- First time working with silk and it was awesome! I ended up phoning Silk Baron to get advice on whether or not to wash the fabric before sewing and whoever answered the phone was incredibly friendly and took their time in explaining the situations where it would be ok and why this was not one of those situations because the dye and the shot weave would lose their coolness factors.
- There is only one pucker in all of those princess seams! I really learned how to ease fabric with this dress. I’m a fabric-easing machine now. The trick is to cut the notches before you pin.
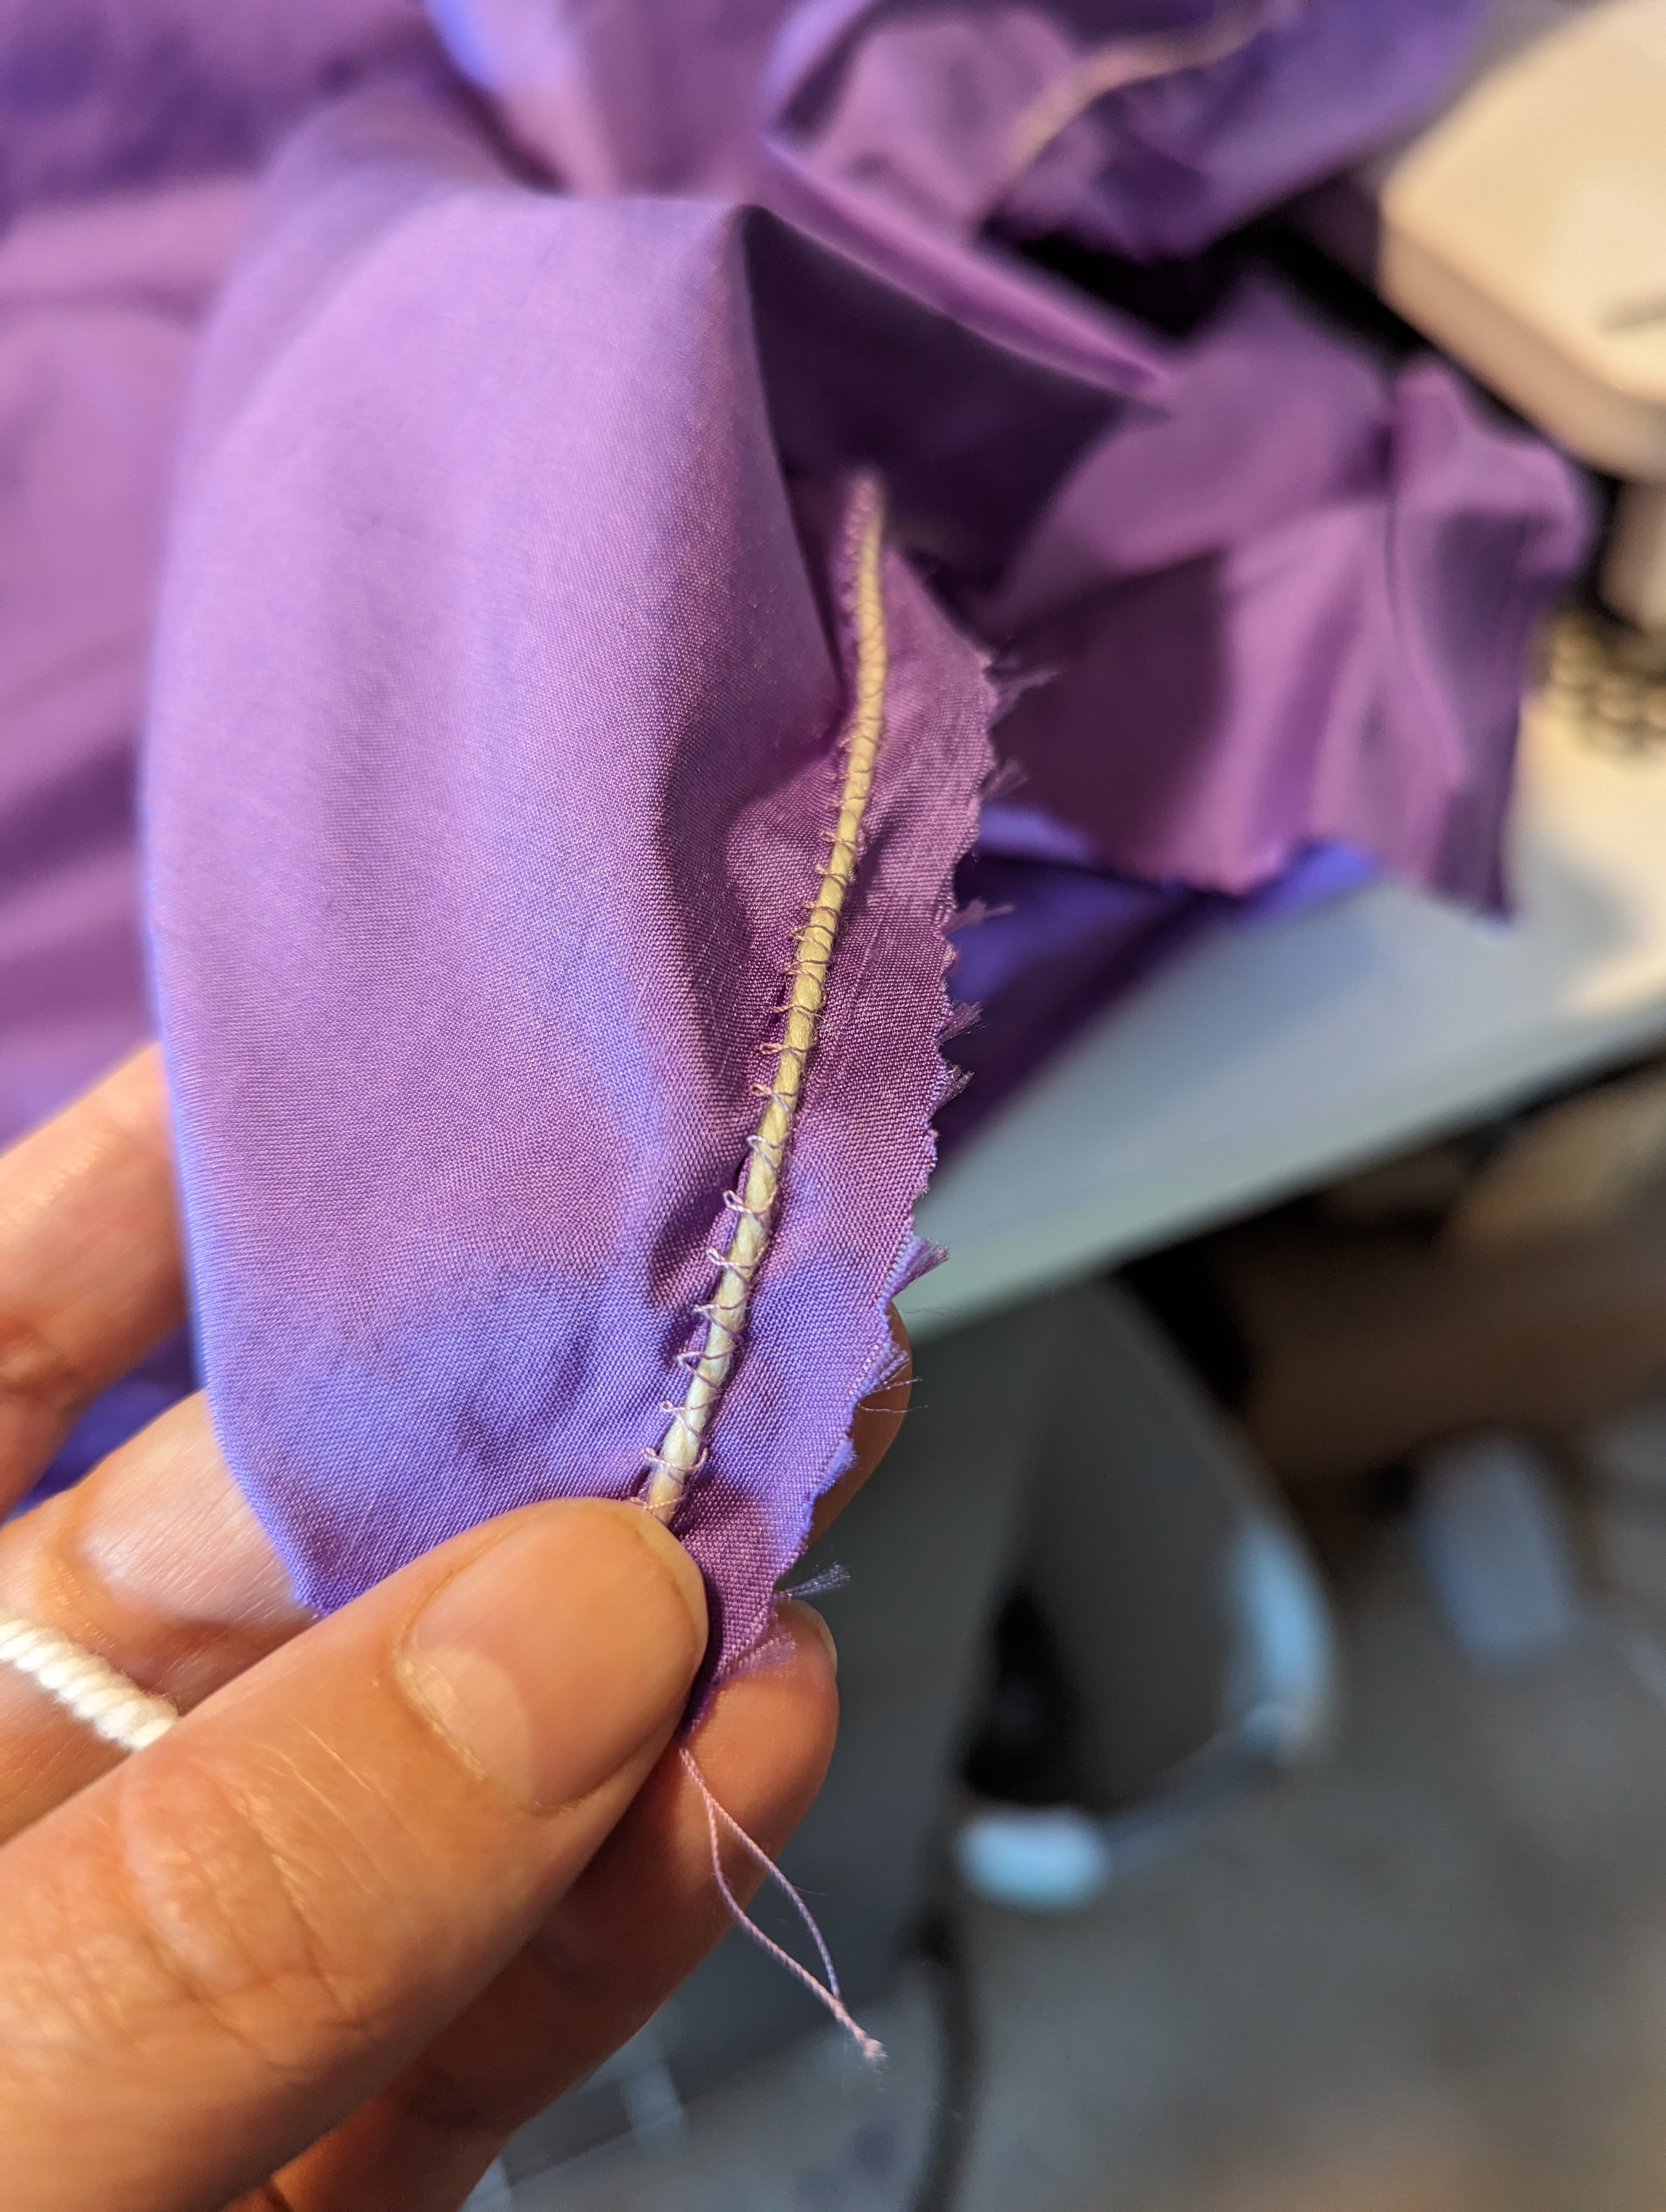
- The lighter purple contrast skirt was assembled using French seams, which was the first time I’d done them and they turned out great.
- Watching Renaissance work on sewing the rhinestone appliques to her dress while watching “The Simpsons.”
- Working with Emily & Renaissance to glue the gemstones onto the dress. I always like family group projects.
Lowlights
- Taping the pattern together. Seriously, McCall’s, you need to offer an A0 printing option. A lot of sewing happens on a deadline and having to spend four hours upfront taping paper together is brutal.
- Owing to my background as a quilter, I default to a shorter stitch length when I’m nervous about a seam. It turns out that this is not the correct default when sewing clothing. My choice to go with a shorter stitch length on the two skirt hemlines resulted in bunchy edge finishes, which no one really noticed except myself. The swoopy hem could have laid down so much nicer if I’d realized that. I did redo the hem on the lowest part of the swoop because it had to be trimmed, but didn’t have time to do the upper portion.
- I also wonder if I should have used a thin horsehair braid on the swoopy hem in order to make it stand out more? When the silk was fresh the swoop skirt stood out in beautiful rounded columns, but by the time it was finished it had gotten limp and didn’t do that anymore.
- The lining grew a lot and the neckline sagged more and more as she wore it.
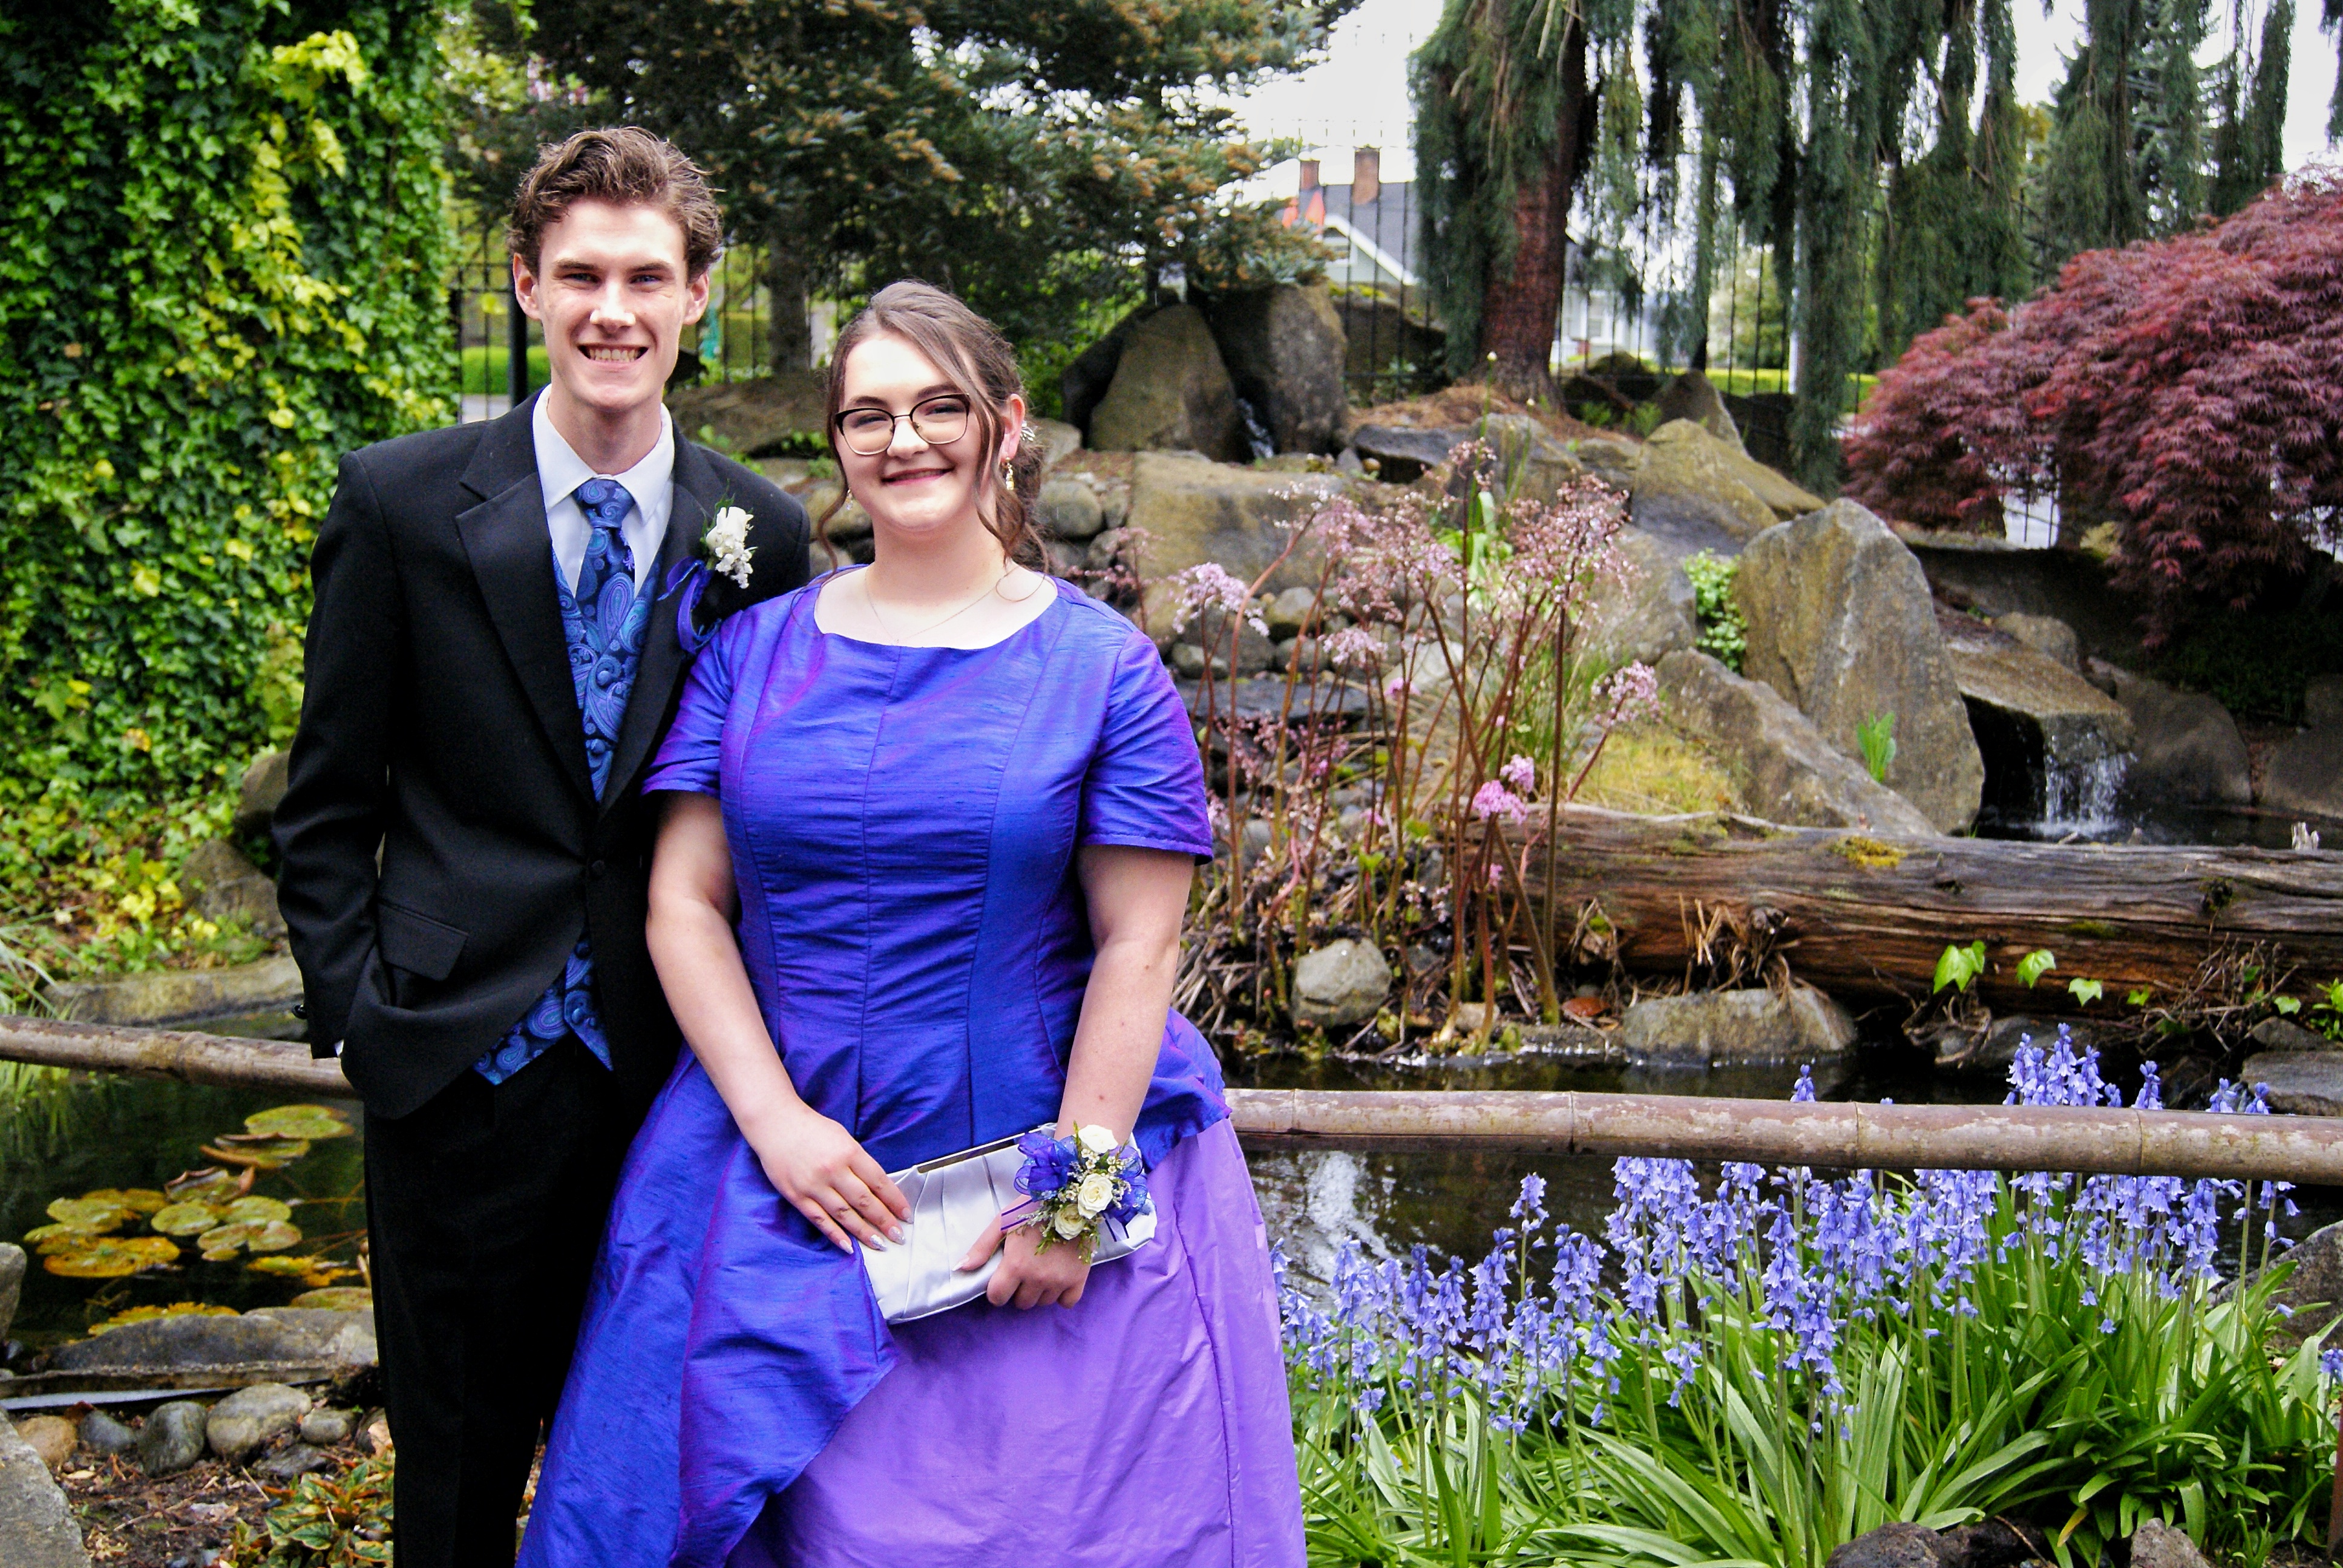
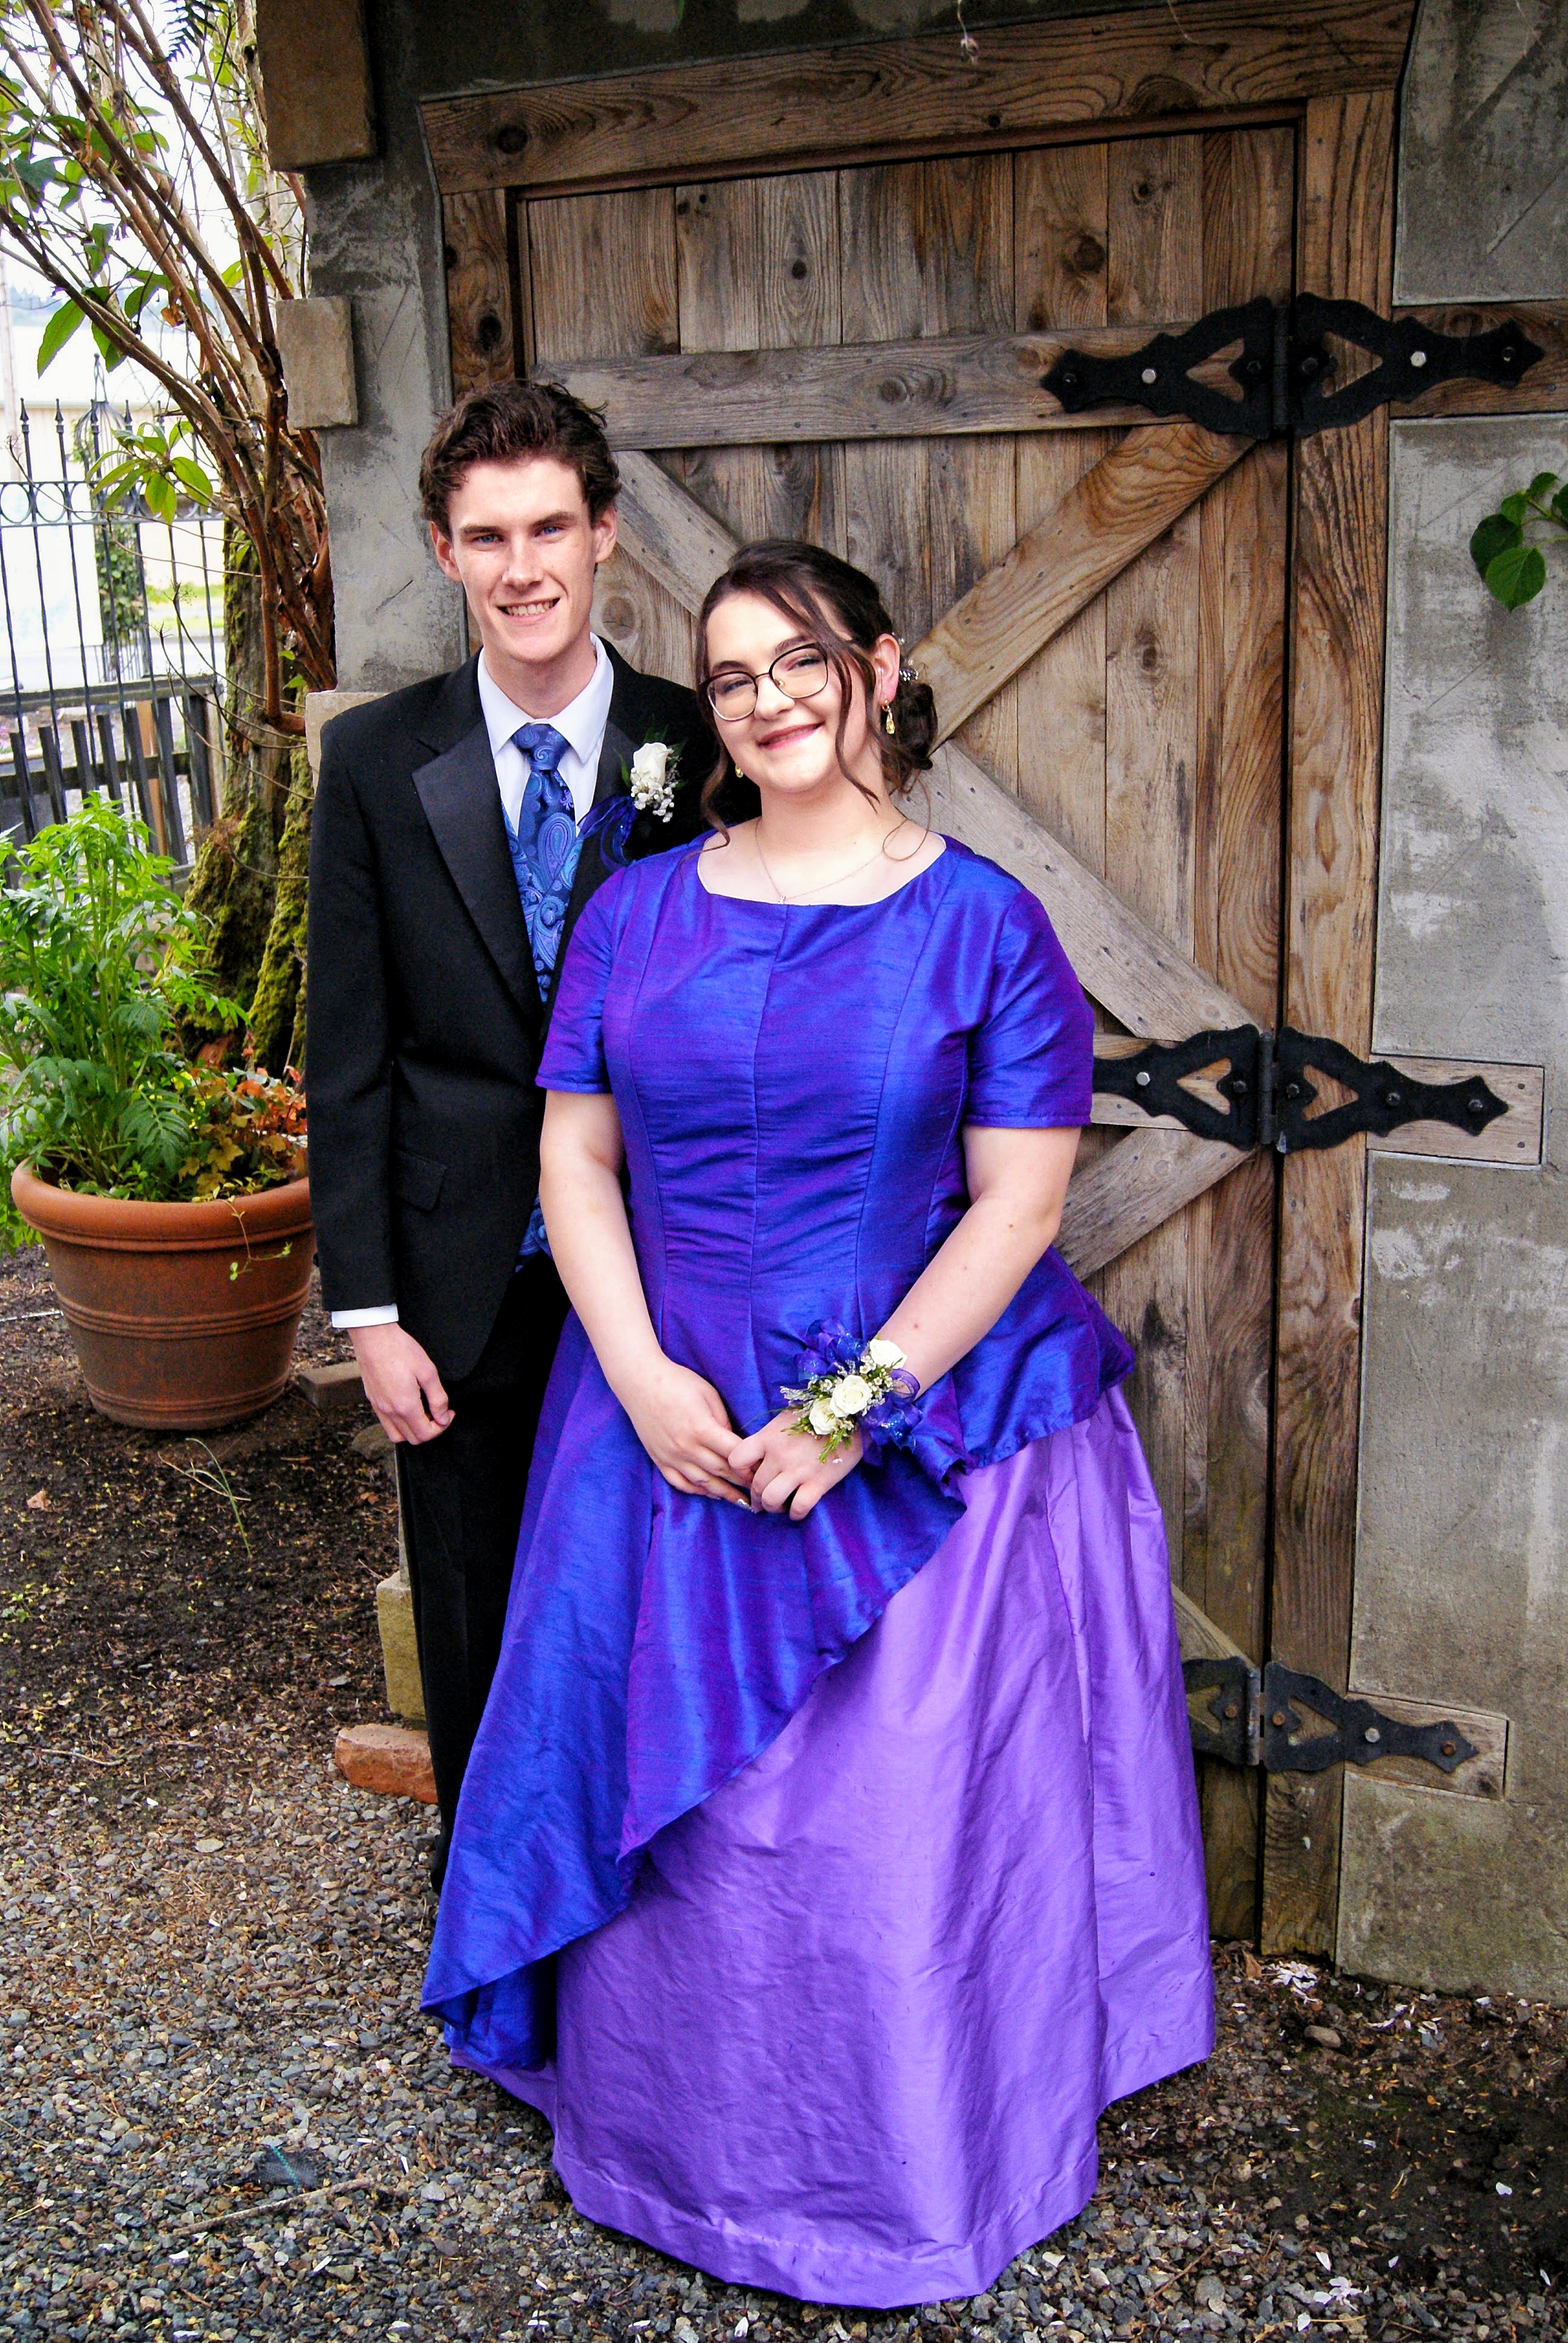
Lowlights aside, I am monstrously pleased with this dress! It had twenty-nine separate pieces to assemble because it was a twelve panel princess seam dress, and I made it work! It was beautiful plain and it was beautiful with the rhinestone embellishments. It makes a beautiful swishing noise when she’s moving in it. It’s just a beautiful dress and she loved it and I’d totally do it all over again.
Note: She is wearing a crinoline with the dress to help the skirt stand out more. I think it was this one. Or it could have been this one. I bought both and each girl wore one of them and I can’t remember who had which one.
Links to all posts about Renaissance’s Prom Dress
- A Pair of Pretty Purple Prom Dresses
- Spring Break Prom Dress Progress
- Prom Dress Crunch Time
- On the Eve of Prom
- Prom 2024
- Church Spring Formal 2024