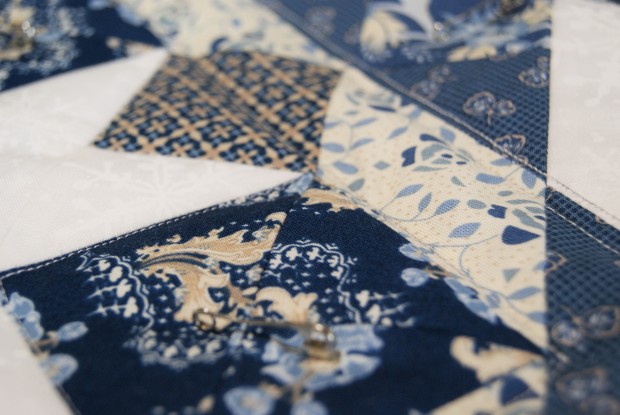
 As promised last week in my unveiling of the Snowflake Trapunto pillow, here’s a tutorial on how to do trapunto quilting.
Trapunto quilting, or “stuffed” quilting, is super simple. In fact, you’re probably just going to smack your forehead with the palm of your hand after reading through this tutorial. Long story made short: You quilt something in your normal manner, and then go back and stuff a little more fluffy stuff into parts that you want to puff out more.Don’t worry, I have pictures to help explain:
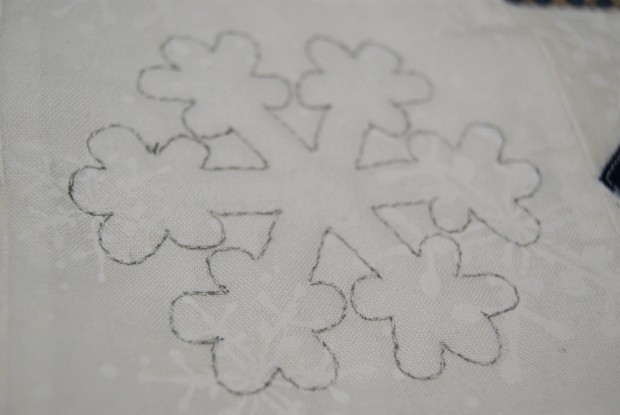
Step 1: If you’re the kind to do so, mark your quilting lines. I went with straight lines near my seams, and then I traced a snowflake outline into the center of my block. Tracing the snowflake outline was as simple as laying my block on top of a picture of a snowflake and tracing. I used a black Frixion pen, the ink of which disappears with heat.
Step 2: Make up your quilt sandwich: Backing (wrong side up) on the bottom, then the batting, then the (right side up) quilt block/top. Always have your batting and backing cut a few inches larger than your quilt for ease of handling during the quilting process.
Step 3: Baste your project. I use a combo of spray basting and safety pins. Because that’s what I like to do.
Step 4: Quilt your finished piece as desired. For my Snowflake Trapunto pillow, I went machine quilting my straight lines, and hand quilting my snowflake (I could have tried free-motion quilting on the snowflake, but it was a small design and I wanted more control in my quilting, so I went for hand quilting.)
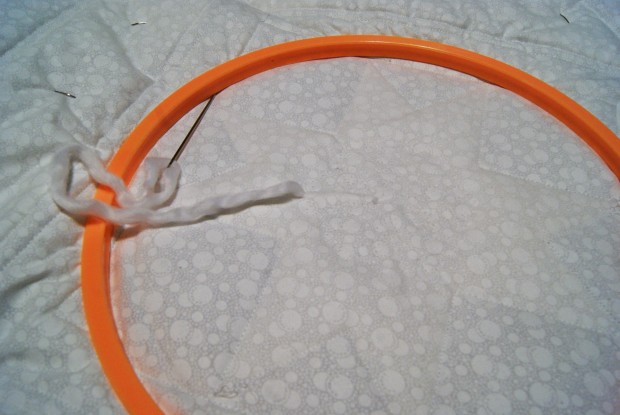
 Step 5: Thread a big ol’ needle (I used a yarn needle) with your trapunto material. (I used a bulky acrylic yarn that I separated into single plies. Given that acrylic melts at high heats, you might want to consider cotton yarn. I don’t know what I was thinking, actually.)
The picture shows the yarn in its regular form on the left, and then separated into its individual plies on the right. Trust me, you want to “skinny up” your yarn.
Now, for the actual Trapunto Quilting!
With that big ol’ threaded needle, your going to go in through the backing only and inside of the quilted lines of the design you’re puffing up:
I know, I know, it’s a bad picture. But what’s happening is that I’m sticking the needle into the center of the snowflake outline and running it alongside the backing to the end of the snowflake’s arm. White on white photography is just hard.
Here’s another shot, with the needle having exited the fabric and the end of the yarn ply trailing, before I cut it flush with the fabric:
You only go through the backing, NOT the batting and NOT the quilt top.
Each pass results in a little beefier look to the quilting:
You don’t want to do too many trapunto passes, as excessive stuffing could strain the fabrics in your project. I went with two passes on the long arms of the snowflake, and one pass in each little “finger” on the ends of those arms. The technique will leave some pretty big holes in your fabric, but I just use the blunt tip of my needle to gently push the fabric threads back together when I’m done.

A view of the back, after everything was done:
And a side-by-side for comparison of before and after:
I then gave the Frixion pen markings a little bit of quality time with the iron to get rid of the markings, attached an envelope back, stuck in a pillow form, and I had a lovely little pillow with nice, puffy quilting:
It really is a simple technique that produces such nice results! I hope this tutorial helps to explain how to do your own trapunto quilting. Thanks for stopping by, and if you do some trapunto quilting in the future, please let me know so I can see your work!
Happy crafting!
Linking up:
Let’s Bee Social @ Sew Fresh Quilts


Interesting technique! I admire Trapunto quilting, but have never tried it. You make it look so easy! The effect is amazing!
LikeLike
Stopping by from Let’s Bee Social. What a great explanation of the technique! I’ve never used the yarn method nor knew to do it from the back. Thanks for sharing this!
LikeLike
This is fantastic, I will try it with my crab mini, thank you for stopping by Secretly Stitching and leaving your comment, I just might make it a yearly fun swap, http://secretlystitching.blogspot.gr/2015/07/for-kids-christmas-swap.html
LikeLike